Fabric boxes are charming additions to any home, perfect for storing everything from toys and blankets to craft supplies and seasonal decorations. They offer a personalized touch, allowing you to customize the fabric and design to perfectly match your existing décor. But the thought of sewing intricate seams might seem daunting, leaving the beautiful, organized space you envision out of reach. Forget complex patterns and fiddly stitches! This guide presents a wonderfully simple, no-fail method for creating beautiful fabric boxes, requiring minimal sewing skills and readily available materials. You'll be surprised at how quickly and easily you can transform ordinary fabric into stylish storage solutions.
Forget frustrating projects and embrace the ease and satisfaction of crafting. This straightforward technique eliminates complicated steps, using simple materials and techniques anyone can master. Ready to create your own stunning, personalized storage? Let's dive into the step-by-step process to construct your own beautiful and functional DIY fabric boxes.
Preparation and Safety Guidelines
- two squares of fabric (same size)
- batting (same size or slightly larger)
- sewing machine or needle and thread
- rotary cutter (optional)
- ruler
- iron
- Always use sharp scissors or a rotary cutter to ensure clean cuts and prevent injury. Dull blades require more force, increasing the risk of accidents.
- If using a sewing machine, be mindful of your fingers and keep them away from the needle at all times. Take your time and focus on your work.
- When working with fabric glue or other adhesives, ensure good ventilation and follow the manufacturer's instructions carefully. Some adhesives are flammable.
Step-by-Step Instructions
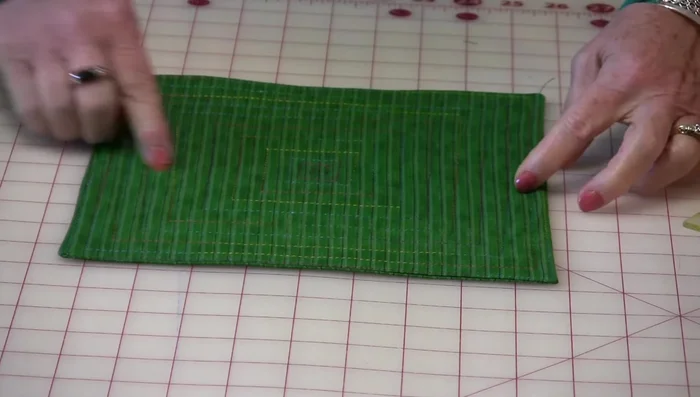
Prepare the Fabric Layers
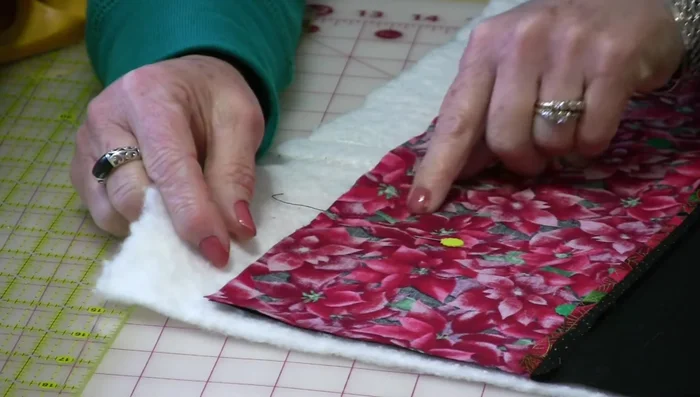
- Place batting on the bottom, then one fabric square (right side up), and finally the second fabric square (right side down).
Sew and Trim
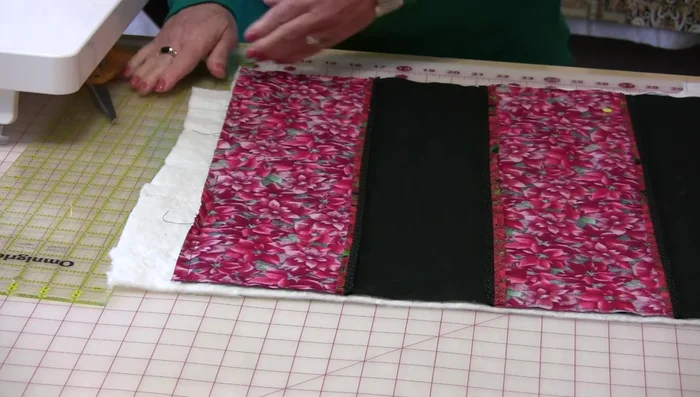
- Stitch a quarter inch seam allowance all the way around, leaving a small opening for turning.
- Use a ruler to hold the seam allowance away from the blade while carefully trimming away the excess batting close to the stitching line. This is crucial for a neat finish.
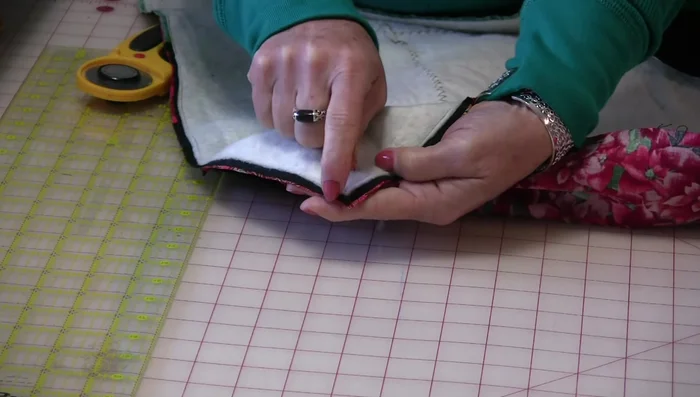
- Make small snips into the corners of the seam allowance, being careful not to cut the stitches.

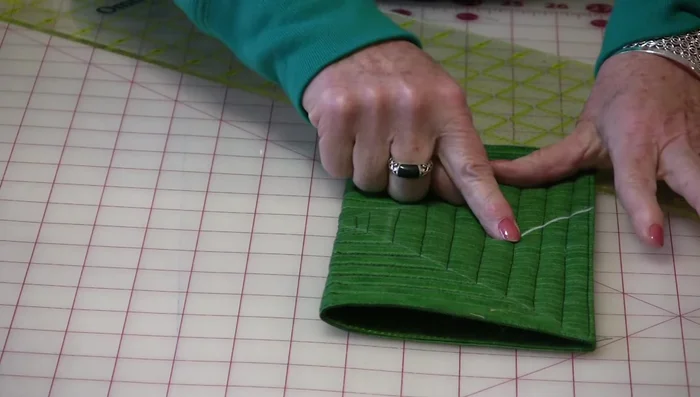
Sew and Trim Turn and Shape the Box
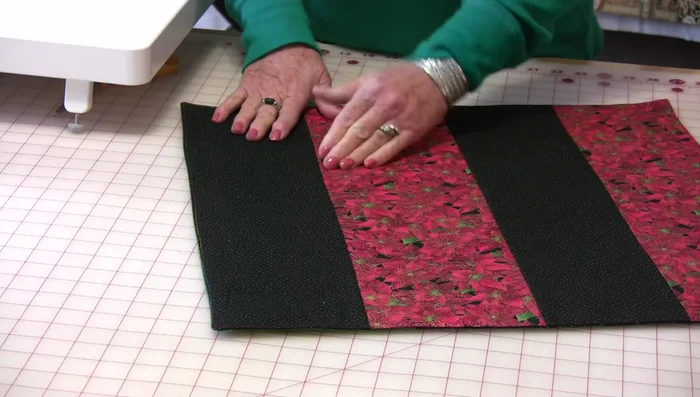
- Gently push the fabric through the opening, avoiding pulling on the batting. Work the corners out carefully.
- Iron the box to flatten and remove wrinkles.
Close the Opening
- Stitch or hand-sew the opening closed.
Optional: Quilt for Stability
- For added stability and structure, quilt the box using either straight lines or free-motion quilting.
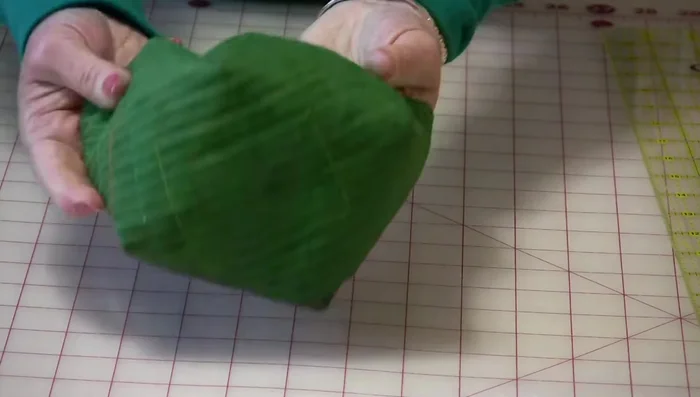
Optional: Quilt for Stability Create Box Corners
- Fold the fabric in half, aligning edges. Draw 2-inch lines from the corner of the folded edge to form a 45-degree angle. Sew along these marked lines for each corner.
- Repeat the folding and sewing process for the remaining corners.
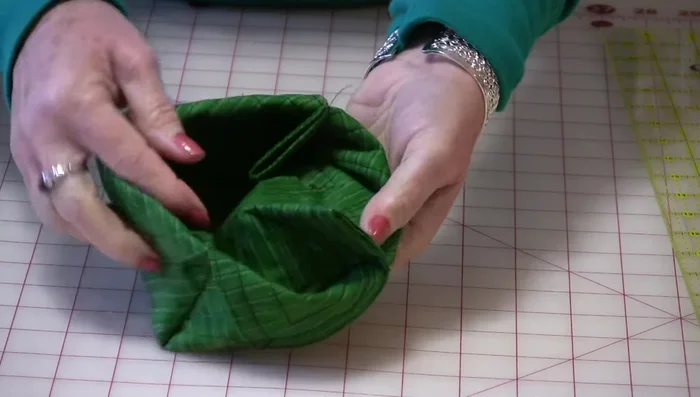
- Turn the box right side out, tucking the corners inside. Press to get a crisp box shape.
- Secure the corners by hand-stitching or top-stitching. Add embellishments like buttons if desired.
Create Box Corners
Read more: Sew a Lined Expandable Storage Bag: Easy Tutorial
Tips
- Use up fabric scraps!
- Smaller squares make smaller boxes; larger squares make taller boxes. The size of your corner triangles will correspond to your square size.