Add a touch of charming whimsy to your crafts, gifts, or even your everyday wardrobe with these adorable DIY fabric bows! Whether you're a seasoned sewist or a complete beginner, creating beautiful fabric bows is surprisingly simple and incredibly rewarding. Forget expensive store-bought options; with just a few basic supplies and a little patience, you can craft unique bows in a variety of fabrics, colors, and sizes to perfectly match any occasion or style. Think elegant satin bows for special events, playful cotton bows for children's clothes, or rustic burlap bows for a home-spun touch. The possibilities are truly endless!
This tutorial will guide you through the process of making these cute fabric bows, step-by-step, from selecting your fabric to achieving that perfect, professional finish. Get ready to unleash your creativity and discover the joy of crafting these versatile and delightful embellishments. Let’s dive into the detailed instructions and start making some bows!
Preparation and Safety Guidelines
- Fabric
- Thread
- Needle
- Scissors
- Always use sharp scissors and cut away from yourself to prevent injury. Keep scissors out of reach of children.
- Supervise children closely if they are participating in any part of the crafting process. Small parts pose a choking hazard.
- If using hot glue, ensure adult supervision and take precautions to avoid burns. Use a well-ventilated area.
Step-by-Step Instructions
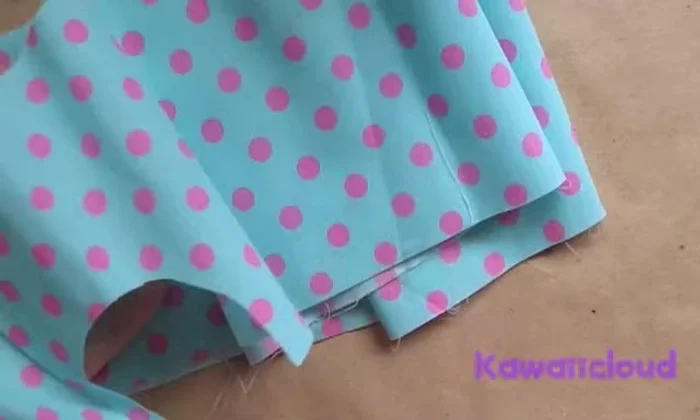
Prepare Fabric Pieces
- Cut out rectangular fabric pieces. These will be used to create the first part of the bow.
- cut another rectangular piece of fabric. Repeat steps 2-4 to create a second loop.

Prepare Fabric Pieces Create the First Bow Loop
- Sew the two rectangular pieces together along one edge. Leave a small opening to turn it right side out.
- Turn the sewn fabric right side out. This creates a tube-like structure.
- Close the opening with stitches to complete the first step (creating a loop).
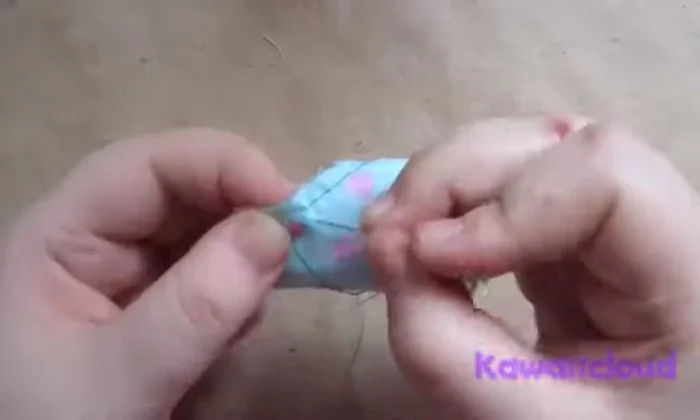
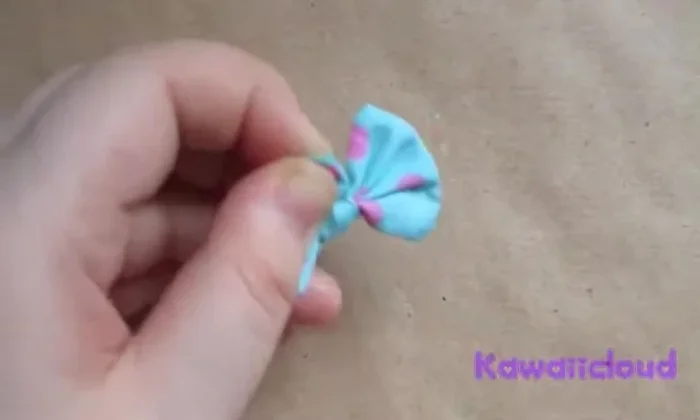
Create the First Bow Loop Reinforce the First Loop
- Create a column shape from the finished loop, securing it with stitching to reinforce the structure.
Reinforce the First Loop Create the Second Bow Loop
- Sew the two rectangular pieces together along one edge. Leave a small opening to turn it right side out.
- Turn the sewn fabric right side out. This creates a tube-like structure.
- Close the opening with stitches to complete the first step (creating a loop).
- cut another rectangular piece of fabric. Repeat steps 2-4 to create a second loop.
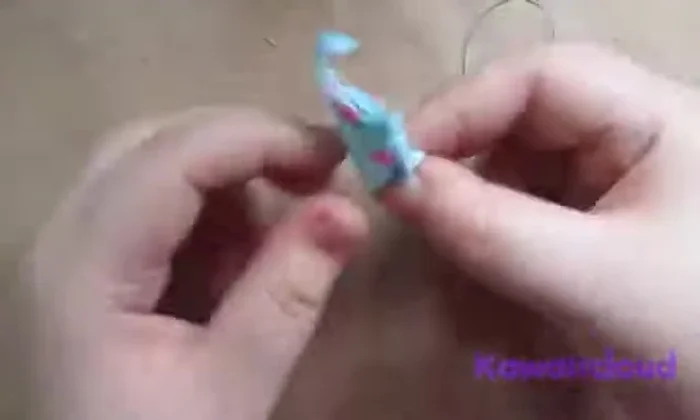
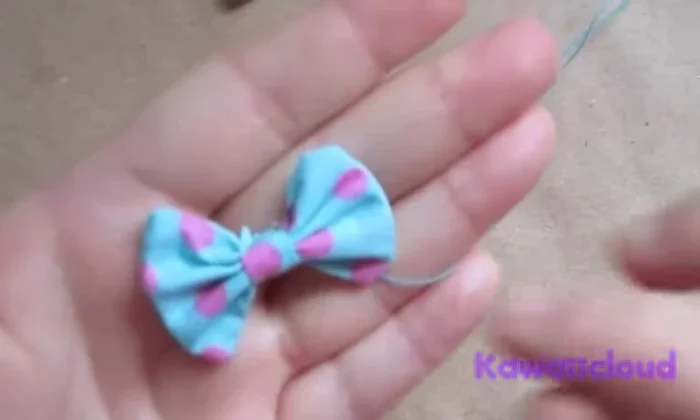
Create the Second Bow Loop Assemble the Bow
- Sew the second loop securely to the first loop to create the completed bow shape.
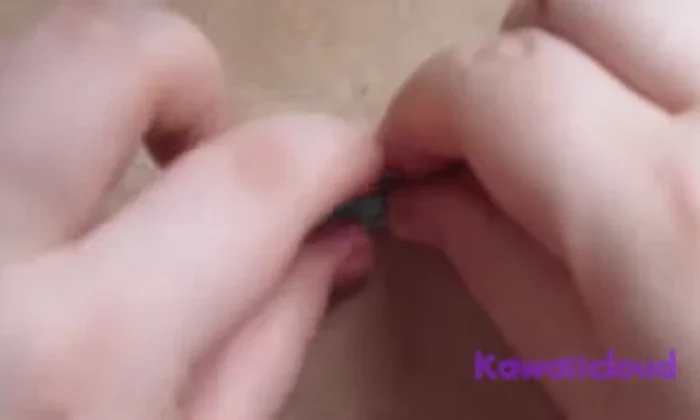
Assemble the Bow Finish and Trim
- Trim the excess fabric to achieve a polished look.
Finish and Trim


Read more: Sew a Lined Expandable Storage Bag: Easy Tutorial
Tips
- Be patient and take your time for neat stitching.
- Ensure the stitching is strong, particularly in steps 2, 4, and 7, to maintain the bow's shape and durability.