Christmas is just around the corner, and the hunt for the perfect gift wrapping is on! This year, ditch the expensive store-bought bags and embrace the charm of handmade with our easy DIY drawstring gift bags. Not only are these charming bags a delightful alternative to traditional wrapping paper, reducing waste and adding a personal touch, but they’re also incredibly simple to create, even for beginners. Imagine the satisfaction of gifting presents nestled in bags you’ve crafted yourself, showcasing your creativity and care. Plus, they're wonderfully versatile, perfect for small gifts, party favors, or even just storing holiday trinkets.
Forget complicated tutorials and frustrating techniques; this project is designed for ease and efficiency. Using readily available materials, you’ll be surprised at how quickly you can whip up a batch of these adorable drawstring bags. Ready to get started on creating these festive and functional gifts? Let's dive into the step-by-step process to make your own personalized DIY drawstring gift bags.
Preparation and Safety Guidelines
- sewing machine
- fabric (fat quarters)
- scissors
- ruler (omni grid ruler recommended)
- pins
- seam ripper
- safety pin
- ironing board
- iron
- washi tape
- 32-inch ribbons
- lighter or candle (for heat sealing ribbon ends)
- Always supervise children when using scissors and other sharp tools.
- Be mindful of the drawstring length, ensuring it's not long enough to pose a strangulation hazard, especially for young children.
- If using fabric dyes or paints, ensure adequate ventilation and follow manufacturer's instructions for safe handling and disposal.
Step-by-Step Instructions
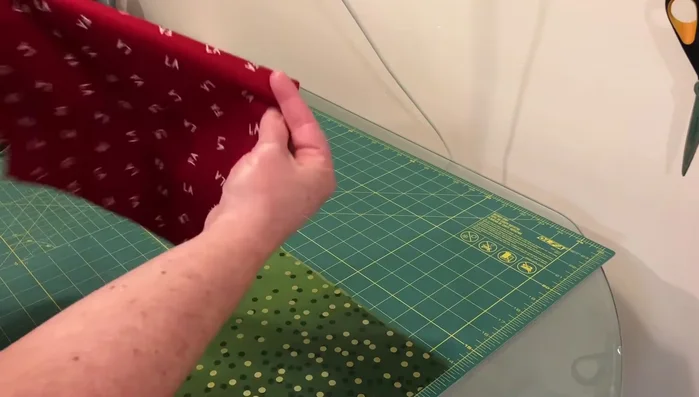
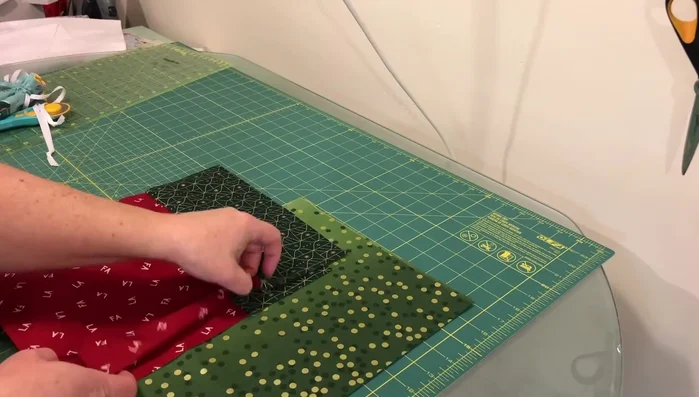
Prepare Fabric
- Cut two 10.5" x 9.5" pieces from your main fabric and two 10.5" x 4.5" pieces for the top band.
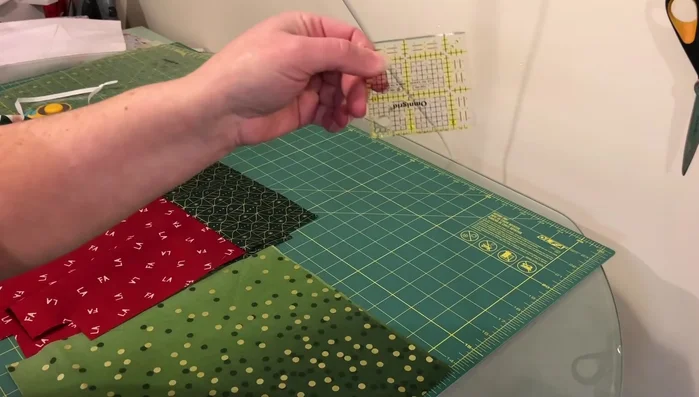
- Cut out a 1.5" square from each bottom corner of the main fabric pieces.
- Cut two 10.5" x 12.5" pieces for the lining. Cut out 1.5" corners. Sew the side and bottom seams, leaving a 3-4" opening for turning.

Prepare Fabric Assemble Outer Bag
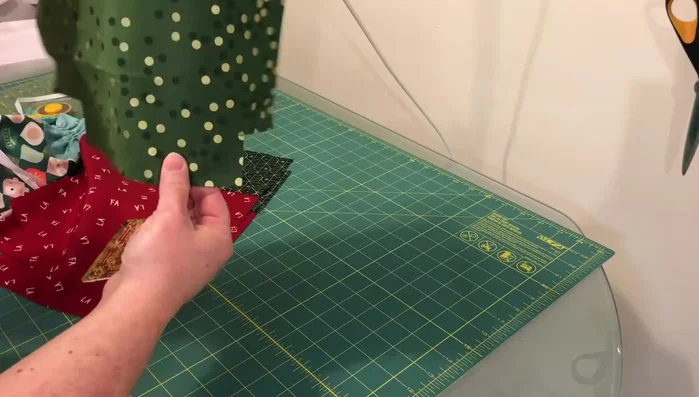
- Sew the bands to the main fabric pieces, then press the seam towards the band.
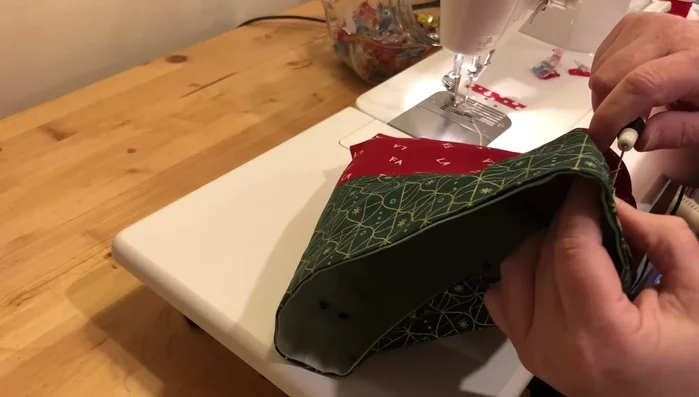
- Sew the side and bottom seams of the main fabric pieces with a 1/4" seam allowance. Square off the corners by opening them up, aligning seams in opposite directions, and sewing across the corner.
Assemble Outer Bag Assemble Lining
- Cut two 10.5" x 12.5" pieces for the lining. Cut out 1.5" corners. Sew the side and bottom seams, leaving a 3-4" opening for turning.
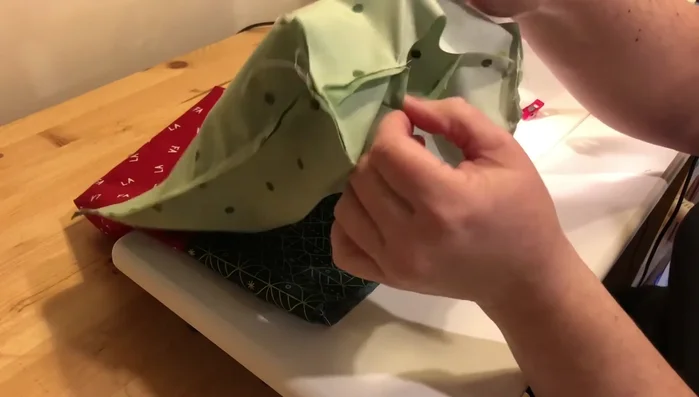
Assemble Lining Join Outer and Lining
- Place the outer bag inside the lining, right sides together. Match up side seams, and sew around the top with a 1/4" seam allowance.
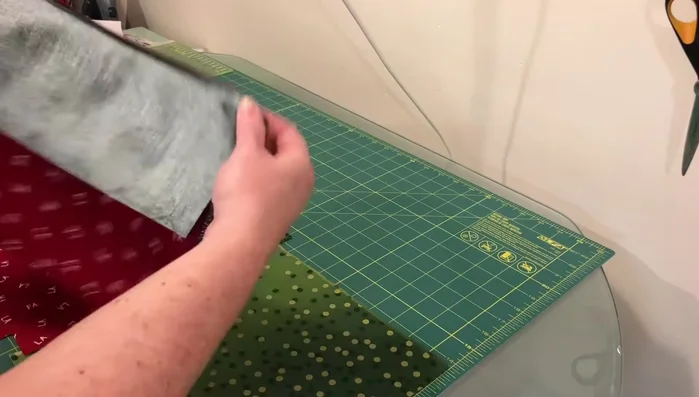
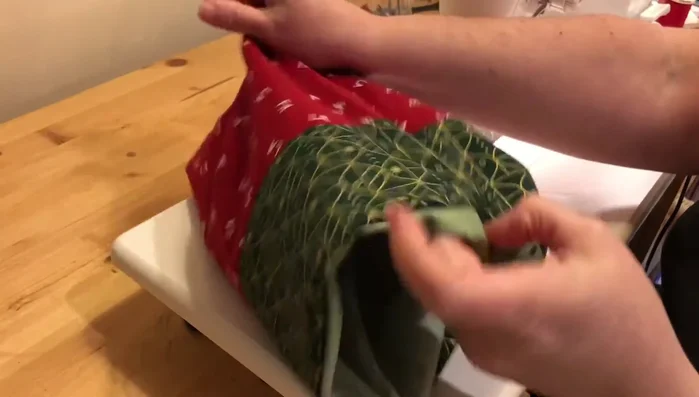
Join Outer and Lining Turn and Finish
- Turn the bag right side out through the opening in the lining. Push out the corners and close the opening by hand-sewing or top-stitching.
Turn and Finish Create Drawstring Channels
- Press the top edge of the bag. Using a sewing machine, sew two parallel lines 1" apart to create the drawstring channels.
Create Drawstring Channels Prepare Drawstrings
- Heat-seal the ends of two 32" ribbons to prevent fraying. Using a safety pin, thread the ribbons through the drawstring channels.
Prepare Drawstrings Insert Drawstrings
- Use a seam ripper to create a small opening in the side seam to insert the drawstrings.
- Heat-seal the ends of two 32" ribbons to prevent fraying. Using a safety pin, thread the ribbons through the drawstring channels.
Insert Drawstrings Tie Drawstrings
- Once both ribbons are threaded, tie a knot at each end to secure the drawstrings.
Tie Drawstrings


Read more: Sew a Lined Expandable Storage Bag: Easy Tutorial
Tips
- Use an omni grid ruler for accurate cutting of corners.
- Use clips to hold fabric pieces together while sewing to prevent shifting.
- Ensure the seams are aligned in opposite directions when sewing corners to create a neat finish.
- Heat-seal ribbon ends to prevent fraying.