Are you looking for a fun and rewarding sewing project that yields a practical and stylish result? Then look no further than this easy DIY double zipper pouch tutorial! Perfect for organizing your everyday essentials – from makeup and toiletries to sewing notions and craft supplies – this versatile pouch is surprisingly simple to create, even for beginner sewers. Its double zipper design ensures secure closure and easy access to your belongings, making it a truly functional addition to your life. You'll be amazed at how quickly you can whip one up, and even more amazed at the satisfaction of using something you made yourself.
This tutorial provides a clear and concise step-by-step guide, walking you through each stage of the process with helpful images and simple instructions. From cutting the fabric to installing the zippers, we'll cover every detail to ensure you create a beautifully finished double zipper pouch with confidence. So grab your fabric, zippers, and sewing machine, and let’s get started!
Preparation and Safety Guidelines
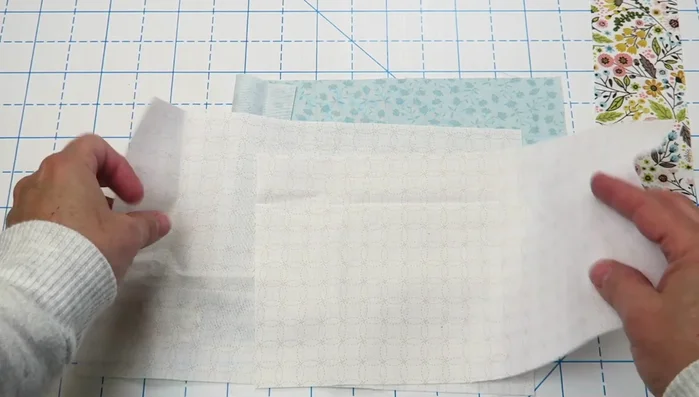
- Batting or fusible fleece
- Fabric (lining, outside, pocket)
- Two 12-16 inch zippers
- Pins or Wonder Clips
- Rotary trimmer
- Ruler
- Friction erasable pen
- Sewing machine
- Always use sharp sewing machine needles and pins to prevent fabric damage and injury. Dull needles can cause skipped stitches and increase the risk of needle breakage.
- Be mindful of your fingers when working with zippers. Use zipper feet (if your machine has one) and carefully guide the fabric to avoid pinching your skin.
- Before cutting your fabric, double-check your measurements to ensure you have enough material and accurate placement of pattern pieces. Repurposing scraps can be tricky.
Step-by-Step Instructions
Prepare Zippers
- Cut zippers to 11 inches.
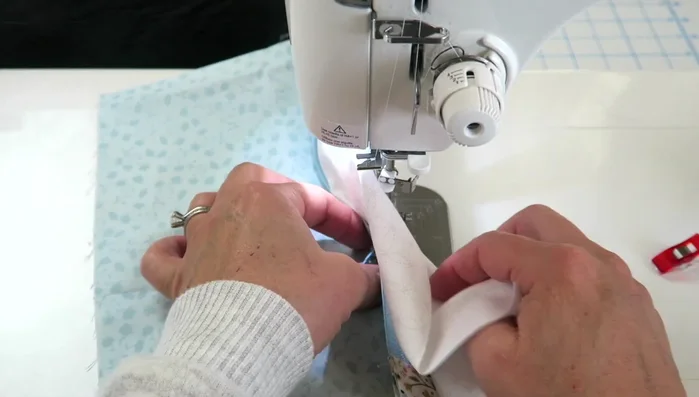
- Sew across the cut zipper ends to secure.
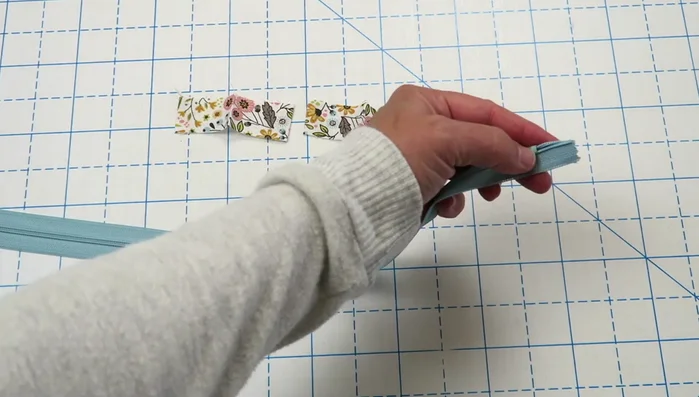
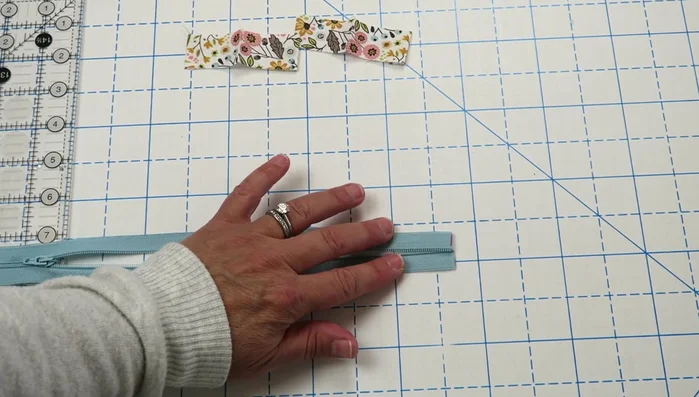
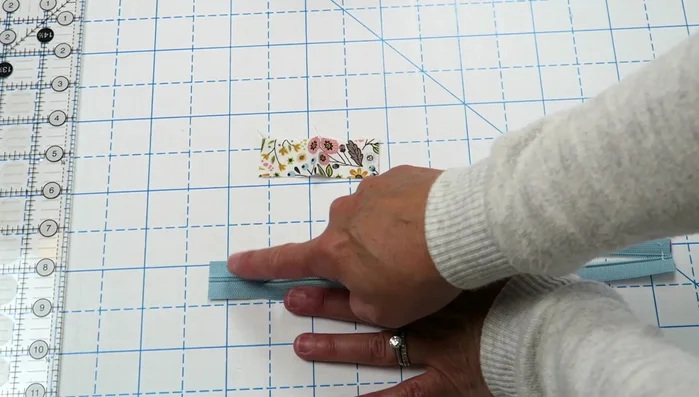
- Create and attach zipper pulls.

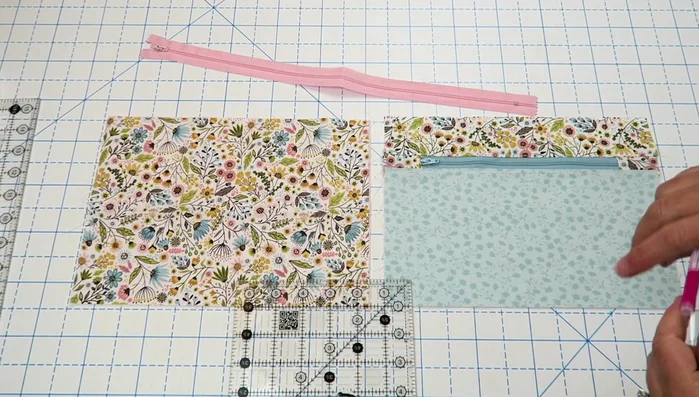
Prepare Zippers Create Front Pocket
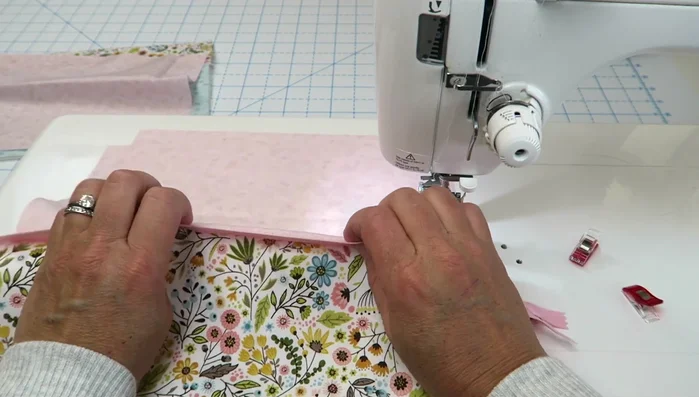
- Sew the 6-inch lining piece, zipper, and front pocket fabric together.
- Press and top stitch the front pocket seam.
- Add the 7-inch lining piece to the front pocket, sew, and press.
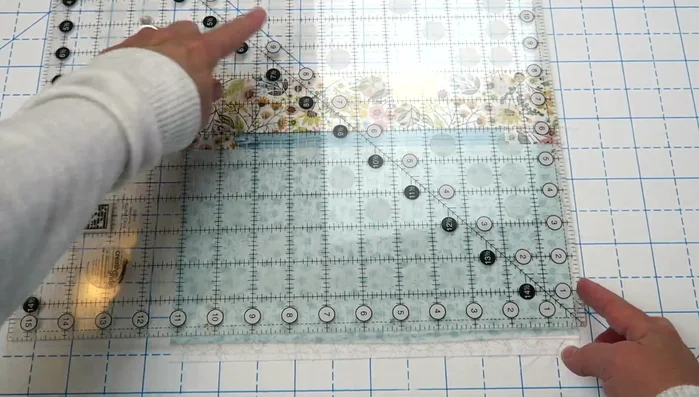
- Trim the front pocket to 8 inches tall by 11 inches wide.
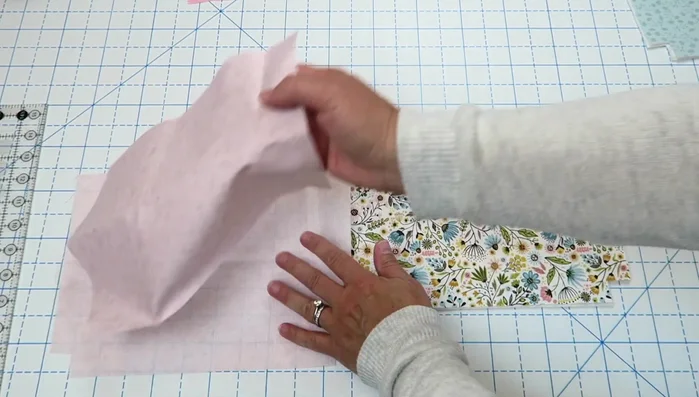
Create Front Pocket Prepare Fabric Pieces
- Trim corners of all fabric pieces (3/4 inch).
Prepare Fabric Pieces Attach Back and First Lining to Zipper
- Attach the back fabric and one lining piece to the zipper (zipper pull facing left).
- Press and top stitch the seam.
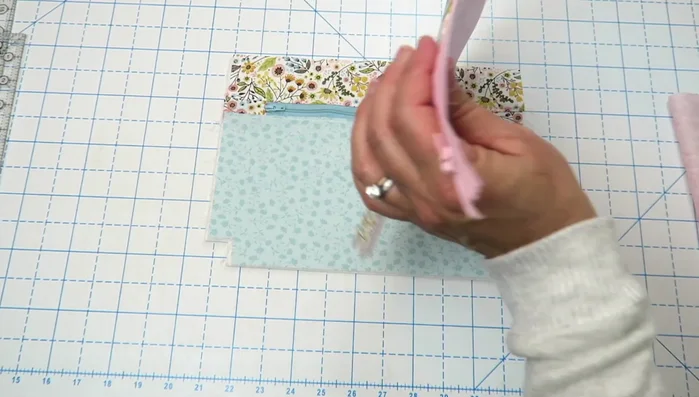
Attach Back and First Lining to Zipper Attach Front and Second Lining to Zipper
- Attach the front pocket and remaining lining piece to the zipper (right sides together).
- Press and top stitch the seam.
Attach Front and Second Lining to Zipper Assemble and Sew the Bag
- Fold the bag right sides together, zipper teeth facing the lining. Clip in place and sew around the edges, leaving a 4-inch opening in the lining.
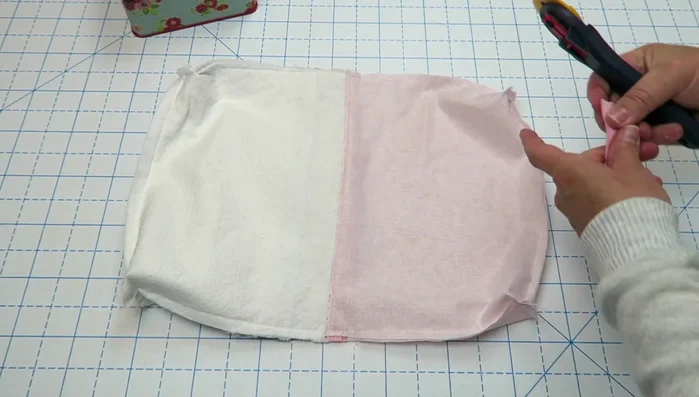
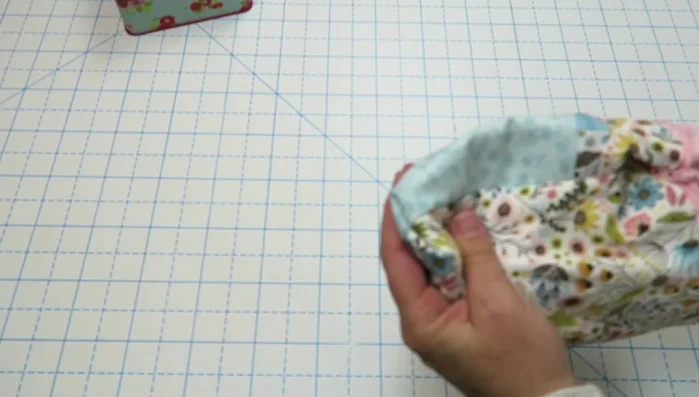
Assemble and Sew the Bag Finish the Bag
- Sew the short edges of the lining opening.
- Trim excess zipper. Turn the bag right side out through the lining opening.
- Press and box the bottom. Close the lining opening.
Finish the Bag


Read more: Sew a Lined Expandable Storage Bag: Easy Tutorial
Tips
- Using Wonder Clips instead of pins makes the process easier.
- You can sew the zipper with a regular sewing machine foot, not necessarily a zipper foot.
- Don't worry if your zipper is slightly longer than 11 inches.
- Adjust the width of the zipper pull pieces to match your zipper width.