Add a splash of festive cheer to any occasion with this incredibly quick and simple guide to making double-sided fabric bunting! Forget fiddly sewing and complicated patterns; this method utilizes the power of fabric glue and readily available materials to create stunning, professional-looking bunting in a fraction of the time. Whether you're decorating for a birthday party, wedding, or just want to brighten up your home, this project is perfect for crafters of all skill levels, from absolute beginners to seasoned pros looking for a time-saving shortcut. It’s so easy, you’ll be amazed at how quickly you can transform plain fabric into a vibrant and eye-catching display.
This tutorial provides a straightforward, step-by-step approach to crafting double-sided bunting that boasts a crisp, clean finish. Ready to ditch the stress and embrace the speed? Let's dive right into the process and create some truly spectacular bunting together!
Preparation and Safety Guidelines
- Fabric
- Paper
- Scissors
- Rotary cutter (optional)
- Quilting ruler (optional)
- Pins
- Bias binding
- Sewing machine
- Iron
- Butter knife
- Always use sharp scissors or rotary cutter to ensure clean cuts and prevent injury. Dull blades require more force and increase the risk of accidents.
- If using a sewing machine, be mindful of your fingers and keep them away from the needle at all times. Use a sewing machine finger guard if available.
- When ironing fabric, ensure the iron is at the correct temperature setting for your fabric type to avoid scorching or melting it. Always use an ironing board for stability.
Step-by-Step Instructions
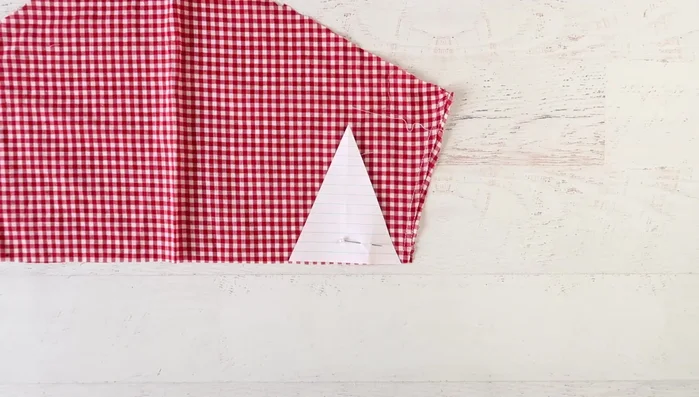
Create Template
- Create a triangle template.

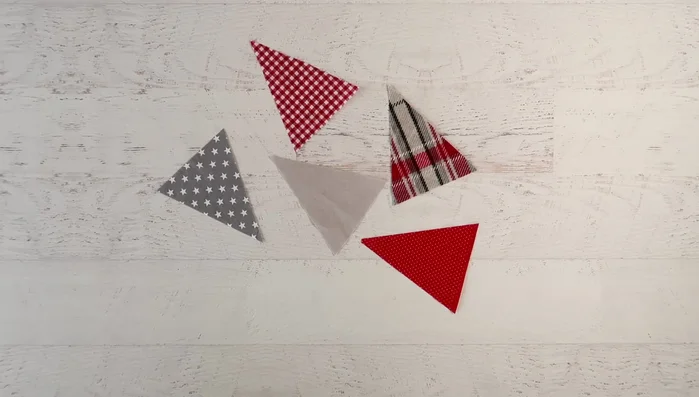
Create Template Cut Fabric Triangles
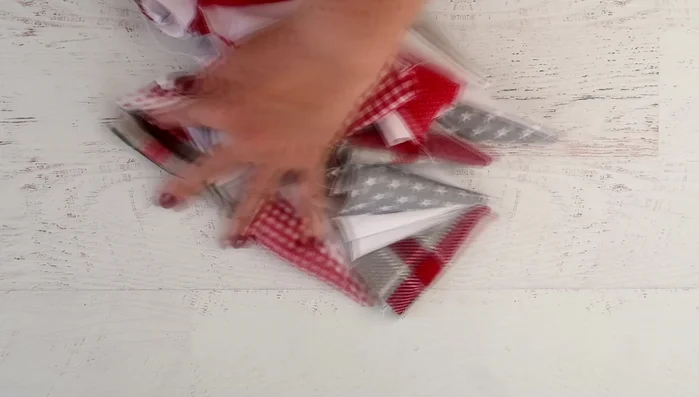
- Pin and cut fabric triangles using the template.
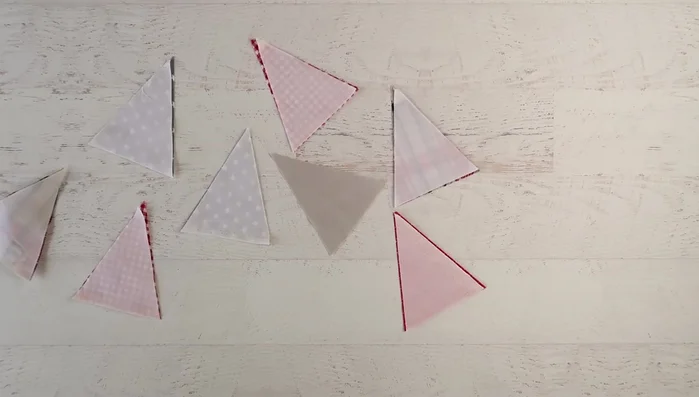
Cut Fabric Triangles Cut & Attach Backing
- use a contrasting fabric for reversible bunting).
- Pin the front and back triangles together and sew along the sides, leaving the top open.
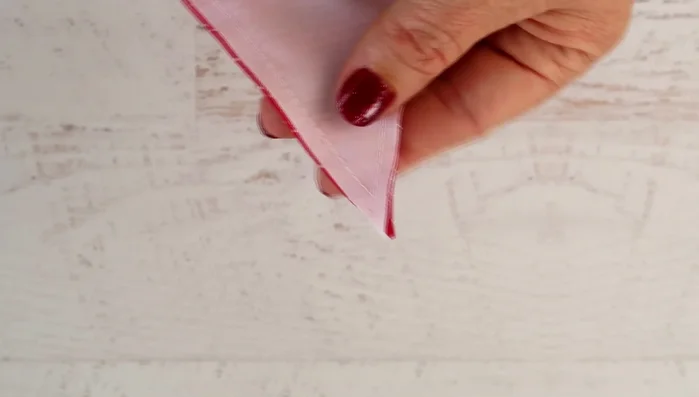
Cut & Attach Backing Turn & Trim Triangles
- Trim excess fabric at the point to prevent bunching, then turn inside out.
Turn & Trim Triangles Press & Refine Triangles
- Flatten and iron the triangles.
- Trim the top edges of the triangles straight.
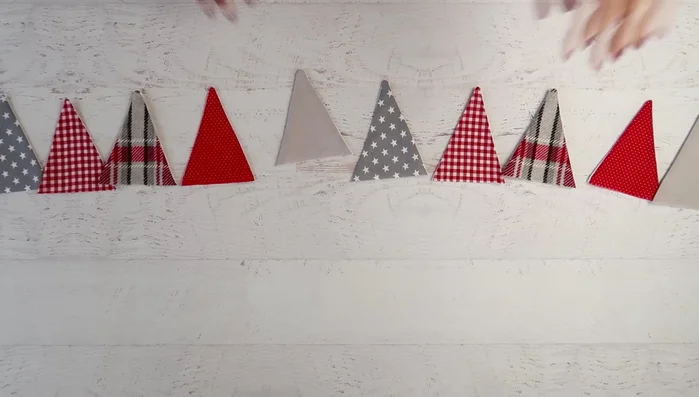
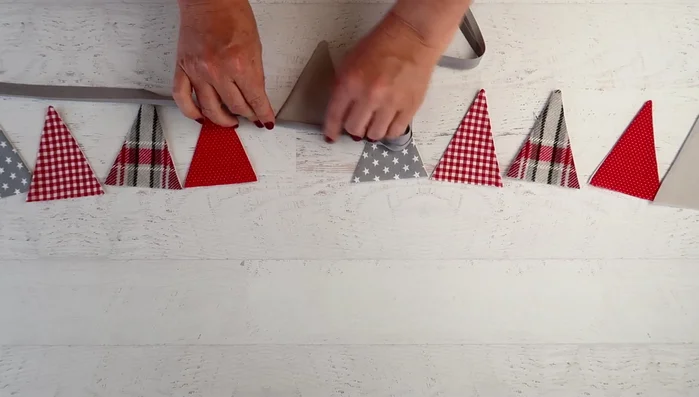
Press & Refine Triangles Assemble Bunting
- Lay out your bunting design.
- Pin triangles to bias binding, leaving sufficient length for tying.
- Sew the triangles to the bias binding.
Assemble Bunting

Read more: Sew a Lined Expandable Storage Bag: Easy Tutorial
Tips
- Using a rotary cutter and quilting ruler speeds up the cutting process. Alternatively, use an already-cut triangle as a template for faster, more accurate cutting of subsequent triangles from the same fabric.
- Fussy cutting allows you to precisely position your design elements within each triangle for optimal aesthetic appeal.
- Use bias binding instead of ribbon for a smoother, less-kinked look.