Are you drowning in paperwork? Tired of searching endlessly for important documents? Then you're in the right place! This simple DIY document organizer will revolutionize your filing system and add a touch of personal style to your home or office. Forget expensive, bulky store-bought solutions; with just a few basic sewing skills and readily available materials, you can create a beautiful and functional organizer tailored to your specific needs. This project is perfect for beginners, and the results are incredibly satisfying.
Imagine effortlessly locating tax returns, important bills, or cherished family photos – all neatly organized and within easy reach. This tutorial will guide you through the process of crafting a personalized document organizer, step-by-step, ensuring a stress-free experience from start to finish. Let’s get started and transform that paperwork pile into a thing of organized beauty!
Preparation and Safety Guidelines
- Three different fabrics (midweight)
- Interfacing
- Clear plastic
- Two zippers
- Bias tape
- Always use sharp scissors or rotary cutter to prevent fabric slippage and ensure clean cuts. Dull blades increase the risk of injury.
- If using a sewing machine, ensure your fingers are kept away from the needle at all times. Use a seam ripper carefully to avoid accidental needle pricks.
- When working with pins or needles, store them safely in a pincushion or magnetic pin dish when not in use to avoid accidental pokes or injuries.
Step-by-Step Instructions
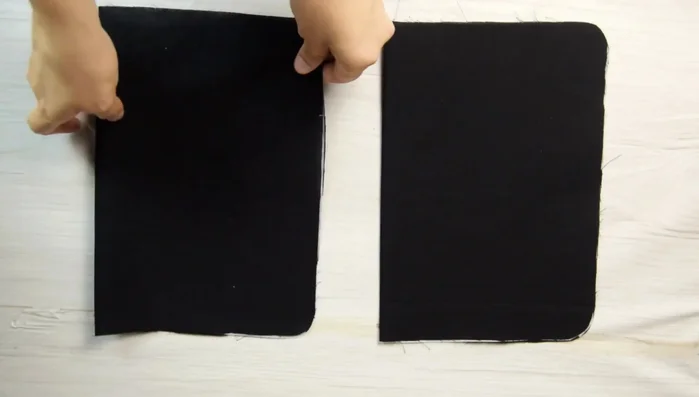
Prepare Fabric and Pockets
- Cut fabric pieces according to the pattern.
- Apply bias tape to the top and stitch.
- Fold in half and top stitch.

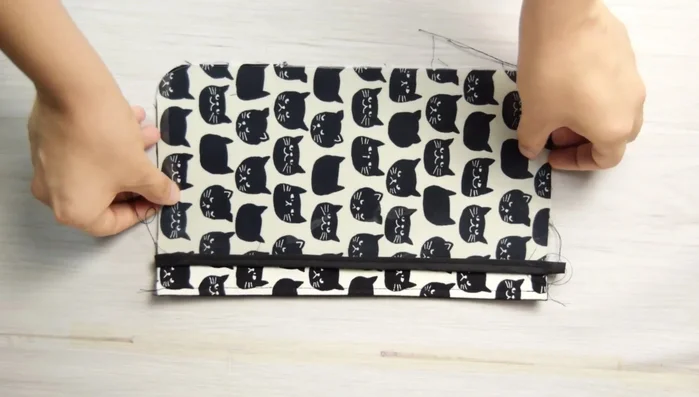
Prepare Fabric and Pockets Create Zipper Pockets
- Mark middles, place zipper between fabrics face to face, and stitch.
- Fold outer fabric and lining inward 1 cm and stitch.
- Mark centers, place zipper between fabrics, and stitch. Press and top stitch. Trim excess zipper.
Create Zipper Pockets Assemble Main Pockets
- Place outer fabric and lining face to face, stitch, press seams, turn over, and top stitch.
- Stitch the top part.
- Stitch in the middle.
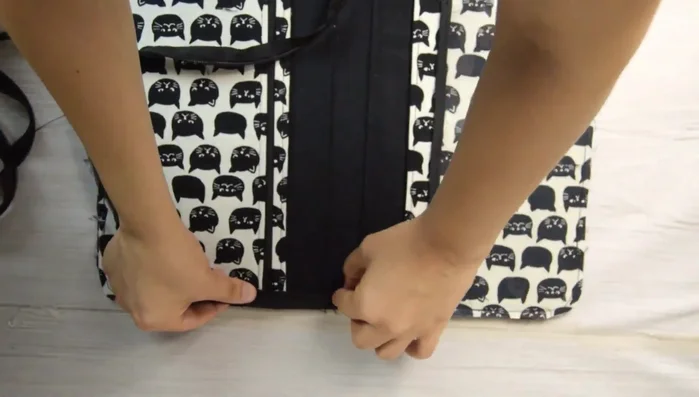
Assemble Main Pockets Assemble the Organizer
- Place lining on top of outer fabric, add pockets 2 and 3, and the zipper pocket. Stitch all around.
- Stitch all the way around, leaving the ends of the zipper free.
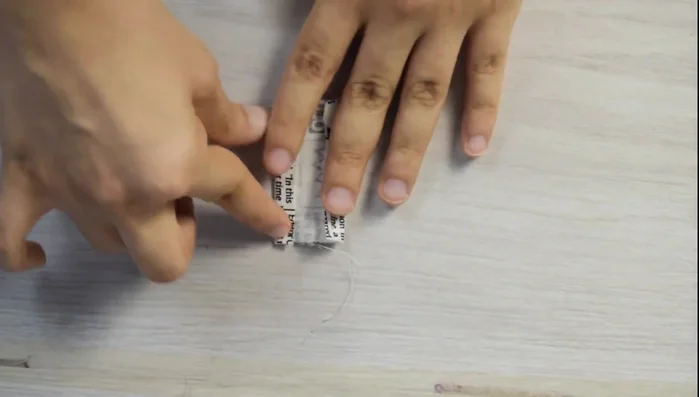
Assemble the Organizer Finishing Touches
- Place bio tape all around the organizer and stitch.
- Fold the small rectangle 1 cm inward, press, and place it on the end of the zipper. Stitch.
Finishing Touches


Read more: Sew a Lined Expandable Storage Bag: Easy Tutorial
Tips
- N/A