Are you tired of overflowing pockets and tangled change? Do you have a stash of fabric scraps gathering dust in your craft box? Then get ready to unleash your inner crafter with this super cute and surprisingly easy DIY coin purse tutorial! This project is perfect for beginners, requiring minimal sewing skills and even fewer supplies. It’s the ideal way to organize your loose change, add a pop of personality to your bag, or even create adorable little gifts for friends. Forget expensive, mass-produced accessories; this project allows you to personalize your coin purse with your favorite fabrics and embellishments.
This scrap-busting project is incredibly versatile, allowing you to experiment with different patterns, textures, and even add fun details like buttons, beads, or embroidery. With just a few simple steps and a little creativity, you'll have a stylish and functional coin purse in no time. Ready to transform those fabric scraps into something truly special? Let's dive into the step-by-step instructions!
Preparation and Safety Guidelines
- Fat quarter of fabric
- 20in x 20in piece of SF11 interfacing (optional)
- 28in zipper (or longer)
- Rotary cutter
- Ruler
- Iron
- Sewing machine
- Always supervise children if they are participating in any part of this project, especially when using sharp objects like scissors or needles.
- Choose fabrics that are sturdy enough to hold coins without tearing or stretching. Avoid delicate or easily frayed materials.
- Ensure all seams are securely stitched to prevent coins from falling out. Consider using a double stitch or reinforcing the stress points.
Step-by-Step Instructions
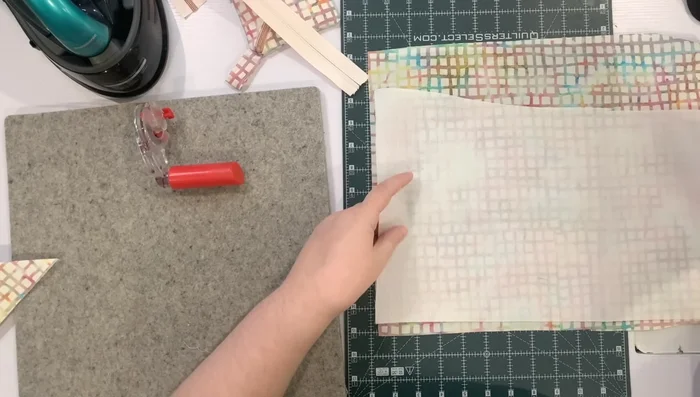
Prepare Fabric and Interfacing
- Cut a 9in x 9in square of fabric and interfacing (fuse interfacing to fabric first).
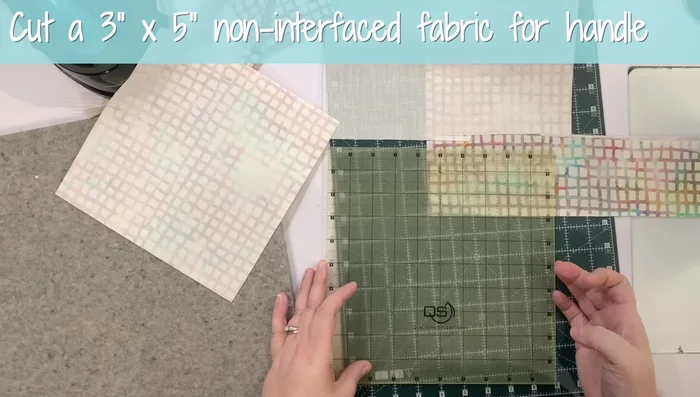
- Cut a 3in x 5in piece of fabric for the handle.

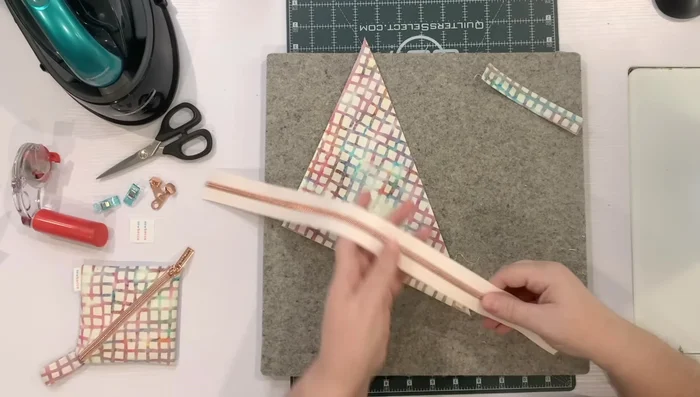
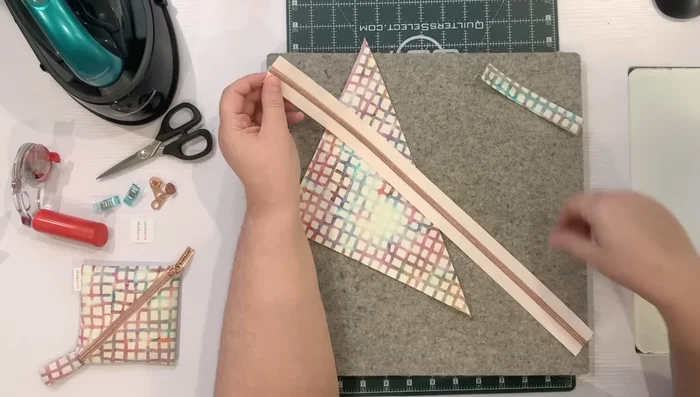
Prepare Fabric and Interfacing Prepare the Square Piece
- Fold the 9in square diagonally and press.
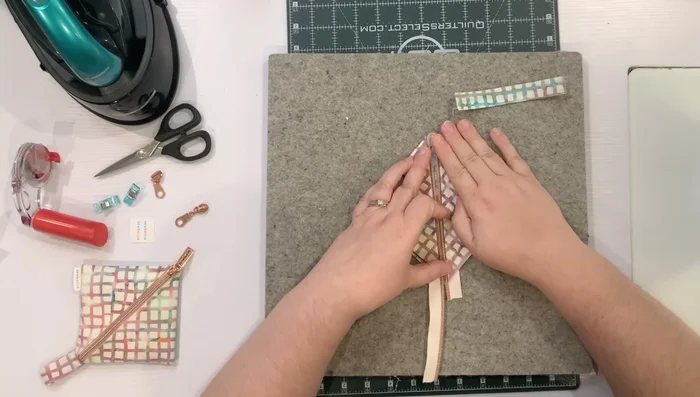
Make the Handle
- Fold the 3in x 5in piece lengthwise, press, fold in the long edges to meet in the middle, press, and fold in half again. Stitch along each edge.
Make the Handle Prepare the Zipper
- Cut off metal stops if necessary, remove the zipper pull, and separate the zipper.
Prepare the Zipper Attach Zipper to Fabric
- Place the folded 9in square against one side of the zipper tape, aligning raw edges. Topstitch along the zipper teeth, keeping the fabric butted against the teeth.
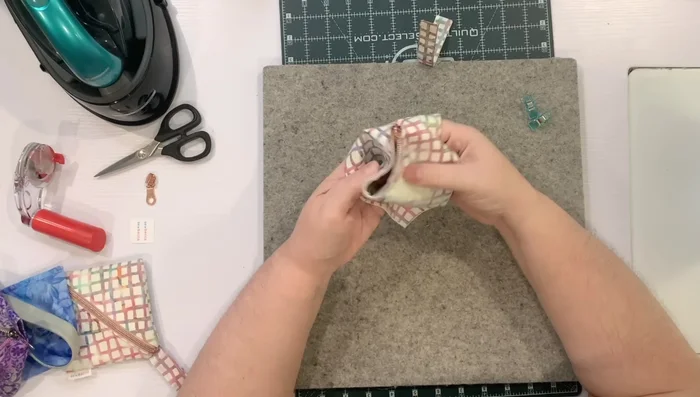
Attach Zipper to Fabric Form the Pouch
- Fold the fabric into a pouch, creating a square shape, and press the corners.
Form the Pouch Close the Zipper and Secure
- Line up zipper tapes and clip in place. Attach the zipper pull.
Close the Zipper and Secure Sew the Pouch Sides
- Sew the sides of the pouch together, leaving a small opening for turning.
Sew the Pouch Sides Finish the Coin Purse
- Turn the coin purse right side out. Poke out the corners.


Read more: Sew a Lined Expandable Storage Bag: Easy Tutorial
Tips
- Use a hot, dry iron to fuse the interfacing to the fabric for better structure.
- To make a wristlet, add batting behind the fabric and quilt it together before assembling.
- Finishing seams: You can use French seams for a clean finish, or leave raw edges if you're using interfacing, which can reduce fraying.
- To make the zipper installation easier, keep one side of the zipper slightly longer than the other.
- Use a zipper foot to sew close to the zipper teeth.