Tired of fumbling with cards during your favorite game nights? Scattered cards, accidental reveals, and the constant shuffling can quickly derail even the most exciting game. Wouldn't it be fantastic to have a dedicated, easily accessible card holder that keeps your playing experience smooth and enjoyable? This simple yet effective DIY project solves that problem, transforming ordinary materials into a personalized card organizer tailored perfectly to your gaming needs. No more messy card piles or frustrating interruptions – just focused fun!
This tutorial will guide you through a straightforward and inexpensive method for crafting your very own custom card holder. We'll cover everything you need, from selecting the right materials to assembling the final product, ensuring a stress-free and rewarding crafting experience. Ready to elevate your game nights? Let's dive into the step-by-step instructions!
Preparation and Safety Guidelines
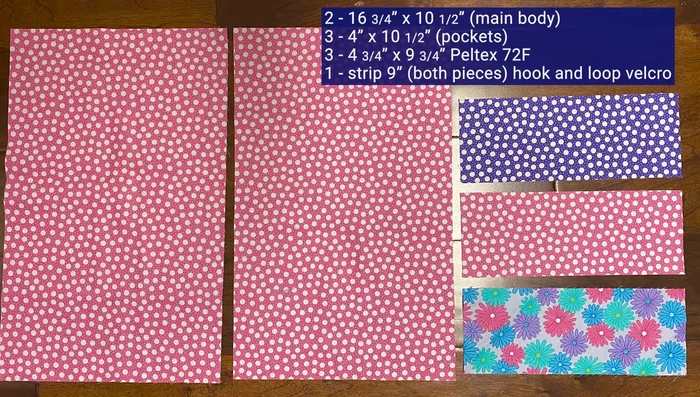
- Fabric (three pieces, various sizes)
- Peltex 72F fusible stabilizer
- Hook and loop Velcro
- Sewing machine
- Iron
- Safety pin (optional)
- Turning tool (optional)
- Scissors
- Marking tool (friction pen or marker)
- Ruler
- Always use sharp tools with caution. Adult supervision is recommended, especially when children are involved.
- Ensure all materials are thoroughly dried before assembly to prevent warping or damage to the finished product.
- Choose materials appropriate for the intended use. For example, avoid materials that might easily scratch playing cards.
Step-by-Step Instructions
Prepare Materials
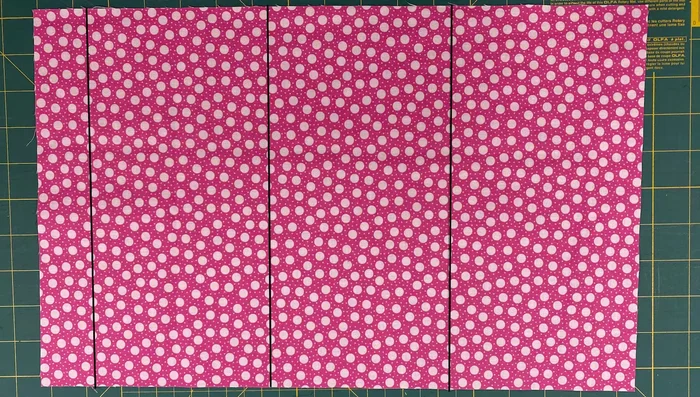
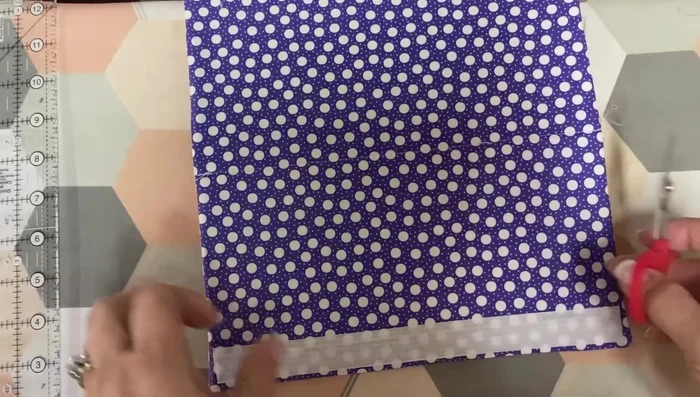
- Cut sixteen and three-quarter inches by ten and a half inches for the main body (two pieces), and four inches by ten and a half inches for the pockets (three pieces).

Prepare Materials Mark Fabric for Pockets
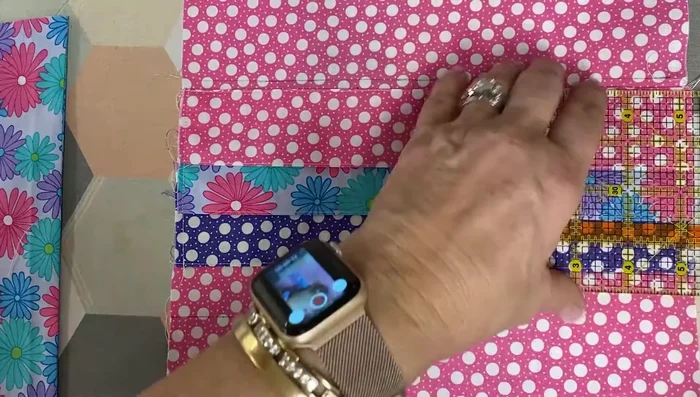
- On the front piece, mark one inch up from the bottom, then five inches up, and five inches again. Use a friction pen or marker that disappears with heat or a washable marker.
Mark Fabric for Pockets Construct Pockets
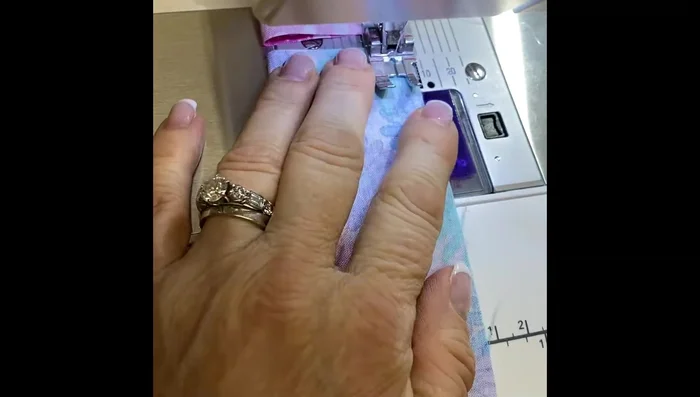
- Fold the four by ten and a half-inch rectangles in half (right sides together), sew with a quarter-inch seam, turn right side out, and press.
Construct Pockets Attach Pockets
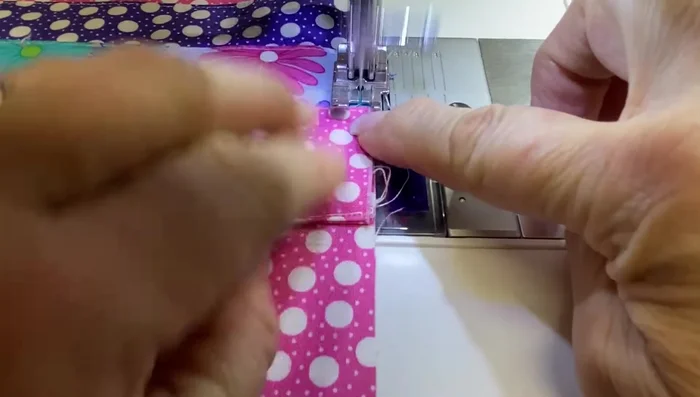
- Stitch the top edge of each pocket to the front piece, one inch apart, using the marked lines as a guide.
Attach Pockets Reinforce Pocket Seams
- Stitch along both sides of the pockets with a scant quarter-inch seam.
Reinforce Pocket Seams Divide Pocket Sections
- Sew a line down the center of the pocket area to create two sets of pockets.
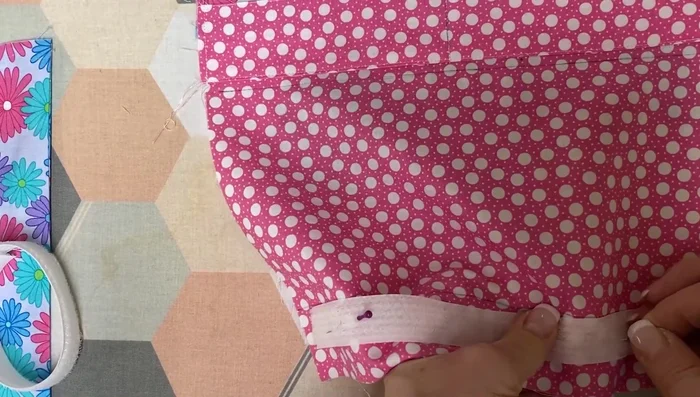
Divide Pocket Sections Attach Initial Velcro
- Pin and stitch a nine-inch piece of hook-and-loop Velcro centered on the top edge of the front piece.
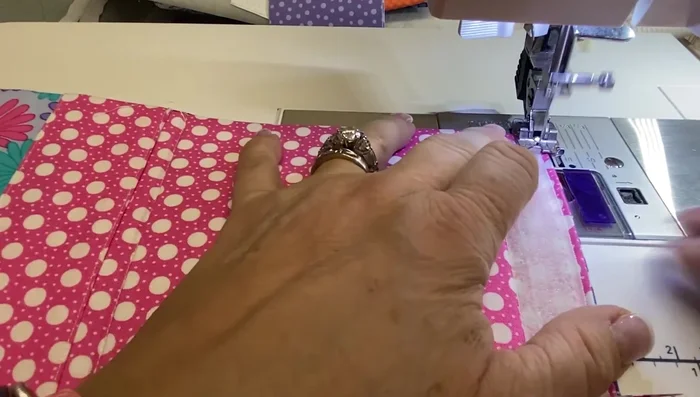
Attach Initial Velcro Sew Main Body
- Lay the back piece on top of the front piece and stitch around the outer edges (leaving the bottom open for turning).
Sew Main Body Insert and Secure Peltex
- Insert the peltex stabilizer into the card holder, ensuring it lies flat. Stitch along the edge to secure.
Insert and Secure Peltex Close Bottom Seam
- Press the bottom edge up half an inch and stitch to close the opening.
Close Bottom Seam Attach Final Velcro
- Attach the remaining piece of Velcro to the back, opposite the first piece.
Attach Final Velcro


Read more: Sew a Lined Expandable Storage Bag: Easy Tutorial
Tips
- Use a washable marker for marking lines so that they can be easily removed after sewing.
- Use a safety pin or turning tool to easily turn the fabric tubes right-side out.
- Press seams to create clean edges and make the sewing process smoother.
- Use snag-free Velcro to prevent catching and make the card holder more durable.
- When sewing Velcro, stitch just inside the teeth to avoid the machine walking off the edge.