Transform your dining table or mantelpiece into a breathtaking focal point with these stunning DIY candle holder centerpieces! Forget expensive floral arrangements or store-bought décor; creating elegant and personalized candle displays is easier than you think. With a little creativity and readily available materials, you can craft unique centerpieces that perfectly complement any occasion, from intimate dinners to festive gatherings. Imagine the warm glow of candlelight reflecting off handcrafted holders, adding a touch of magic to your space.
This guide will take you through several inspiring and achievable projects, perfect for crafters of all skill levels. Whether you prefer rustic charm, modern minimalism, or romantic elegance, we'll equip you with the knowledge and step-by-step instructions to create candle holders that are as unique as you are. Let's dive into the process and illuminate your home with these beautiful DIY creations!
Preparation and Safety Guidelines
- Fabric (2 colors, 16 pieces each)
- Interfacing (adhesive Pellon #809)
- Sewing machine
- Iron
- Scissors
- Pins (optional)
- Bodkin or blunt pen
- Template (cardboard or cardstock)
- Always use a heat-resistant surface under candles and candle holders. Never place candles near flammable materials.
- Never leave burning candles unattended. Extinguish candles completely before leaving a room or going to sleep.
- Keep candles out of reach of children and pets.
Step-by-Step Instructions
Prepare Fabric Layers
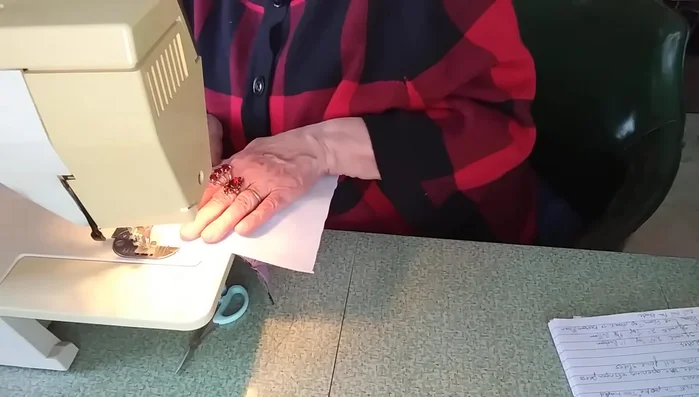
- Place two fabric squares (right sides together) and lay interfacing on top. Ensure the adhesive side of the interfacing is facing down.
Sew and Turn
- Sew around all four sides of the fabric layers, leaving an opening for turning right-side out. Use a ¼ inch seam allowance and backstitch at the beginning and end of the seam to secure it.
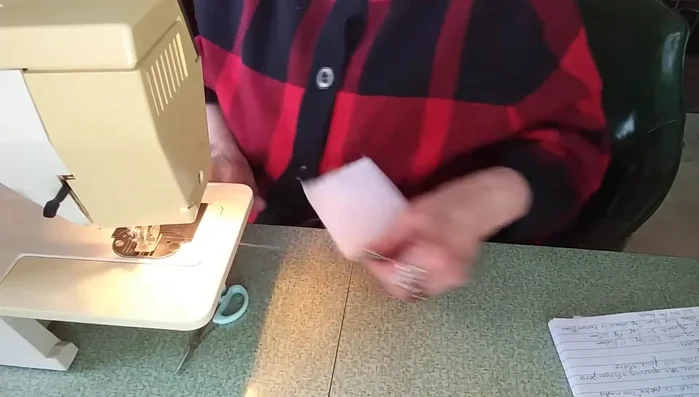
- Turn the sewn piece right-side out through the opening. Use a bodkin or a blunt pen to push out the corners neatly. Press the seams flat.

Sew and Turn Close Opening and Trim
- Close the opening by hand-sewing or using your sewing machine. Trim excess fabric from the corners.
Close Opening and Trim Create Template
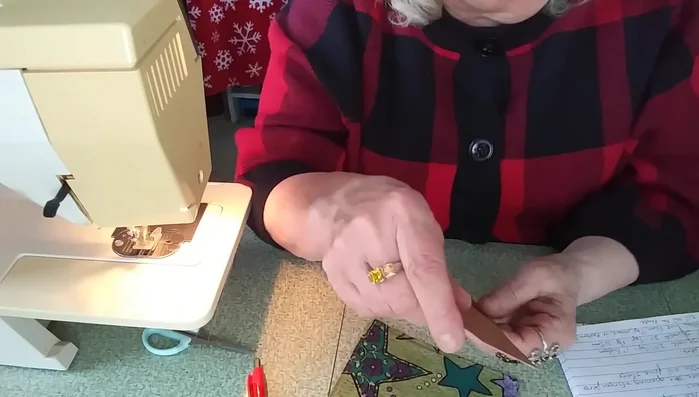
- Create a template from a 6-inch square of cardboard or cardstock. Make marks at 2.5 inches from one corner and 1 inch from the adjacent corner on each side of the square. Connect these points to create the template shape.
Create Template Cut and Shape Petals
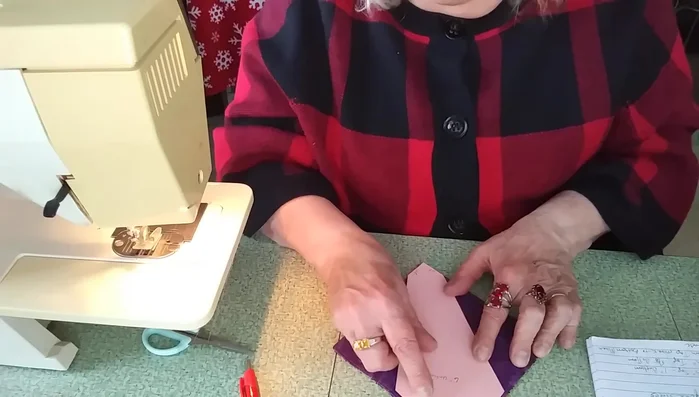
- Place the template onto your sewn square and mark the template lines onto the fabric. Cut along the marked lines to create the petal-like shapes.
Cut and Shape Petals Assemble Petals
- Match the cut edges of two squares, aligning the marked lines. Sew together.
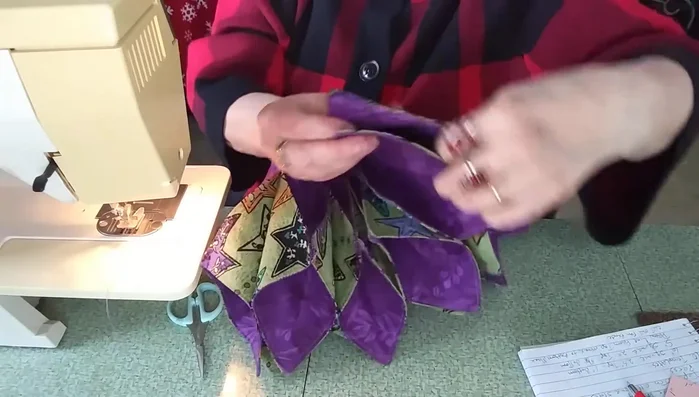
Assemble Petals Join Circle
- Attach remaining fabric squares in a similar manner, creating a circular shape. Sew the final seam to close the circle.
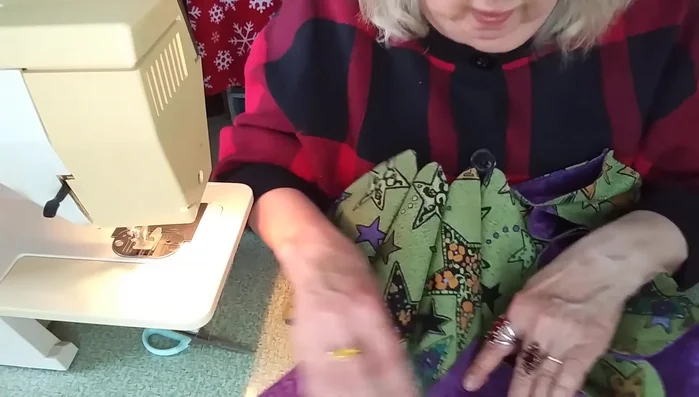
Join Circle Finishing Touches
- Create small tucks at each petal point. Stitch these tucks together to secure them. Add buttons, beads, or other embellishments as desired.
Finishing Touches

Read more: Sew a Lined Expandable Storage Bag: Easy Tutorial
Tips
- Choose contrasting colors for a visually appealing centerpiece.
- Backstitch at the beginning and end of seams to prevent unraveling.
- Use a bodkin or blunt pen to turn the corners neatly.
- Fold the interfacing side down before ironing to prevent sticking.
- These projects are forgiving, don't be afraid to make mistakes.