Planning a wedding can feel overwhelming, but adding personal touches can make the experience so much more rewarding. One delightful detail often overlooked is the bridal garter, a charming keepsake representing a cherished tradition. Why settle for a mass-produced item when you can create a truly unique and beautiful garter yourself? This DIY project is perfect for the crafty bride-to-be, offering a chance to personalize this special accessory and save money in the process. Imagine a delicate lace garter, adorned with elegant ribbon, perfectly reflecting your personal style and adding a handmade touch of elegance to your big day.
This tutorial will guide you through the simple steps of creating your own stunning lace and ribbon bridal garter. Using readily available materials and straightforward techniques, even beginner crafters will find this project accessible and enjoyable. Let's dive into the step-by-step process and transform your vision of the perfect bridal garter into a beautiful reality!
Preparation and Safety Guidelines
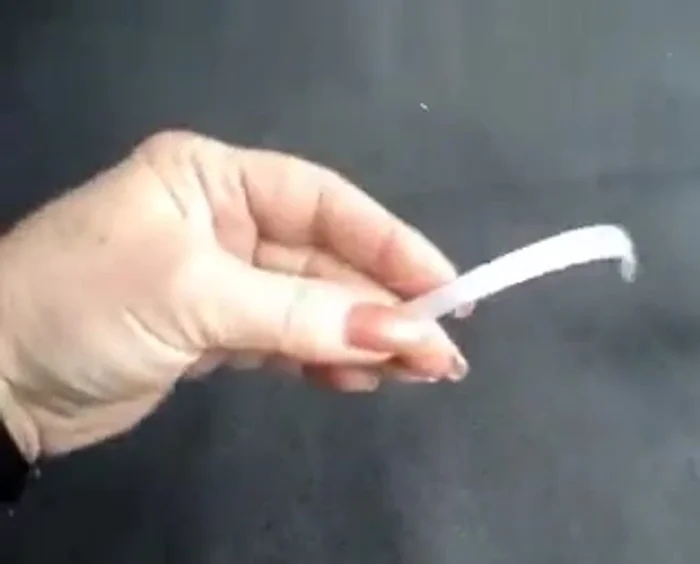
- Elastic (3/4 inch wide)
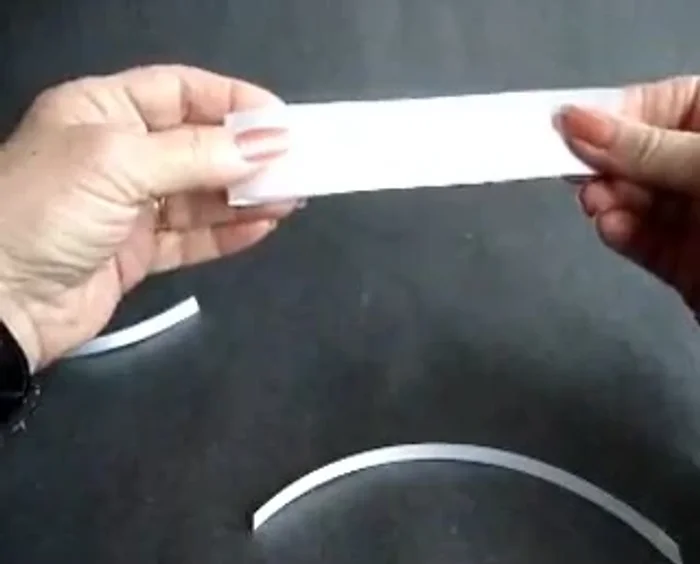
- Lacy fabric (approx. 4 inch wide)
- 1 inch ribbon
- 1/4 inch ribbon (6 inch length)
- Needle
- Thread
- Scissors
- Safety pin
- Small rosette
- Always use sharp scissors and handle them with care to avoid cuts. Keep them away from children.
- If using hot glue, work in a well-ventilated area and be mindful of burn risks. Allow glue to cool completely before handling.
- Ensure all materials are securely fastened to prevent loose components from becoming a choking hazard or getting caught on clothing.
Step-by-Step Instructions
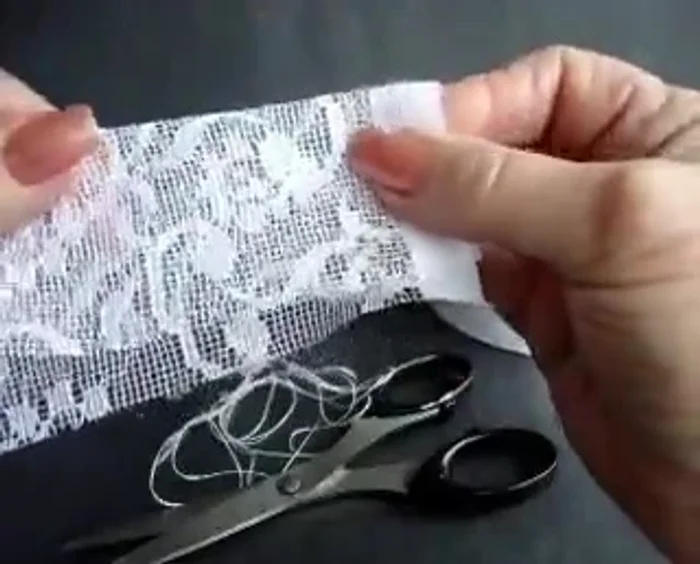
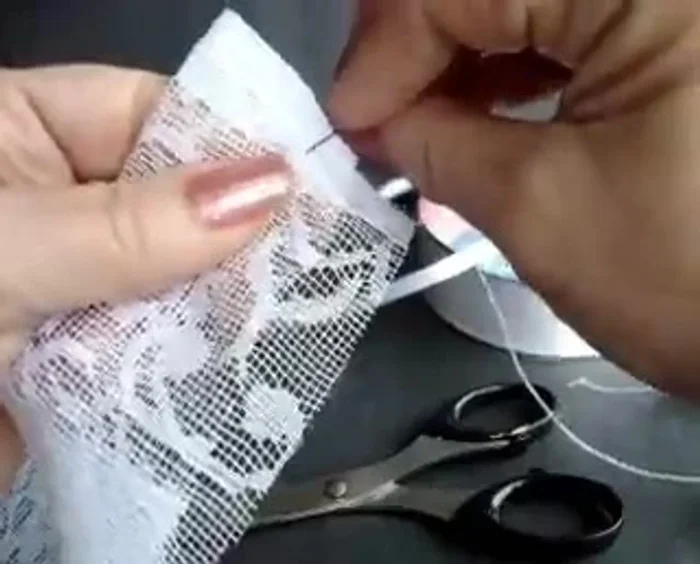
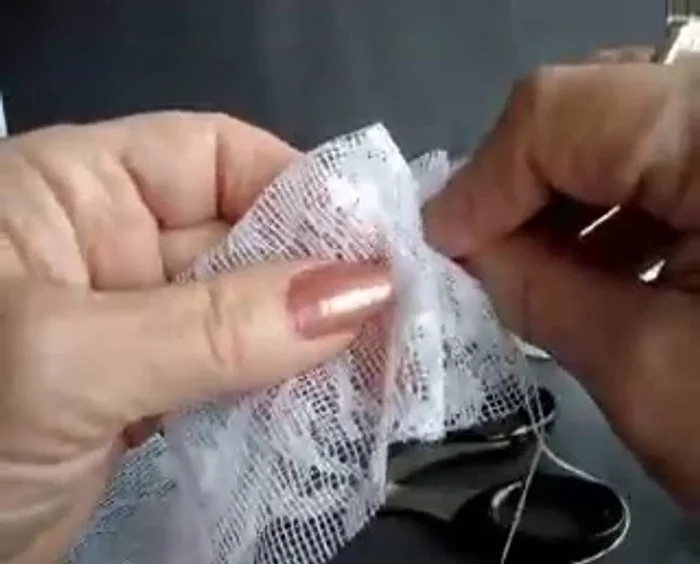
Prepare the Lace Fabric
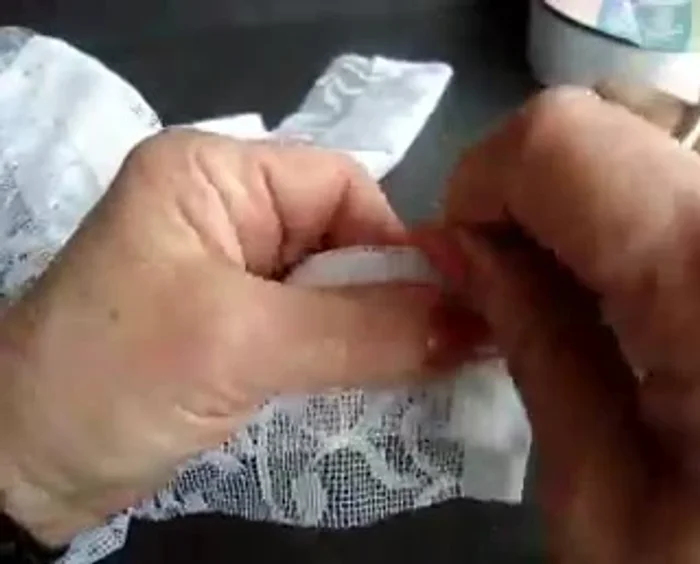
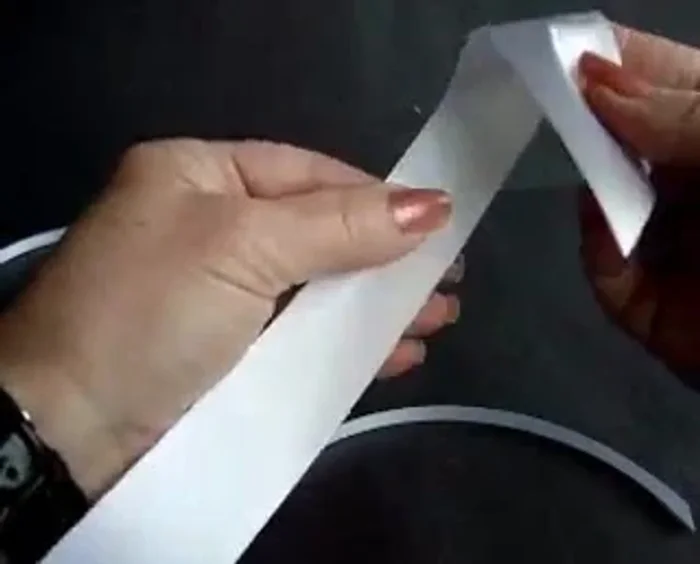
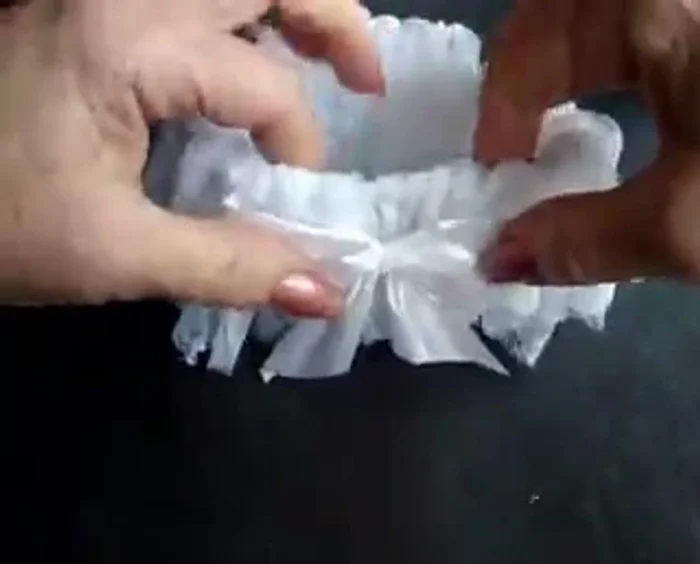
- Fold lace fabric in half, leaving about 1 inch extension at the bottom.
- Secure one end with several stitches to prevent unraveling.
- Create a channel by sewing a row of gathering stitches along the folded edge. Don't need to be precise.

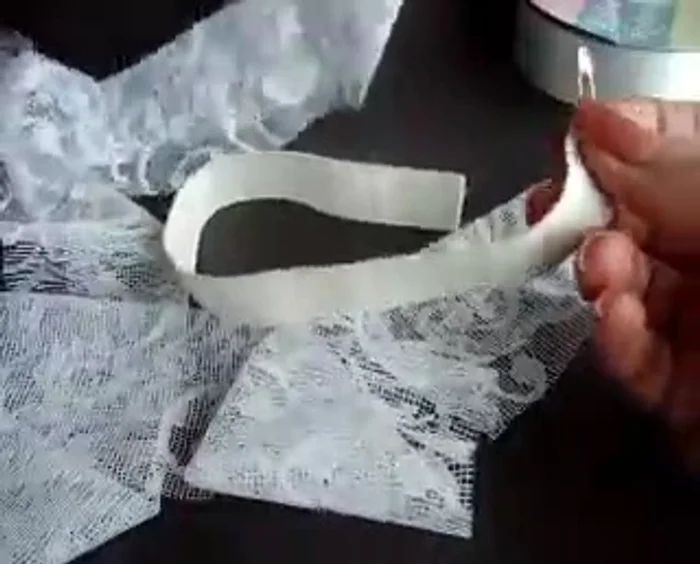
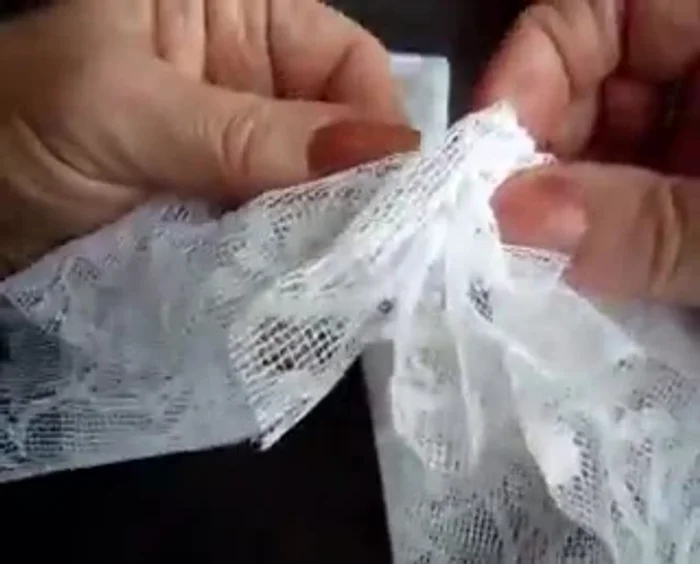
Prepare the Lace Fabric Insert Elastic
- Attach safety pin to one end of the elastic and thread it through the lace channel.
- Pin the elastic to prevent it from slipping back into the channel.
- Continue threading the elastic until you reach the other end.
- Before joining the ends, ensure the elastic isn't twisted. Pin the other end of the elastic.
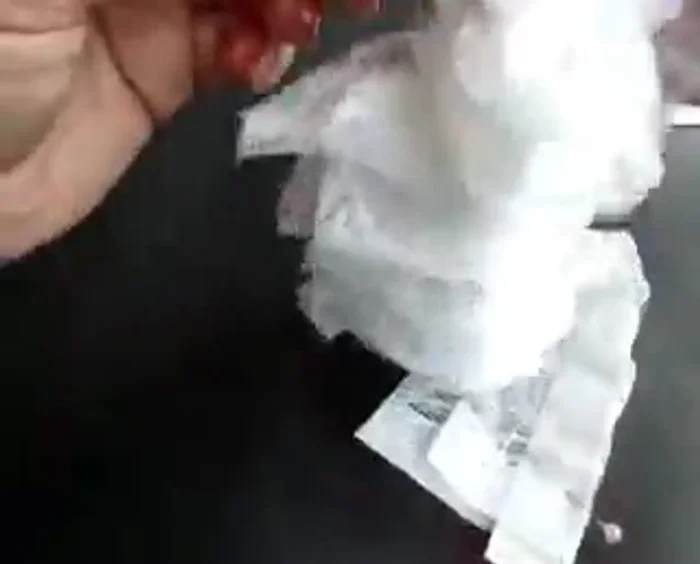
Insert Elastic Close the Garter
- Overlap the elastic ends and sew them together securely with several knots.
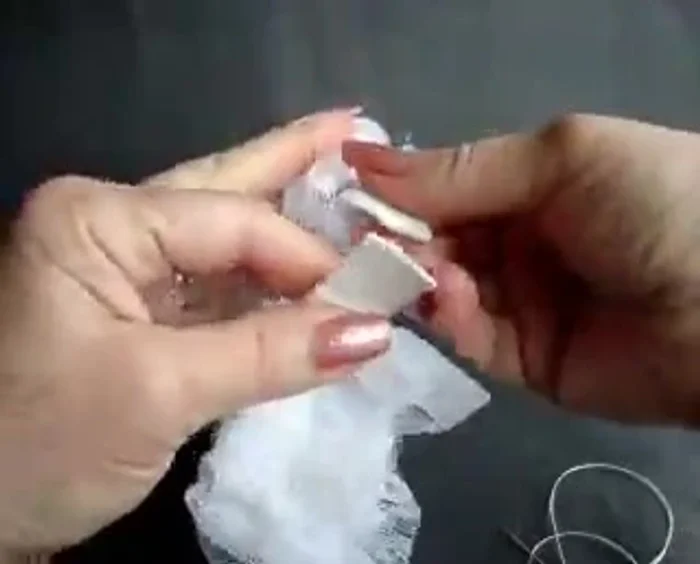
Close the Garter Make the Bow
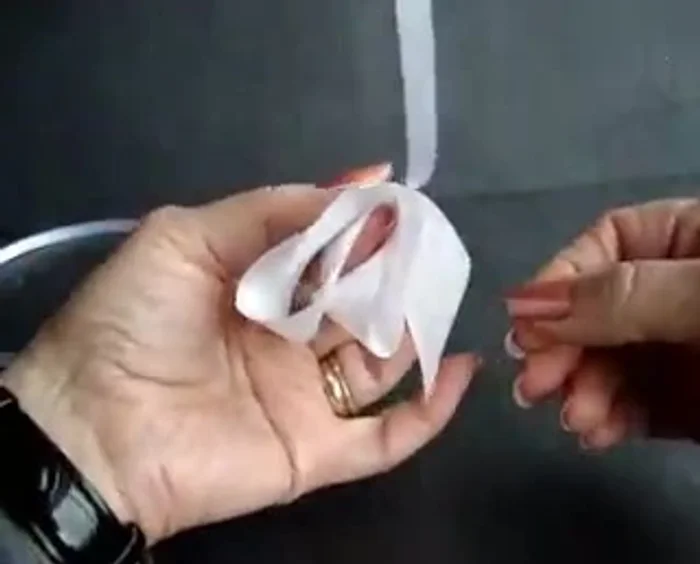
- Cut a 5-6 inch piece of 4-inch ribbon and an 11-inch piece of 1-inch ribbon for the bow.
- Fold the 1-inch ribbon in half, mark the center, and cut the ends at an angle.
- Form the bow by wrapping the ribbon ends around the center, creating an X shape.
- Use the 1/4 inch ribbon to tie the bow together tightly with a square knot.
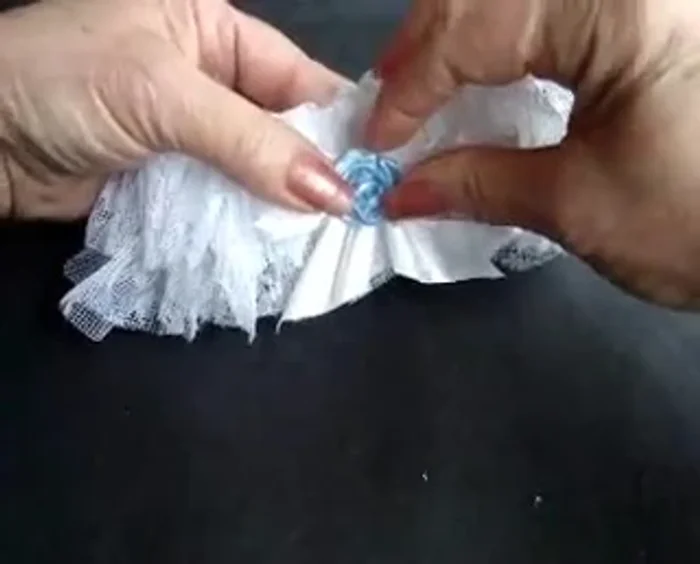
Make the Bow Attach Bow and Rosette
- Attach the bow to the garter using sewing or hot glue.
- Add a small rosette (optional, for "something blue").
Attach Bow and Rosette
Read more: Sew a Lined Expandable Storage Bag: Easy Tutorial
Tips
- Use a safety pin to easily thread the elastic through the lace channel.
- Pin the elastic at various points during threading to prevent it from slipping back.
- Check for twists in the elastic before joining the ends to ensure a smooth fit.