Add a touch of elegance and comfort to your home with a custom-made box cushion, complete with stylish piping! This versatile project is perfect for sprucing up your living room, bedroom, or even outdoor seating. Whether you're a seasoned sewist or a beginner looking to try something new, this DIY project offers a rewarding experience with impressive results. Creating a beautiful box cushion doesn't require advanced sewing skills or expensive materials; with a few simple steps and readily available supplies, you'll be amazed at what you can achieve.
This guide provides a clear and concise step-by-step tutorial, walking you through the process from selecting your fabrics and cutting the pieces to sewing the piping and finishing the seams. Get ready to transform plain fabrics into a luxurious and personalized addition to your home décor. Let's dive into the detailed instructions to create your own stunning DIY box cushion with piping!
Preparation and Safety Guidelines
- Decor fabric
- Denim fabric
- Upholstery foam
- Dacron padding
- Welting cord
- Ruler
- Thread
- Scissors
- Fabric marker
- Foam spray adhesive
- Velcro
- Serrated or electric knife
- Sewing machine with zipper foot
- Always use sharp scissors or a rotary cutter when cutting fabric to avoid injury. Blunt tools require more force and increase the risk of accidents.
- Handle your sewing machine needles with care. Never force the fabric under the needle and be sure to unplug the machine before changing needles or cleaning.
- If using a hot glue gun, work in a well-ventilated area and be mindful of the hot glue. Keep away from children and pets.
Step-by-Step Instructions
Prepare the Cushion Core
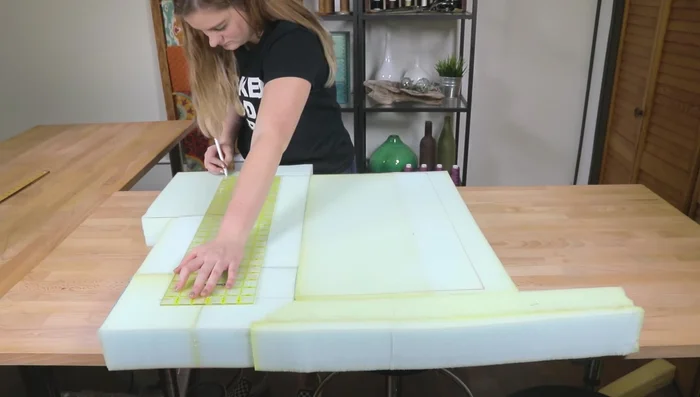
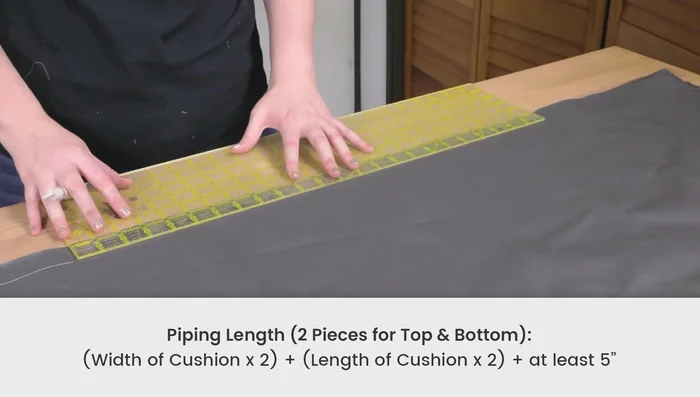
- Measure and cut the foam to your desired cushion dimensions. The example uses 23x21x3 inches.
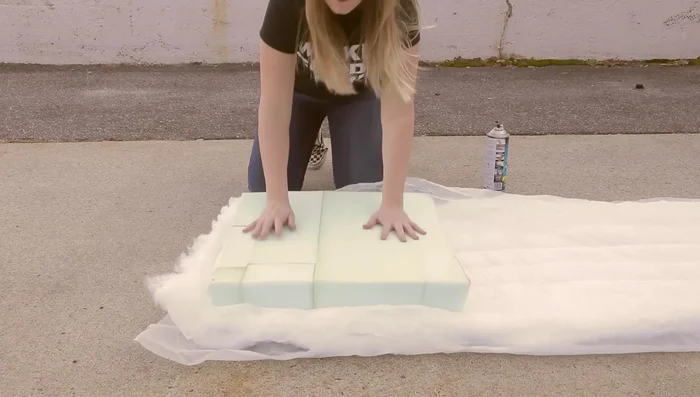
- Attach Dacron cushion wrap to the foam using spray adhesive. Ensure the padding is smooth and free of bunching.

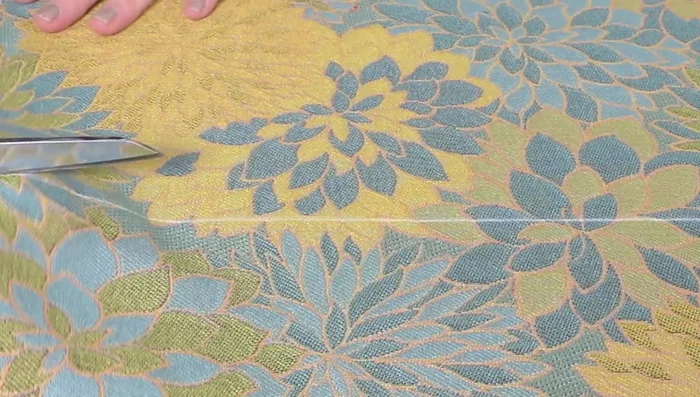
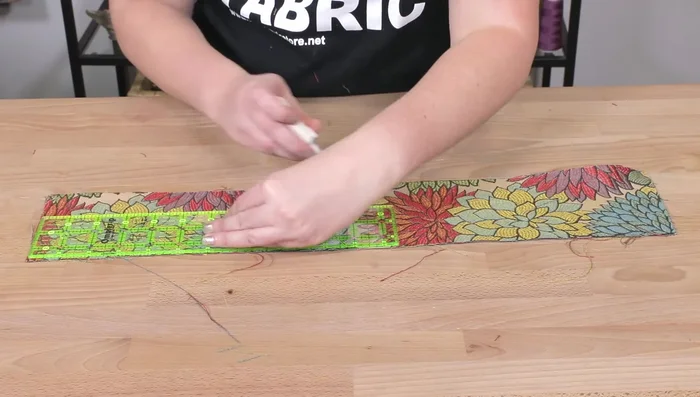
Prepare the Cushion Core Cut Fabric Pieces
- 23x22 inches). Ensure 90-degree corners using a ruler.
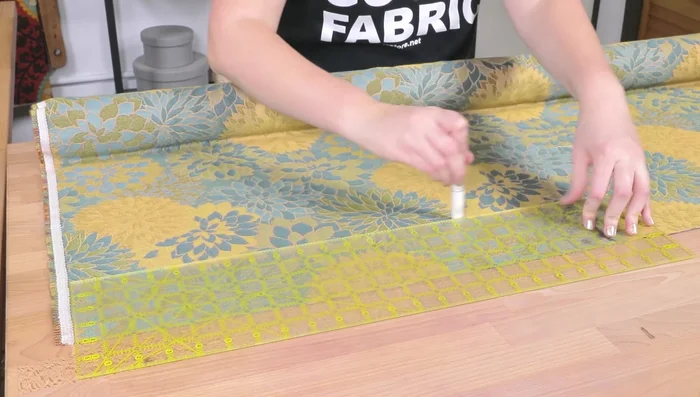
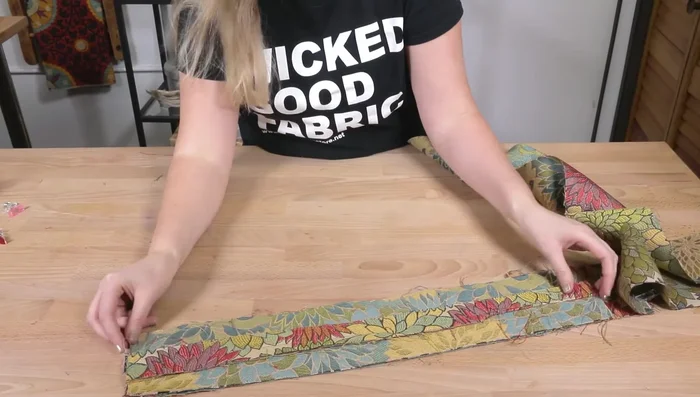
- Cut fabric pieces for the boxing. The example uses five pieces (two 24x4 inches and three 22x4 inches) to create a Velcro closure. Account for seam allowance in your measurements.
- 1.25 inches wide).
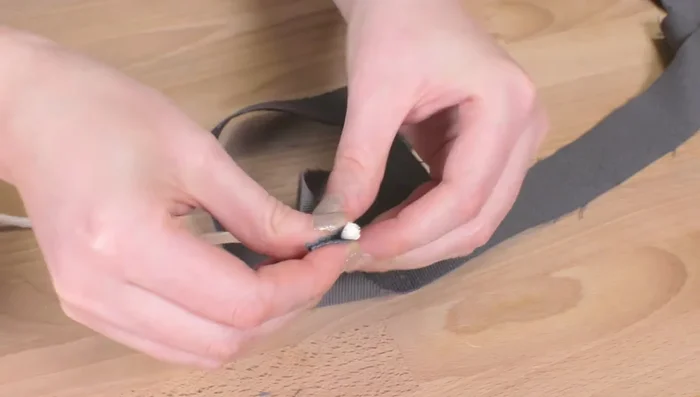
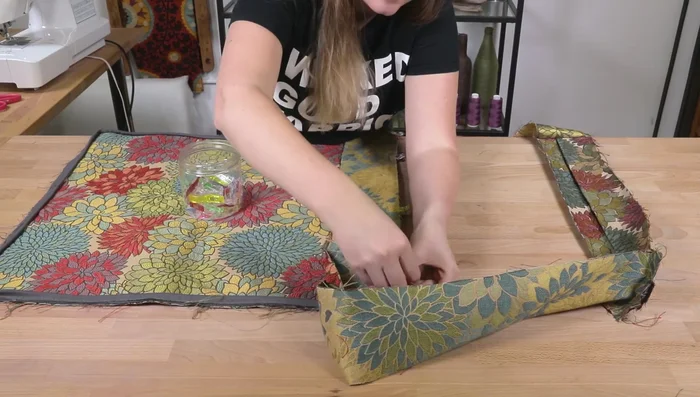
Cut Fabric Pieces Prepare the Piping
- Sew the piping. (A tutorial link is provided in the video)
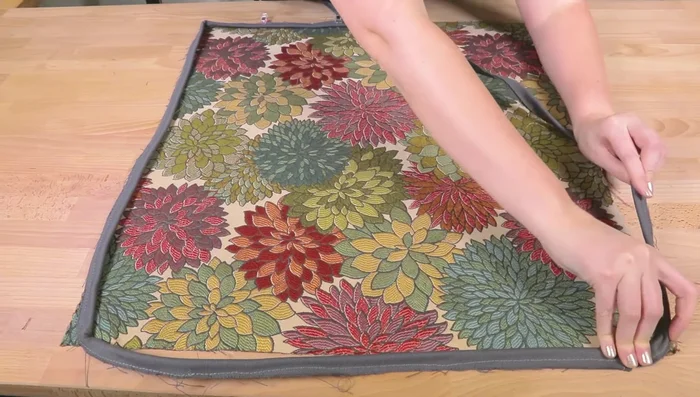
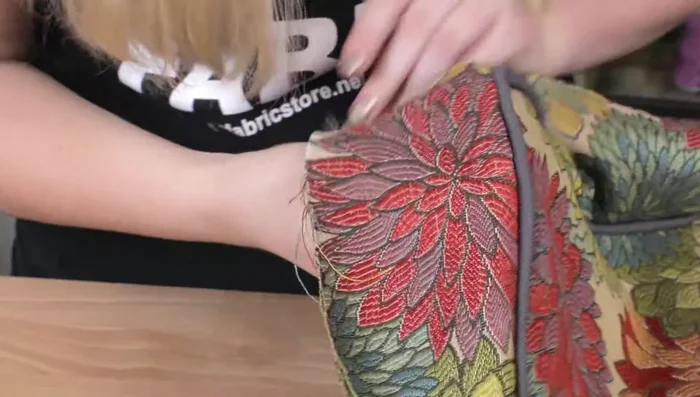
Prepare the Piping Attach Piping to Cushion Body
- Sew the piping to the body pieces of the cushion, leaving space to avoid showing the seam.
Attach Piping to Cushion Body Assemble the Back Panel
- Create the back panel with two boxing pieces, adding seam allowance and folding to create a clean finish. Attach Velcro to these pieces.
- Sew the boxing pieces together to form a loop, matching parallel sides for non-square cushions.
Assemble the Back Panel Attach Boxing to Cushion Body
- Pin and sew the boxing to the body of the cushion, sandwiching the piping between and ensuring perfect corner alignment.
- Hand-sew any areas where the machine couldn't get close enough to the piping.
- Repeat step 10 for the other side of the cushion.
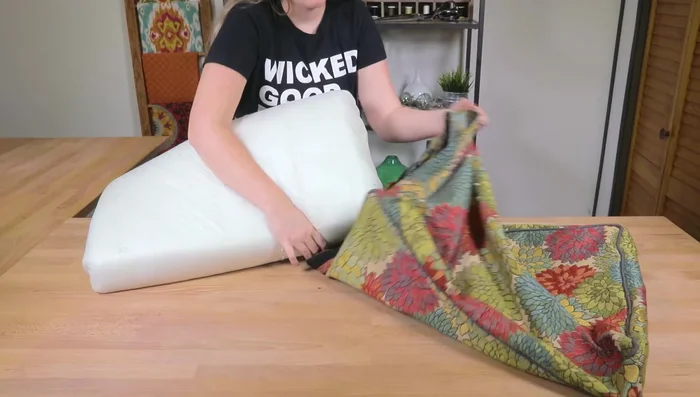
Attach Boxing to Cushion Body Finish and Stuff the Cushion
- Turn the cushion right-side out, stuff the foam inside, and ensure the padding is flat and corners are properly pushed out.
Finish and Stuff the Cushion

Read more: Sew a Lined Expandable Storage Bag: Easy Tutorial
Tips
- Pay close attention to the corners when cutting fabric, ensuring 90-degree angles.
- For patterned fabrics, pay attention to pattern alignment.
- When sewing the piping to the cushion body, avoid getting too close to the piping to prevent the seam from showing.
- Use a zipper foot for sewing close to the piping.