Welcoming a new baby into your life is a joyous occasion, filled with excitement and, let's be honest, a fair bit of preparation! Amongst the mountain of adorable outfits and tiny socks, there are a few essential items that often get overlooked – or, worse, end up costing a small fortune. This is where the magic of DIY comes in! Creating your own baby essentials not only saves money but allows you to personalize these everyday items with unique fabrics, patterns, and designs, reflecting your personal style and adding a special touch to your little one's world. Imagine soft, cuddly burp cloths and stylish, protective t-pee covers that are both functional and utterly charming.
This guide will show you how to craft super-cute burp cloths and practical, easy-to-assemble protective t-pees, transforming ordinary materials into treasured baby items. Ready to dive into a world of adorable DIY projects and create something truly special for your precious bundle of joy? Let's get started with our step-by-step instructions, perfect for crafters of all skill levels!
Preparation and Safety Guidelines
- Fabric (Minky, Nursery material, Towel fabric)
- Sewing machine
- Scissors
- Pins
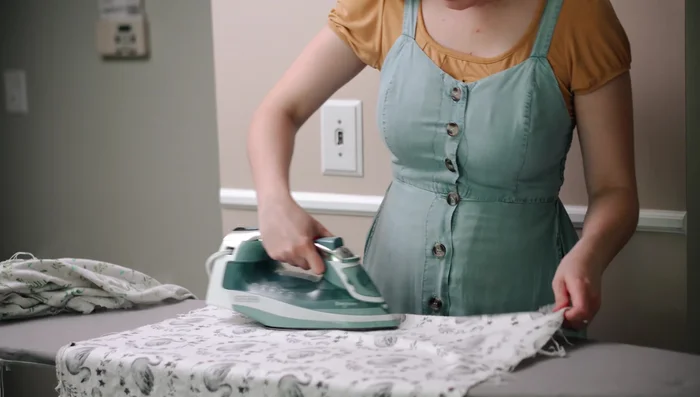
- Iron
- Paper for pattern
- Always use soft, breathable fabrics like cotton flannel or muslin for burp cloths and T-pees. Avoid anything that could irritate baby's delicate skin or pose a choking hazard (e.g., loose threads, small embellishments).
- Ensure all seams are securely stitched and there are no raw edges that could unravel and potentially harm your baby. Wash all fabrics thoroughly before using them for the first time.
- Never leave a baby unattended on or near a T-pee or other DIY baby item. The T-pee should only be used for supervised playtime on a soft, stable surface. Always check the structure is sound and secure before each use.
Step-by-Step Instructions
Prepare Materials
- Wash, dry, and iron your fabrics.

Prepare Materials Create T-pee
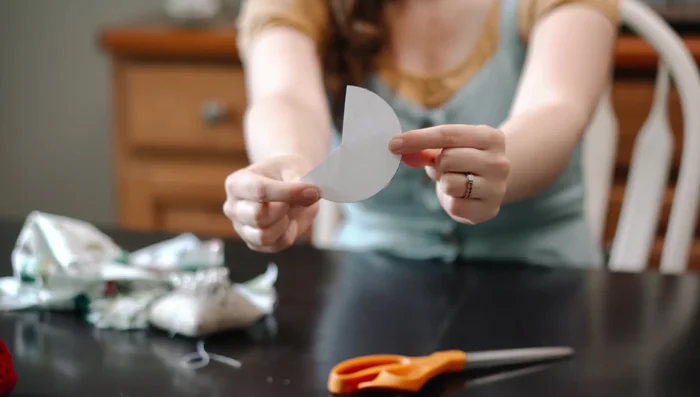
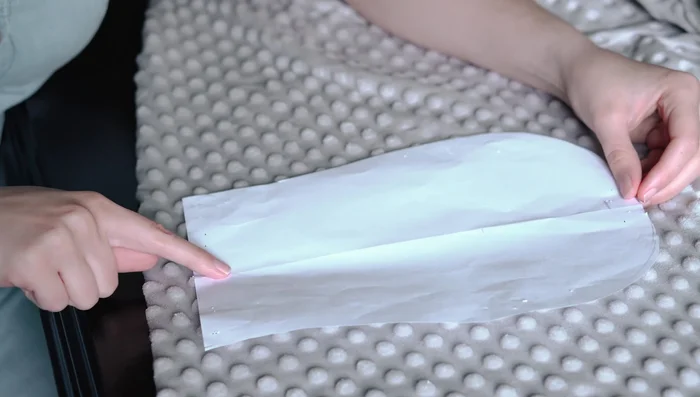
- Cut a 4-inch diameter circle from paper, then remove a 3/8 segment. Use scrap fabric for the top and towel fabric for the inside.
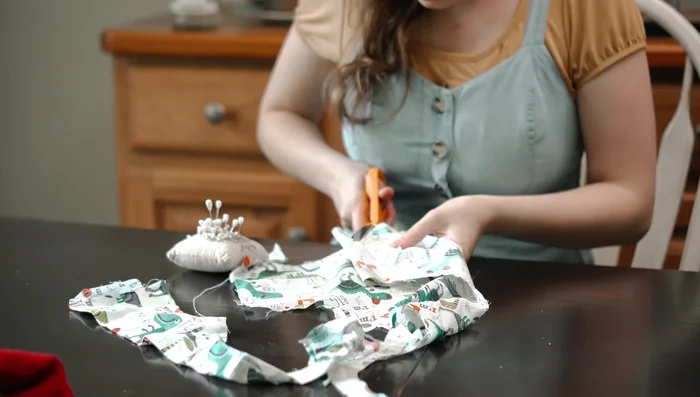
- Cut out the t-pee shapes from your chosen fabrics.
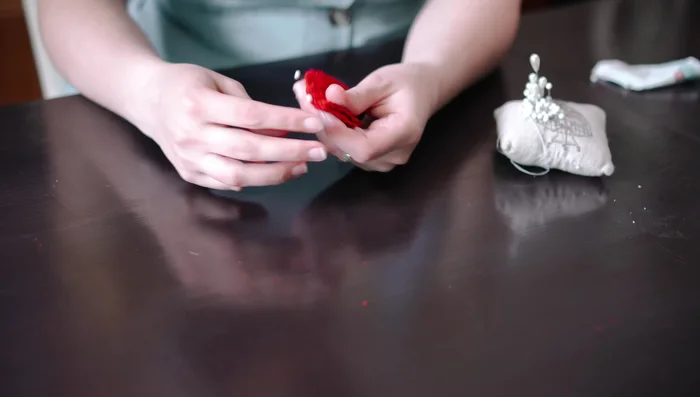
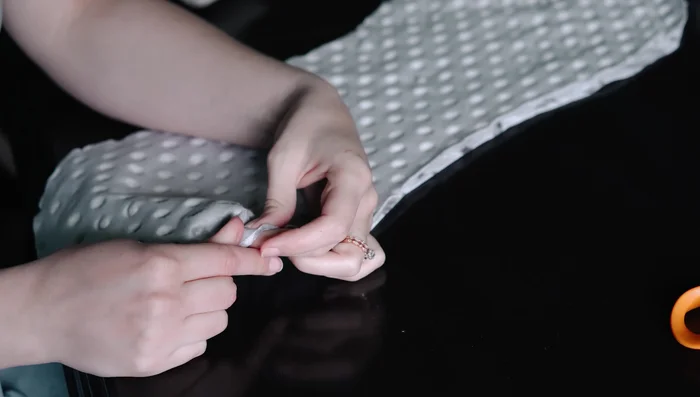
- Fold fabric right sides together, sew along the edge with a quarter-inch seam allowance. Turn the cone with towel fabric right side out, stack cones, pin, and sew circular edges (leaving an inch unsewn). Flip right side out and finish sewing with a whip stitch or invisible stitch.
Create T-pee Create Burp Cloth
- Create a pattern from printer paper (10 inches lengthwise, 6.5 inches at the narrowest, 8.5 inches at the widest).
- Cut out one shape from minky fabric and one from nursery fabric.
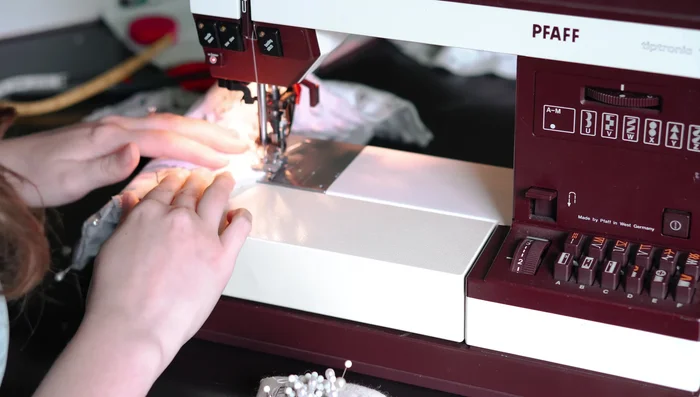
- Pin fabrics right sides together, sew with a half-inch seam allowance, leaving 5 inches unsewn. Trim fabric to a quarter-inch seam allowance. Flip right side out and pin, then sew around the edges.
- Top stitch all the way around with a quarter-inch seam allowance.
Create Burp Cloth

Read more: Sew a Lined Expandable Storage Bag: Easy Tutorial
Tips
- Pre-wash and iron your fabrics for best results.
- Don't iron minky fabric; it doesn't respond well to ironing. Just pin carefully before top stitching.