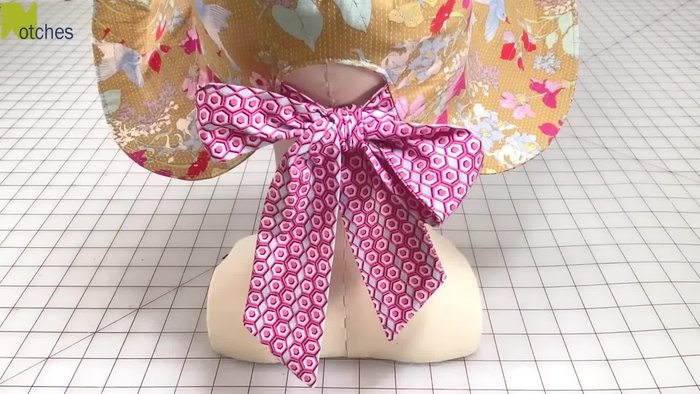
Summer's here, and what better way to stay stylish and sun-safe than with a charming, self-made sun hat? This tutorial will guide you through creating your very own adjustable bow sun hat – a perfect accessory for picnics, beach days, or simply strolling through a sun-drenched park. Forget expensive boutiques and frustrating ill-fitting hats; with a few simple materials and a little patience, you can craft a unique hat that perfectly complements your personal style and offers the ultimate sun protection. You'll be surprised at how easy it is to achieve a high-quality, bespoke look without breaking the bank.
This DIY project is perfect for crafters of all skill levels, from beginners to seasoned sewists. We’ll walk you through each step, from selecting the right fabric to adding the finishing touches, ensuring a beautiful and functional result. Ready to get started on your sun-hat crafting journey? Let's dive into the step-by-step instructions below!
Preparation and Safety Guidelines
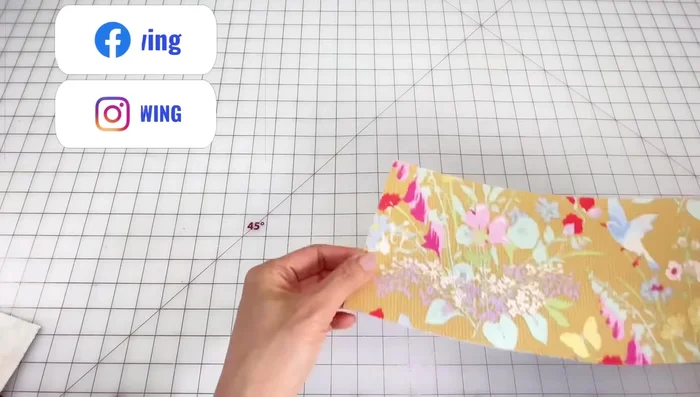
- 100% cotton fabric
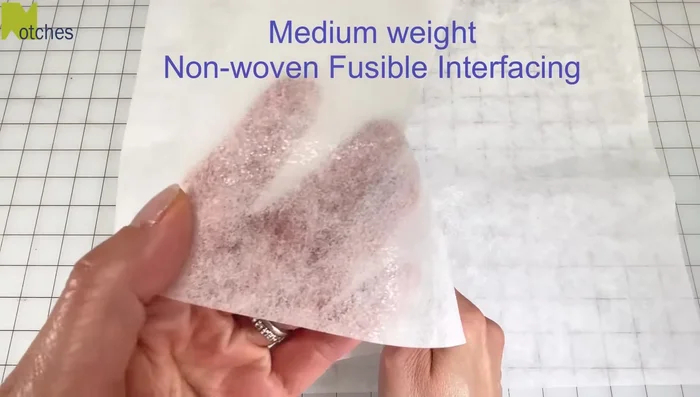
- fusible interfacing
- rotary blade (18mm)
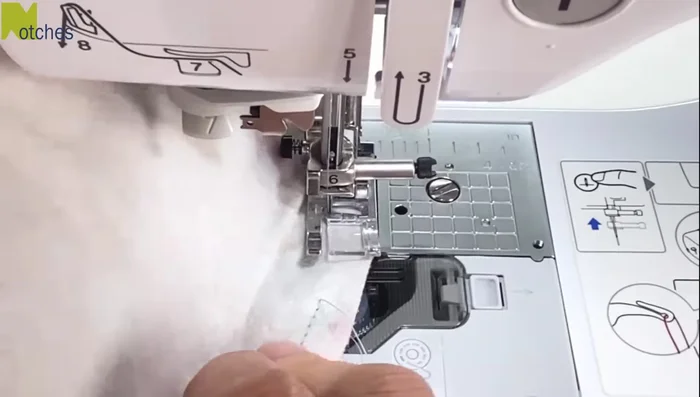
- sewing machine (Brother NV50s recommended)
- scissors (6-inch embroidery scissors recommended)
- knitting needle or chopstick
- rounded edge tool
- pins or clips
- iron
- Always supervise children when using sharp objects like scissors or needles.
- Be mindful of fabric choices, especially if worn near the face. Opt for breathable, lightweight materials to avoid overheating and potential skin irritation.
- Ensure the hat fits snugly but comfortably to prevent it from falling off and obstructing vision, particularly when engaging in outdoor activities.
Step-by-Step Instructions
Prepare Materials
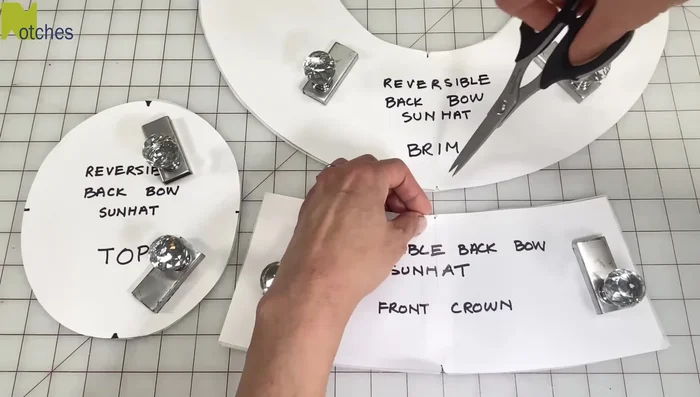
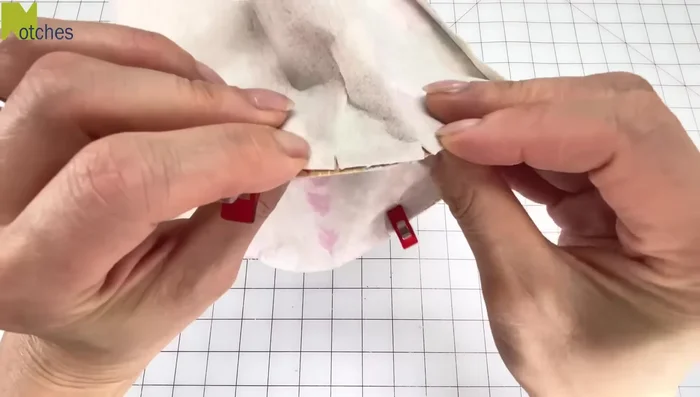
- Cut out all the pattern pieces, including the crown, brim, and straps, following the grain lines. Cut notches at specific points for easy identification and assembly.

Prepare Materials Interface Fabric Pieces
- Apply fusible interfacing to one crown piece and both brim pieces to give the hat structure. Iron to adhere.
Interface Fabric Pieces Construct Crown
- Pin and sew the front and back crown pieces together, right sides facing.
Construct Crown Construct Brim
- Sew the brim pieces together, right sides facing.
Construct Brim Create Straps
- Sew the straps, right sides together, leaving one end open. Turn right side out and press.
Create Straps Attach Brim to Crown
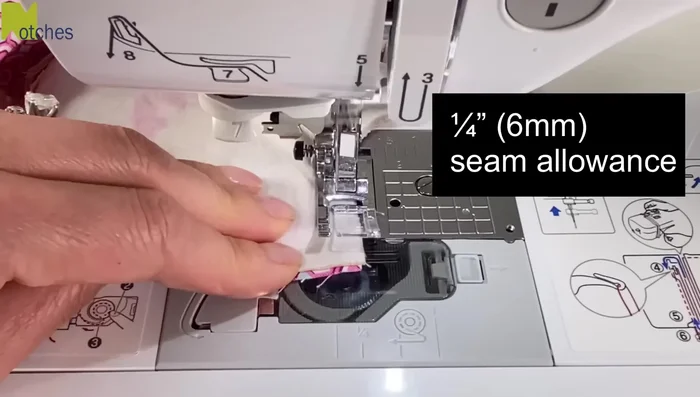
- Attach the brim to the crown, right sides together. Stitch around the edge.
- Attach the crown to the brim, right sides facing. Stitch, being careful to match notches.
Attach Brim to Crown Reinforce Brim
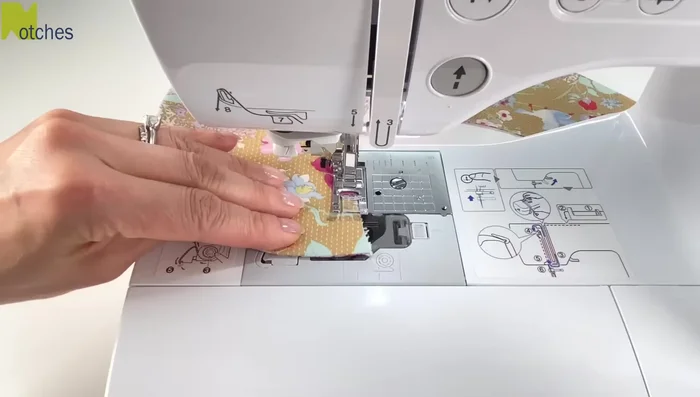
- Topstitch around the brim for added detail and reinforcement.
Reinforce Brim Attach Straps
- Attach the straps to the back of the hat.
Attach Straps Finish Hat
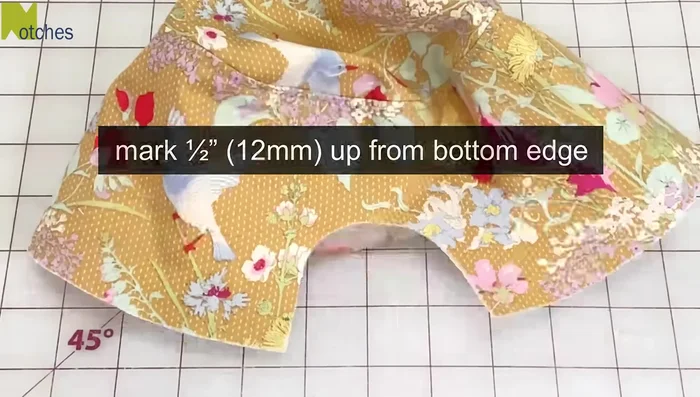
- Close the back opening, and topstitch for a clean finish.
Finish Hat

Read more: Sew a Lined Expandable Storage Bag: Easy Tutorial
Tips
- Use notches to identify the different pieces and ensure correct placement.
- Use interfacing for added structure and body.
- Use a knitting needle or chopstick to turn straps right side out.
- Use a longer stitch length when attaching the brim to the crown for ease of sewing around curves.
- Use 6-inch embroidery scissors for precise cutting of small notches.