Coasters are a fantastic way to add a touch of personality to your home, protect your furniture, and even make thoughtful, handmade gifts. But the thought of sewing can seem daunting, especially for beginners. Fear not! This tutorial will guide you through a quick and easy method for creating beautiful, durable coasters using just a few simple supplies and techniques. You'll be surprised at how quickly you can whip up a set, even if you've never held a needle and thread before. No complex patterns or specialized equipment are required – just a desire to craft something beautiful and functional.
Forget complicated stitching and intricate designs; this tutorial focuses on a straightforward approach perfect for absolute beginners. We'll be focusing on a method that minimizes seams and maximizes speed, allowing you to create a set of coasters in a single afternoon. Ready to transform your fabric scraps into charming coasters? Let's dive into the step-by-step process!
Preparation and Safety Guidelines
- Fabric (two 5x5 inch pieces)
- Batting (one 5x5 inch piece)
- Sewing Machine
- Pins
- Scissors
- Iron
- Measuring Gauge (optional)
- Chopstick or similar tool (optional)
- Always use sharp fabric scissors to prevent fraying and ensure clean cuts. Dull scissors can cause fabric to stretch and tear.
- Pay close attention to your seam allowance. Consistent seam allowance is key to a well-fitting coaster. Use a seam gauge or tailor's marking tool for accuracy.
- Before using your finished coaster with hot beverages, test it on a small area with hot water first to ensure the fabric and interfacing can withstand the heat. Do not use with boiling liquids.
Step-by-Step Instructions
Prepare Fabric Layers
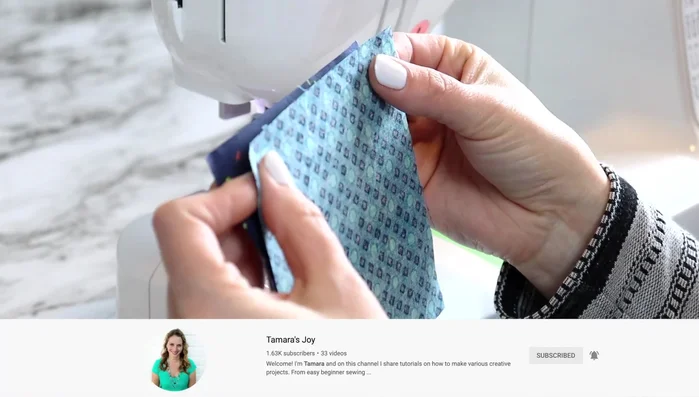
- Place two fabric pieces right sides facing in, with batting on the back of one piece. Pin around the edges, leaving one section unpinned for turning.

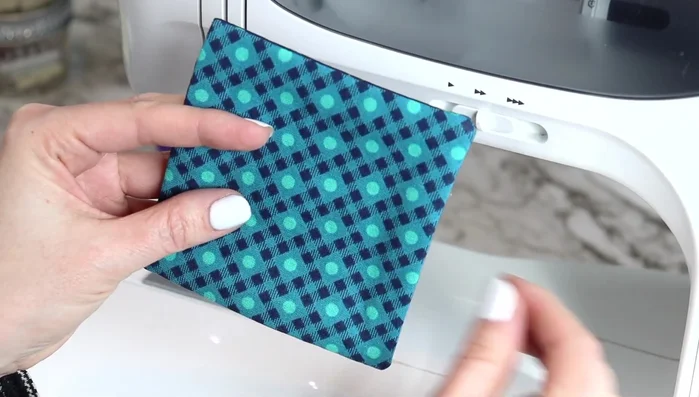
Prepare Fabric Layers Sew the Coaster
- Starting at one unpinned edge, sew around the perimeter, maintaining a 5/8 inch seam allowance. Use the hand wheel to pivot at the corners. Leave the unpinned section open for turning.
Sew the Coaster Trim and Turn
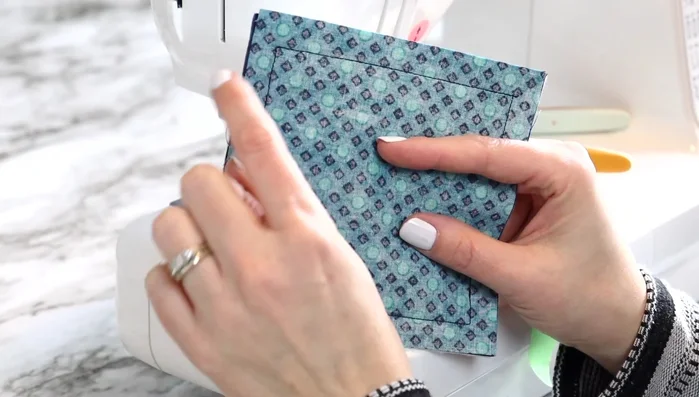
- Carefully trim the excess fabric from the corners to reduce bulk and create sharper points.
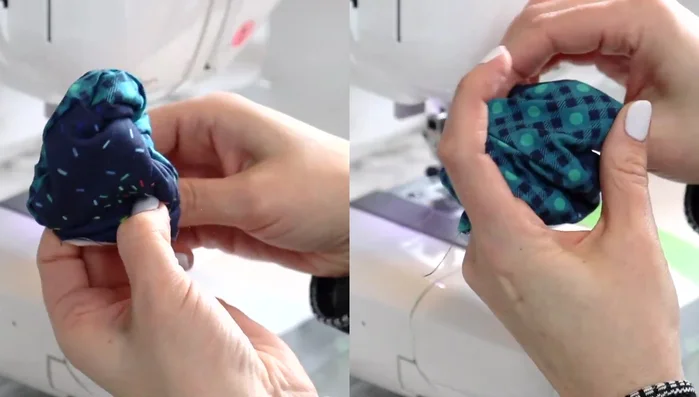
- Turn the coaster right-side out through the open section. Use fingers or a chopstick to poke out the corners.
Trim and Turn Finish and Close
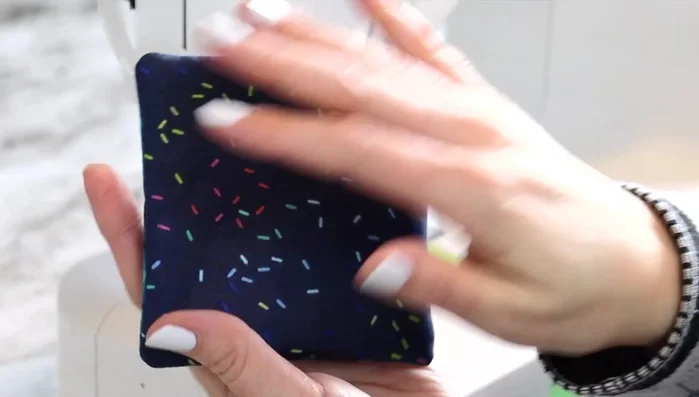
- Press the coaster flat with an iron, folding the flaps inside. Pin the opening closed.
- Using a longer stitch length, top stitch around the entire coaster, closing the opening. Start in the middle and follow along the edge of the sewing foot for consistent stitching.
Finish and Close

Read more: Sew a Lined Expandable Storage Bag: Easy Tutorial
Tips
- Use pins to mark the unsewn section to avoid accidentally sewing it shut.
- Use a measuring gauge to ensure consistent seam allowance.
- If you sew past the seam allowance, use back stitches to correct it.
- Use the hand wheel for precise control when pivoting at corners and to avoid oversewing.
- Use a chopstick or similar tool to help turn out and shape the corners, but be gentle to avoid damaging the seam.