Christmas is just around the corner, and the festive spirit is in the air! Are you looking for a fun, affordable, and personalized way to add a touch of magic to your holiday celebrations? Forget expensive, mass-produced stockings – this year, let's craft some charming, quick, and easy Christmas stockings completely from scratch! With minimal sewing experience required and readily available materials, you can create beautiful, personalized stockings to hang on your mantelpiece or gift to loved ones. Imagine the joy on their faces as they discover their own unique, handmade stocking filled with treats on Christmas morning.
This tutorial offers a simplified approach to sewing festive stockings, perfect for beginners and those short on time. We’ll guide you through each step, using clear instructions and helpful images to ensure a successful and enjoyable crafting experience. Let's dive right into the step-by-step process and get those needles and thread ready!
Preparation and Safety Guidelines
- fabric (lining and outer), Christmas stocking pattern, sewing machine, loop presser (optional), button & rickrack (optional), hand sewing needle and thread (optional), hemming tape (optional)
- Always use sharp sewing scissors and needles to prevent injury. Keep them away from children.
- Handle your sewing machine with care, following manufacturer's instructions. Never reach into the machine while it is running.
- If using fabric with small parts (buttons, beads), ensure they are securely attached and pose no choking hazard, especially for children.
Step-by-Step Instructions
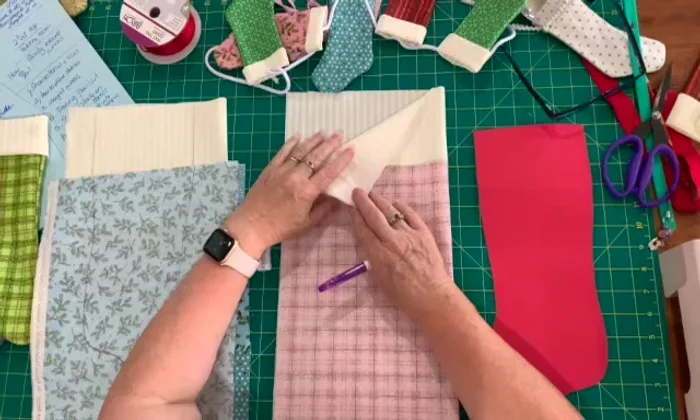
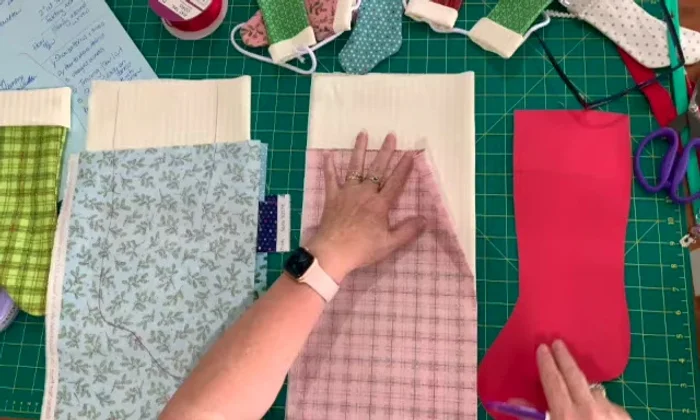
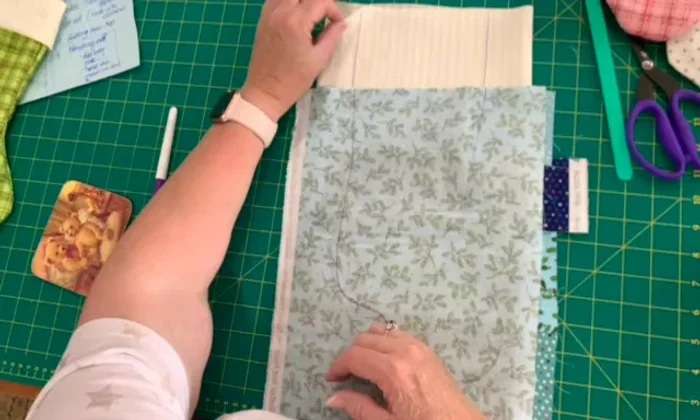
Prepare Fabric Layers
- Place lining fabric (right sides together) and outer fabric (right sides together) – you can use one or two pieces for each.
- Place outer fabric on top of lining fabric, aligning edges.

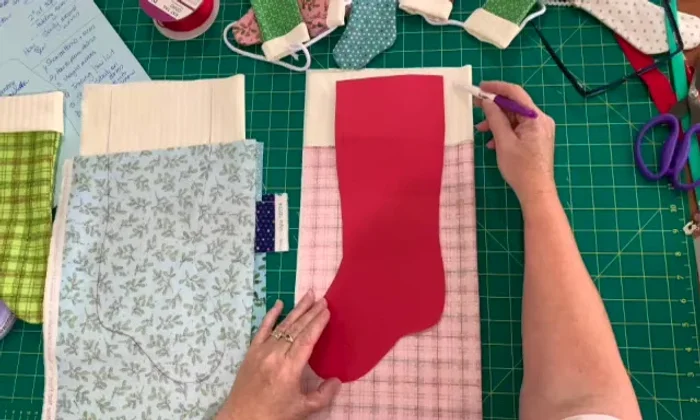
Prepare Fabric Layers Trace and Sew Pattern
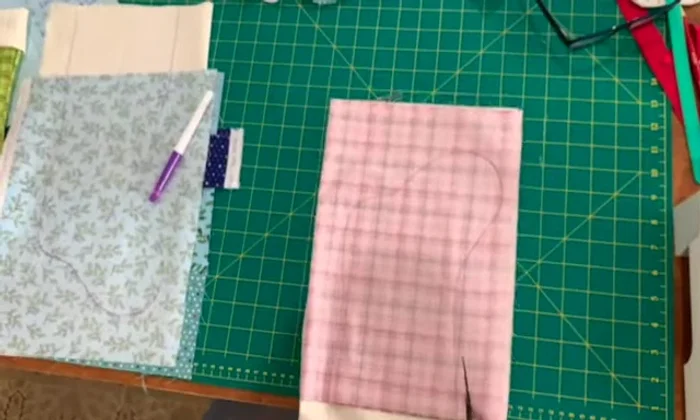
- Place your Christmas stocking pattern on top, ensuring 2-3 inches of extra lining fabric above the main fabric.
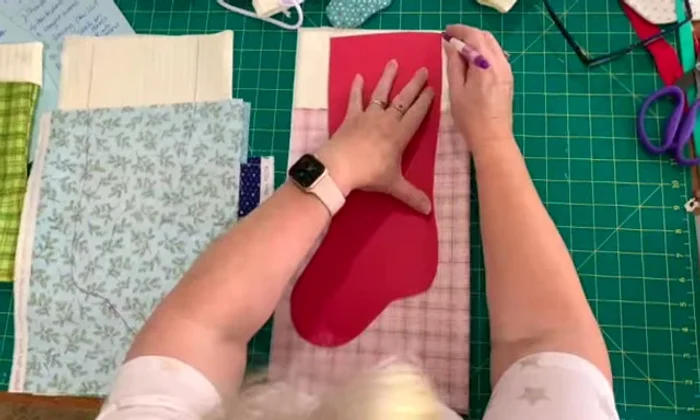
- Trace the pattern onto the fabric.
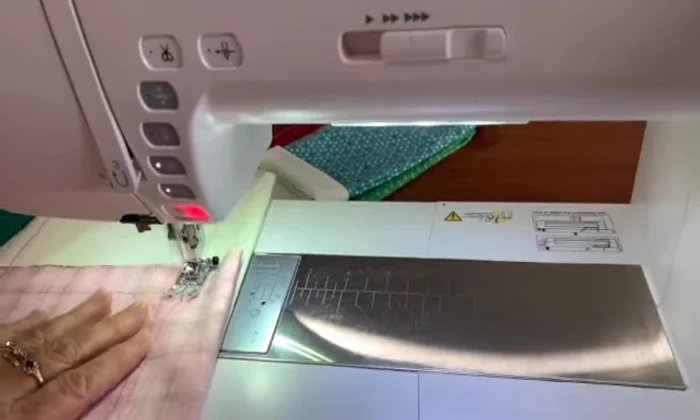
- Sew along the traced lines using your sewing machine.
Trace and Sew Pattern Cut and Finish Seams
- Cut out the sewn fabric, leaving a 1/4 - 1/2 inch seam allowance.
- Clip into curves to ease turning and shaping.
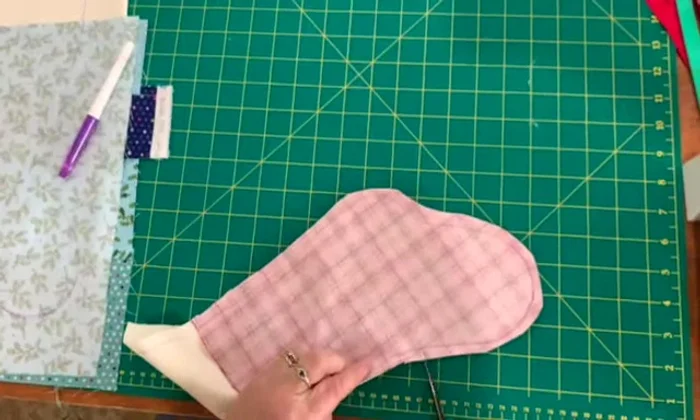
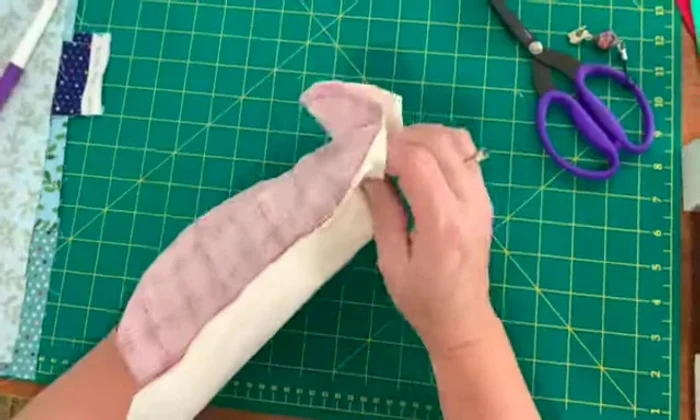
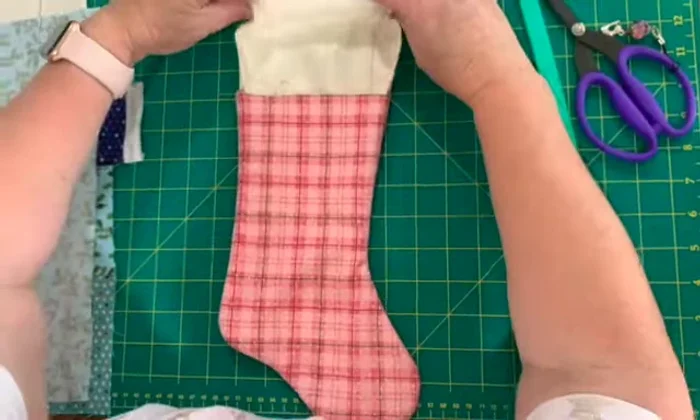
Cut and Finish Seams Turn and Press
- Turn the stocking right side out.
- Use a loop presser (optional) to press the edges of your stocking.
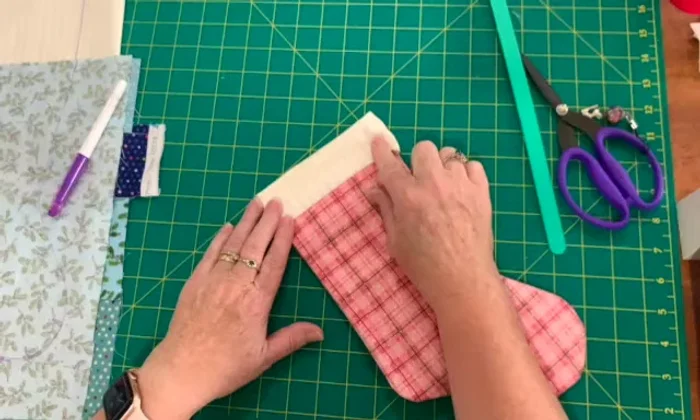
Turn and Press Finish Top Edge
- Fold down the top of the stocking and fold it over again to cover the raw edges.
- Hem the top using hand stitching, machine stitching, or hemming tape.
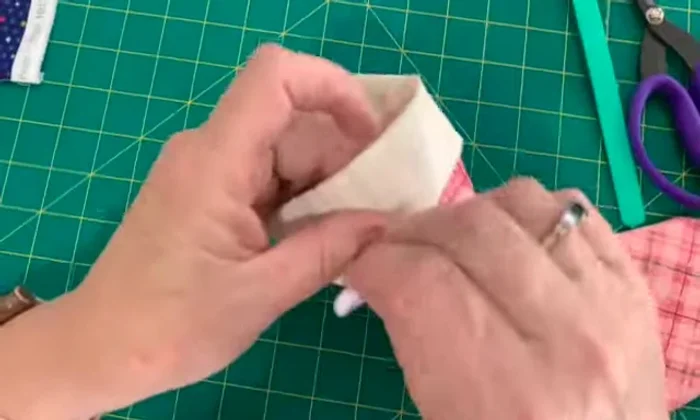
Finish Top Edge Add Hanging Tab (Optional)
- Add a hanging tab (optional) by stitching a small piece of fabric to the top.
Add Hanging Tab (Optional) Decorate (Optional)
- Use patchwork, rickrack, or other embellishments. Add these to the front and keep the back plain.
Decorate (Optional)
Read more: Sew a Lined Expandable Storage Bag: Easy Tutorial
Tips
- Clip curves generously to make turning easier.
- Use a variety of fabrics and embellishments to personalize your stockings.
- Consider making different sizes for various uses (e.g., gift bags, cutlery holders).