Are you tired of fiddling with clasps on your delicate chain necklaces? Do you dream of effortlessly slipping your necklaces on and off, freeing yourself from the frustration of tiny, easily-lost closures? Then you'll love these two incredibly simple methods for finishing a chain necklace without needing a clasp at all! These techniques are perfect for both beginners and experienced jewelry makers, requiring minimal tools and providing a stylish, modern alternative to traditional fastening. They'll not only save you time and potential heartache but also add a touch of unique elegance to your handcrafted jewelry.
Forget the frustration of tangled clasps and enjoy the seamless elegance of clasp-free necklaces. These two easy methods, perfect for adding a touch of minimalist chic to your jewelry collection, will be explored in detail below. In the following steps, we'll guide you through the processes, demonstrating how to achieve perfectly finished necklaces without the hassle of traditional clasps.
Safety Guidelines
- Ensure the finished necklace is securely fastened to prevent accidental loss or choking, especially for children.
- Avoid using techniques or materials that could cause skin irritation or allergic reactions. Always test a small area first if unsure.
- If using wire or strong cord, always work with blunt ended tools to prevent injury.
Methods: Jump Ring Method: Simple and Elegant Necklace Finish
Tools Needed
- Chain
- Jump ring (4mm, 20 gauge)
- Pliers
Step-by-Step Instructions
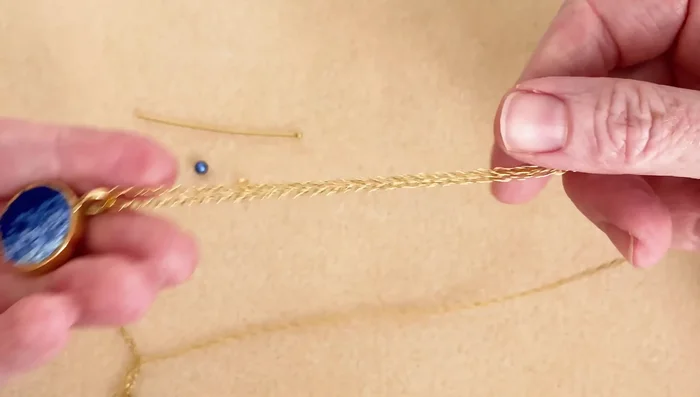
Prepare the Pendant
- Slide one end of the chain through a bezel setting or other desired pendant.

Prepare the Pendant Prepare the Jump Ring
- Take a sturdy jump ring (20 gauge recommended).
Prepare the Jump Ring Attach Chain Ends to Jump Ring
- Attach one end of the chain to the jump ring.
- Attach the other end of the chain to the same jump ring.
Secure the Jump Ring
- Close the jump ring securely using pliers.
Secure the Jump Ring


Tips
- Use a sturdy jump ring (20 gauge or higher) to prevent it from breaking under wear and tear.
Methods: Wrapped Wire Loop Method: Add a Decorative Accent
Tools Needed
- Chain
- Head pin (ball head or regular)
- Pearl
- Bicone
- Wire wrapping pliers
Step-by-Step Instructions
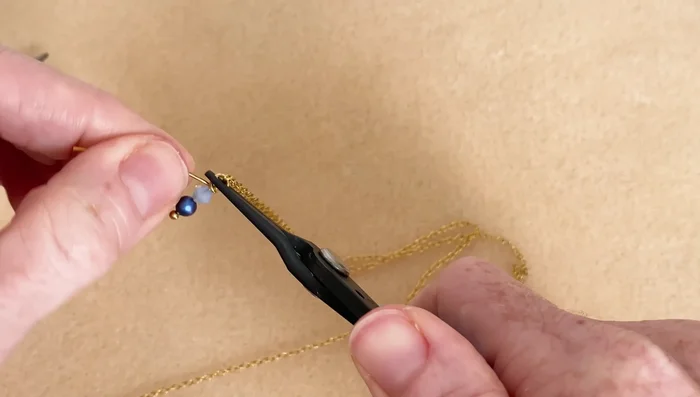
Prepare the Head Pin
- Slide a pearl and a bicone onto a head pin.
- Use wire looping pliers to create a wrapped wire loop at the end of the head pin.
Prepare the Head Pin Attach the Chains
- Open the loop slightly.
- Slide one end of each chain onto the loop.
- Close the loop securely with pliers.
Attach the Chains Secure and Finish
- Do several wrappings around the loop to secure it.
- Trim the excess wire and tuck the end in to prevent scratching.
Secure and Finish


Tips
- Choose beads that complement your pendant.
- Tuck in the excess wire to prevent discomfort.
Read more: DIY Erica Statement Earrings & Necklace Tutorial: Even Count Peyote Stitch