Leather, with its inherent rugged charm and timeless appeal, offers a unique canvas for crafting personalized accessories. From delicate strands to bold, statement pieces, leather wrap bracelets are a fantastic way to express your individual style, and creating them yourself is surprisingly rewarding. The tactile nature of working with leather, combined with the satisfying process of construction, makes DIY leather wrap bracelets a truly enjoyable craft, perfect for beginners and seasoned artisans alike. Forget mass-produced jewelry; embrace the artistry of handmade elegance.
This guide will walk you through a detailed, step-by-step process that guarantees stunning results, even if you've never worked with leather before. We'll cover everything from choosing the right materials to mastering essential techniques, ensuring you create a bracelet that’s both beautiful and durable. Prepare to discover the simple yet effective method for crafting impressive leather wrap bracelets that will become cherished pieces of your personal style.
Safety Guidelines
- Always use sharp scissors or a rotary cutter when cutting leather; dull tools can lead to slips and injuries.
- Be mindful of your fingers when working with needles and awls. Take your time and use a thimble if needed to prevent pricks and punctures.
- If using any leather dyes or finishes, ensure adequate ventilation and wear appropriate safety gear like gloves and a mask to avoid inhalation or skin irritation.
Methods: Double Needle Beaded Leather Wrap Bracelet
Tools Needed
- 2mm round leather cord
- big eye needles
- beading cord (3mm diameter)
- beads (4mm and 6mm)
- loom or clipboard
- rubber bands
- scissors
- glue (e.g., GS Hypo Cement)
- ruler
Step-by-Step Instructions
Prepare Leather Cord
- Measure and cut leather cord (24 inches for a 7-8 inch bracelet). Fold in half and tie a loose knot near the end.

Prepare Leather Cord Prepare Beading Cord and Create Initial Loop
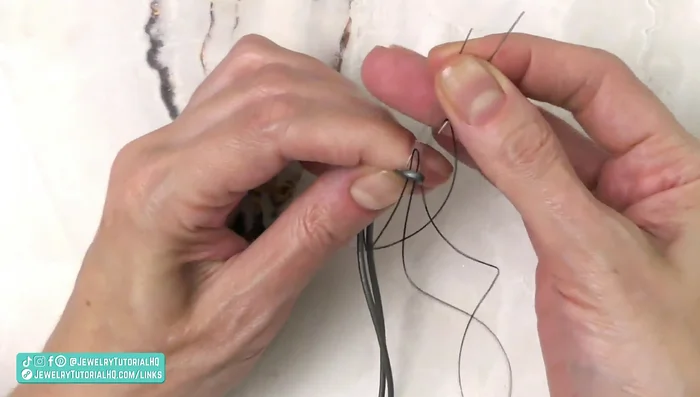
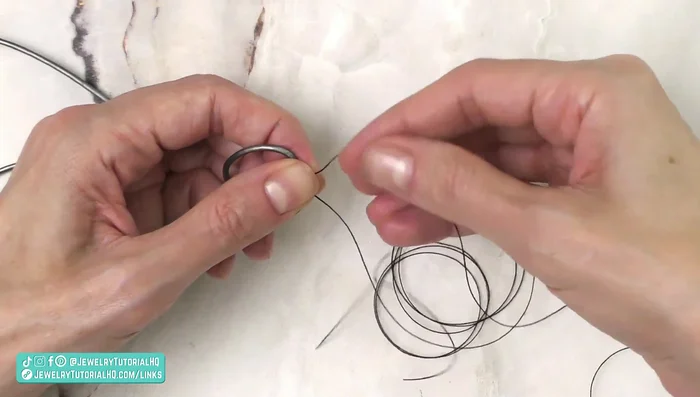
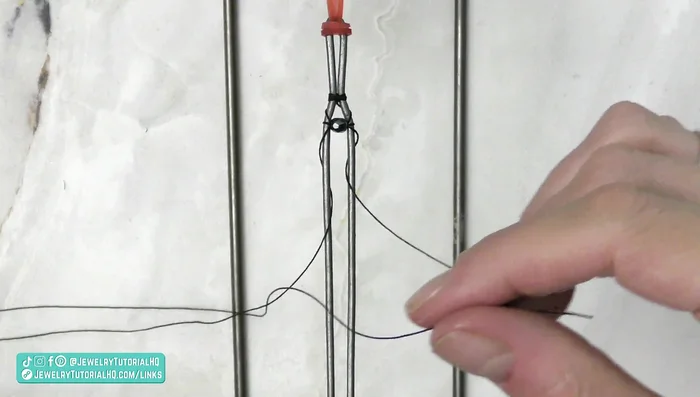
- Thread two needles with beading cord, leaving 3-4 inch tails. Create a loop with the folded leather (slightly larger than half an inch).
Prepare Beading Cord and Create Initial Loop Secure Leather with Beading Cord
- Pass one needle through the loop, pulling both needles together to loop the thread around the leather cords.
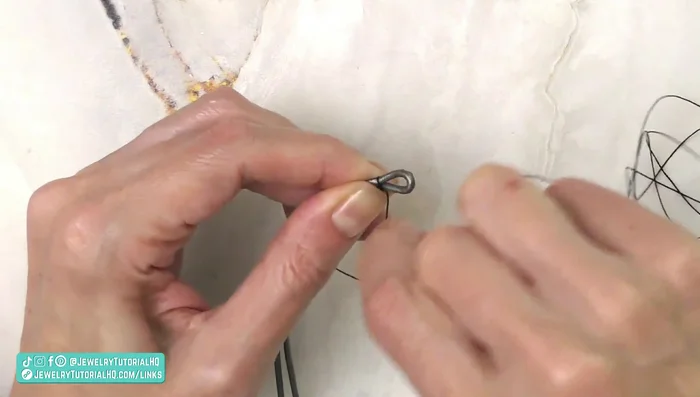
- Wrap one side of the thread around both leather cords three times, close to your fingers. Check that the knot still fits through the loop.
- Thread one needle through the leather loop and then through both leather cords to wrap it around that thread bridge. Repeat once more.
- Tie a knot in the thread (and a second knot for security). Untie the initial test knot in the leather ends.
Secure Leather with Beading Cord Set Up Work Station
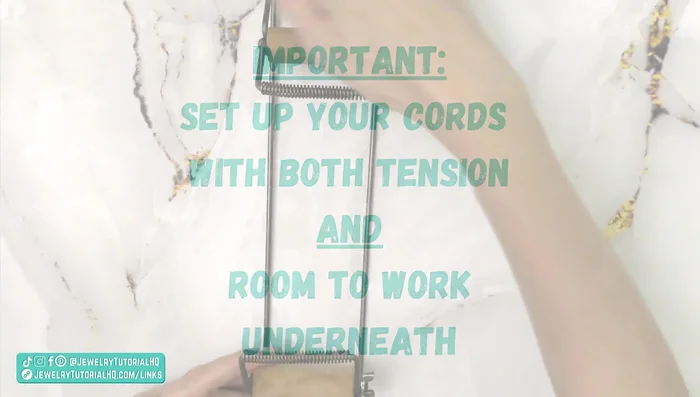
- Secure leather cords on a loom or clipboard to maintain tension. Use rubber bands to attach to the loom.
Set Up Work Station Add Initial Beads
- Start with a 4mm bead on the right needle. Pass the needle through the bead, between the leather cords, and back out. Repeat with the left needle.
Add Initial Beads Add Main Beads
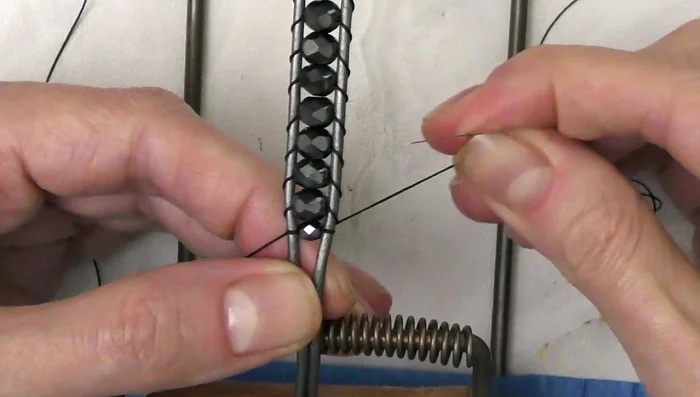
- Add 6mm beads, passing each needle through the bead, between the leather cords, and back out on the opposite side. Keep thread tight.
- Continue beading until the beaded section is approximately 1 inch shorter than the desired bracelet length. Add a final 4mm bead and reinforce it.
Add Main Beads Finish and Secure Beading
- Tie off the thread using a preferred method (described in the video). Trim excess thread and secure with glue.
Finish and Secure Beading Create Adjustable Closure
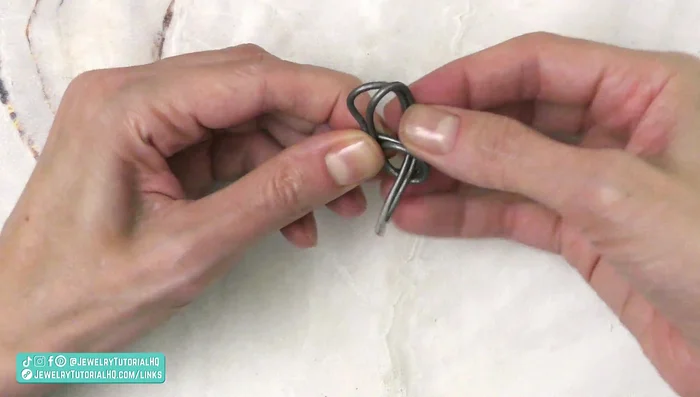
- Remove bracelet from loom. Tie two knots to create an adjustable closure, leaving space between knots and beads.
Create Adjustable Closure


Tips
- Use two needles for a neater result.
- Maintain consistent tension on the leather cords using a loom or clipboard.
- Start with smaller beads to create a tapered look.
Read more: DIY Erica Statement Earrings & Necklace Tutorial: Even Count Peyote Stitch