Step into the world of exquisite handmade jewelry with this comprehensive tutorial on creating stunning Erica statement earrings and a matching necklace using the even count peyote stitch! Erica beads, with their vibrant colors and unique shapes, offer endless possibilities for creative expression, and this technique allows you to showcase their beauty in a truly elegant way. Whether you're a seasoned beadwork enthusiast or a curious beginner, this project is designed to be both rewarding and accessible. The even count peyote stitch, while seeming initially complex, is surprisingly straightforward once you grasp the fundamental movements.
This tutorial will guide you through each step, from gathering your materials to finishing touches, ensuring you create a breathtaking set of Erica bead jewelry. Prepare to be amazed by the transformation of individual beads into a sophisticated and stylish accessory. Ready to embark on this beautiful crafting journey? Let's dive into the detailed step-by-step process!
Safety Guidelines
- Always use sharp scissors when cutting beading wire or thread to prevent injury. Dull scissors can lead to slips and accidental cuts.
- Be mindful of small parts. Peyote stitch uses small beads that can pose a choking hazard, especially to children or pets. Keep beads and finished jewelry out of reach.
- If you experience eye strain during beadwork, take frequent breaks. Looking closely at small beads for extended periods can be tiring for your eyes.
Methods: Even Count Peyote Stitch Earrings with Curtain Ring
Tools Needed
- Miyuki Delica beads size 11 (or Toho beads size 11)
- Seed beads size 11
- 6mm stainless steel earring pin
- 14mm diameter plastic curtain ring
- Size 11 needle
- Chain nose pliers
- 0.12mm thread (smoke color)
- Glue (optional)
- Cutting pliers or scissors
Step-by-Step Instructions
Prepare Materials
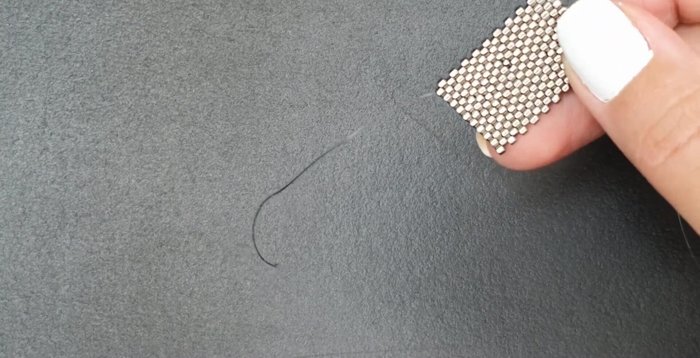
- Prepare thread and needle. Pick up one seed bead as a stopper bead.

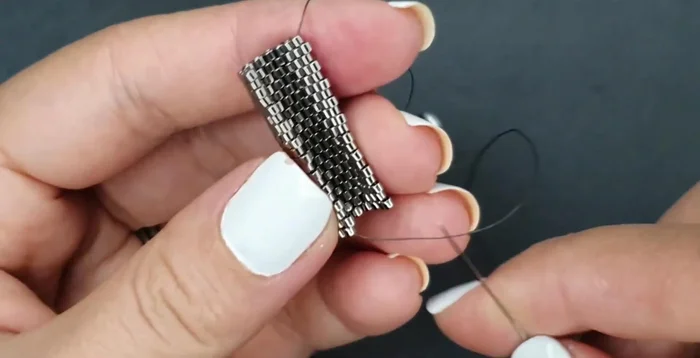
Prepare Materials Create Even Count Peyote Stitch Base
- Pick up 20 Miyuki Delica beads, then one seed bead. Go through the second seed bead.
- Repeat step 2 for the entire row, creating a row with 2 seed beads at the bottom and 1 at the top.
- Continue adding rows using the even count peyote stitch, until you have 10 seed beads at the bottom and 10 at the top.
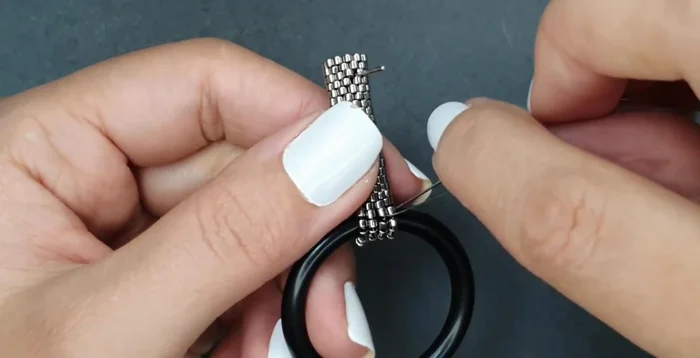
Create Even Count Peyote Stitch Base Attach Earring Pin
- Remove the stopper bead. Fold the earring work in half. Insert the earring pin, securing it by folding the base.
- Attach the earring pin, going through the seed beads on both sides of the folded work, securing the pin.
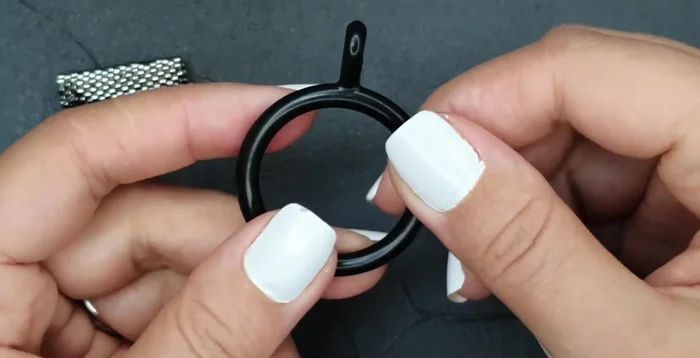
Attach Earring Pin Prepare Curtain Ring
- Prepare the curtain ring by removing the top part (if desired).
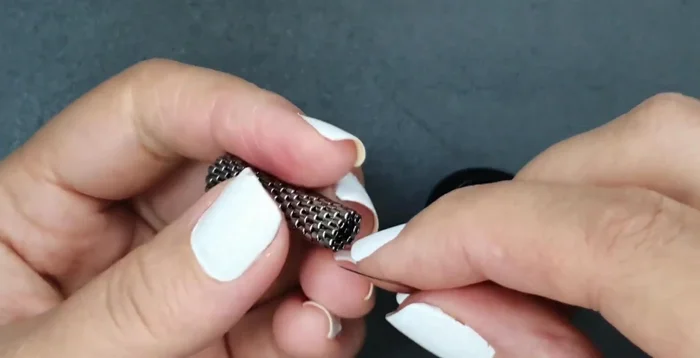
Prepare Curtain Ring Attach Curtain Ring
- Attach the ring to the earring using seed beads. Secure with knots and trim excess thread.
Attach Curtain Ring Reinforce Ring Attachment
- Reinforce the attachment of the ring by going through all the seed beads multiple times.
Reinforce Ring Attachment


Tips
- Ensure the same number of beads at the top and bottom for proper folding and fitting.
- Use glue to secure the pin and ring attachment (optional).