Dive into the mesmerizing world of acrylic pouring and create breathtaking jewelry! Forget fiddly techniques and embrace the fluid artistry of this vibrant craft. Acrylic pouring offers a unique way to produce stunning, one-of-a-kind pieces, perfect for adding a pop of color and personality to any outfit. From subtle swirls to explosive color blooms, the possibilities are as limitless as your imagination. No prior experience is necessary to achieve beautiful results; this technique is surprisingly accessible, even for complete beginners. The unpredictable nature of the paint flow contributes to the unique charm of each piece, making every creation a little masterpiece.
This guide introduces three incredibly easy acrylic pouring techniques ideal for newcomers. We'll walk you through each step, from preparing your materials to unveiling your dazzling finished jewelry. Ready to transform simple blanks into wearable works of art? Let's get started with our step-by-step instructions!
Safety Guidelines
- Acrylic paints and pouring mediums contain chemicals. Always work in a well-ventilated area and avoid skin contact. Wear gloves and eye protection.
- Pouring mediums can be flammable. Keep away from open flames and ensure your workspace is clear of any potential ignition sources.
- Clean up spills immediately. Acrylic paint can stain surfaces. Cover your work area with newspaper or a drop cloth.
Methods: Acrylic Pour Cell Technique for Jewelry
Tools Needed
- Acrylic paints (metallic colors recommended)
- Palette or surface for mixing
- Small brushes or tools for applying paint
- Cabochons
- Toothpicks or cocktail sticks with foam tape
- Black paint
- Cake knife or similar tool for swiping
- E6000 glue (or similar strong adhesive)
- Clamps (optional)
Step-by-Step Instructions
Creating the Cell Base
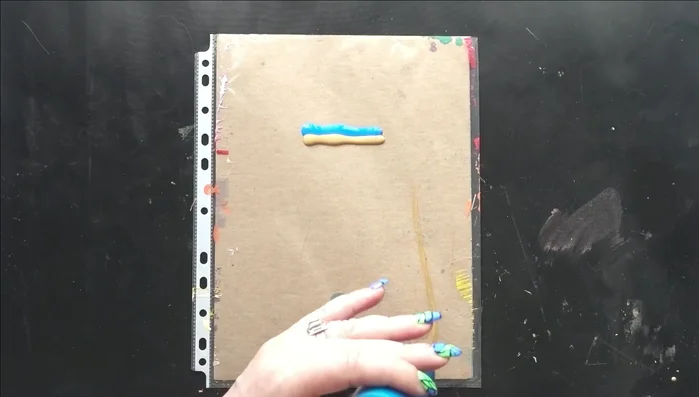
- Apply stripes of different acrylic paints onto a surface.
- Swipe through the stripes with black paint using a cake knife to create cells.

Creating the Cell Base Applying Paint to Cabochons
- Dip cabochons (attached to toothpicks with foam tape) into the painted surface, allowing paint to adhere.
Applying Paint to Cabochons Drying Cabochons
- Let the cabochons dry completely.
Drying Cabochons Attaching Cabochons to Settings
- Apply adhesive to the back of the cabochon and attach to the jewelry setting. Use a baby wipe to remove excess adhesive.
Attaching Cabochons to Settings


Tips
- Thinner paints may be better for cell creation.
- Use clamps to ensure cabochons adhere properly to their settings while drying.
Methods: Creating Beads from Acrylic Paint Skins
Tools Needed
- Acrylic paint skins
- Paper trimmer or scissors
- Knitting needle or similar round object
- Glue (clear recommended)
- DecoArt Triple Thick Glaze (or resin)
- Brush
Step-by-Step Instructions
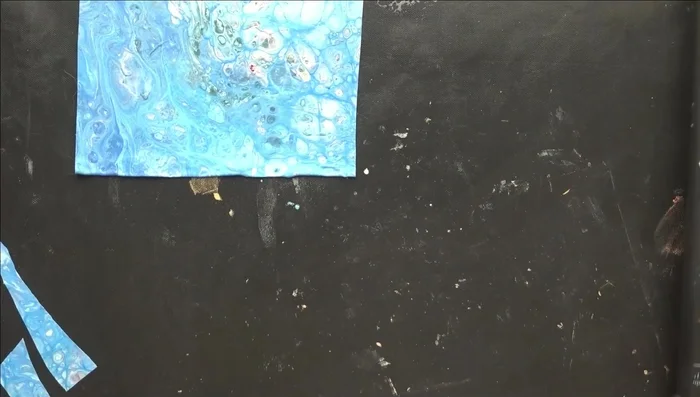
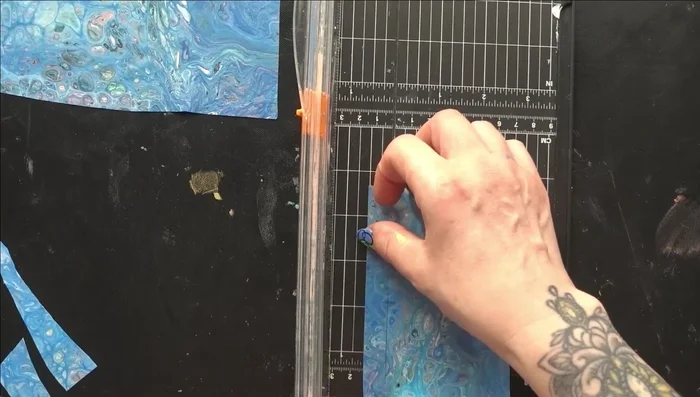
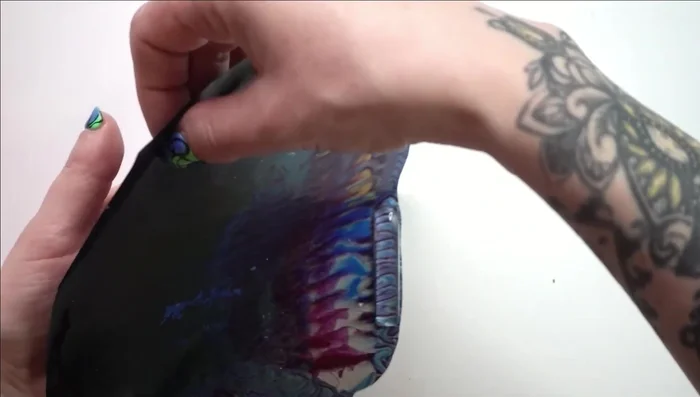
Prepare Acrylic Paint Skins
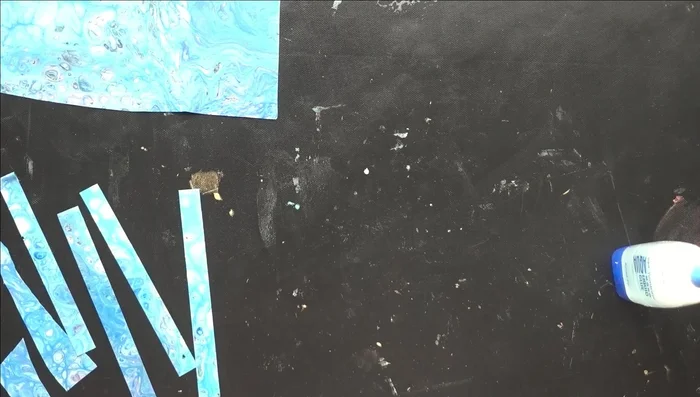
- Cut acrylic paint skins into strips using a paper trimmer.
Prepare Acrylic Paint Skins Create the Beads
- Wrap the strips around a knitting needle, keeping them centered.
- Apply a tiny amount of glue to the end of the strip and finish wrapping.
Create the Beads Finish and Seal Beads
- Apply several coats of DecoArt Triple Thick Glaze to the dried beads, allowing ample drying time between coats.
Finish and Seal Beads


Tips
- Dry beads upright to prevent flat spots.
- Clean the Triple Thick Glaze lid thoroughly after each use to prevent it from sticking.
Methods: Using Acrylic Skins as Cabochon Bases
Tools Needed
- Dried acrylic paint skins
- Domed cabochons
- E6000 glue (or similar strong adhesive)
- Scissors
- Jewelry bezels
Step-by-Step Instructions
Prepare Cabochon
- Apply adhesive to the back of a domed cabochon.
Prepare Cabochon Attach Cabochon to Skin
- Place the cabochon onto a piece of dried acrylic paint skin.
- Allow to dry completely.
Attach Cabochon to Skin Trim Excess Skin
- Cut away excess acrylic skin.
Trim Excess Skin Set in Bezel
- Place the finished piece into a bezel setting.
Set in Bezel


Read more: DIY Erica Statement Earrings & Necklace Tutorial: Even Count Peyote Stitch