Working with wire offers endless creative possibilities, from crafting sturdy garden stakes to delicate jewelry pieces. The key to unlocking this versatility lies in mastering the art of tinning wire – a process that ensures smooth soldering, prevents oxidation, and enhances the overall durability of your creations. Whether you're a seasoned crafter or a curious beginner, understanding how to properly tin wire will significantly elevate the quality and longevity of your projects. This seemingly simple technique makes a world of difference in the outcome of your work, preventing frustrating failures and allowing you to focus on your artistic vision.
Tinning, essentially coating the wire with solder, prepares it for easy and reliable connections. This guide will walk you through each step, from gathering the necessary materials to achieving a perfectly tinned wire ready for your next project. Let’s dive into the detailed, step-by-step process to learn how to effectively tin your wire for both garden stakes and delicate jewelry making.
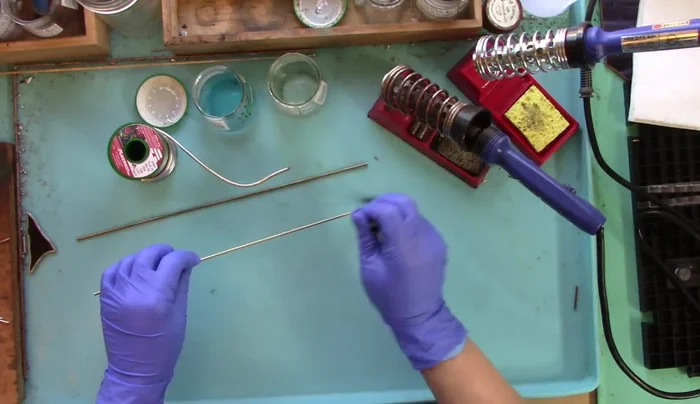
Preparation and Safety Guidelines
- Brass rods
- Copper wire
- Solder
- Flux
- Always use proper ventilation. Soldering fumes can be harmful if inhaled. Work in a well-ventilated area or wear a respirator.
- Avoid touching the hot solder or iron. Allow ample cooling time before handling finished work. Burns are a real risk.
- Use appropriate heat-resistant surfaces. Protect your work area from heat damage by working on a heat-resistant mat or tile.
Step-by-Step Instructions
Prepare the Wire
- Apply flux generously to the wire, especially if using brass or recycled copper due to impurities.

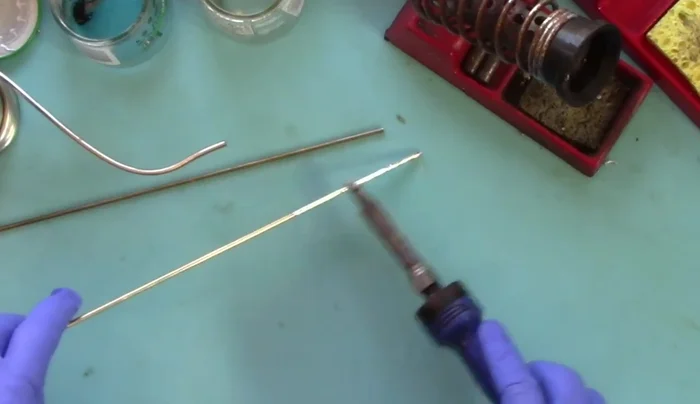
Prepare the Wire Initial Tinning
- Grab a little solder and apply it to the wire using a back-and-forth motion while simultaneously twisting the wire with your other hand.
- Continue the back-and-forth motion, increasing the heat as you go. The wire will become easier to work with as it heats up.
- Add more flux as needed, particularly in areas that are not heating evenly.
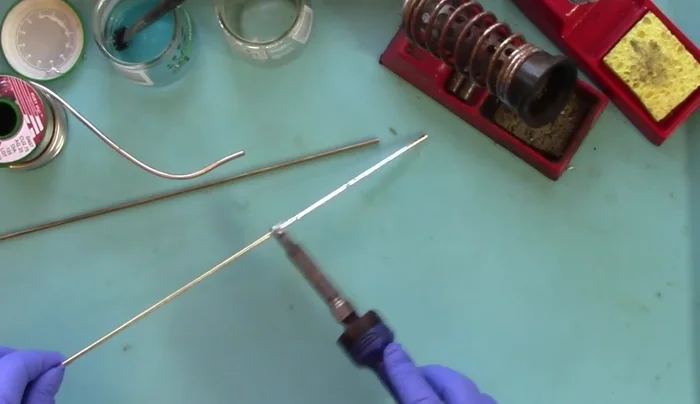
Initial Tinning Even Coating
- Work the solder up the wire, ensuring even coverage. Remember to keep twisting the wire.
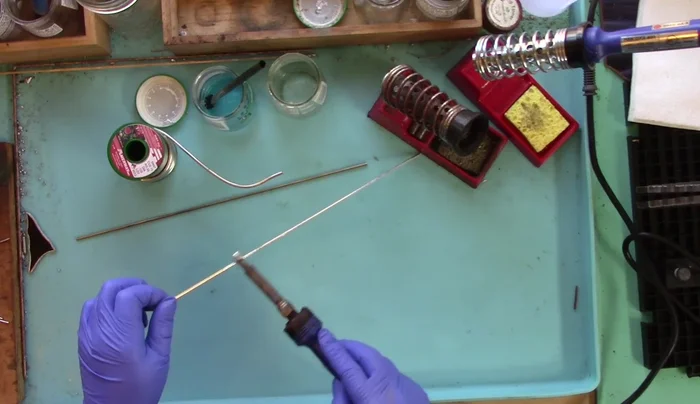
Even Coating Finishing Touches
- As you get closer to the end, the wire will get hotter. Consider using a glove or heat-resistant tool to protect your fingers.
- Give a final twist as the wire cools to ensure a secure bond.
Finishing Touches


Read more: DIY: Create Custom Canister Labels with Silhouette Cameo
Tips
- Use plenty of flux, especially with brass or recycled copper.
- Twist the wire while applying solder for better coverage and a more even heat distribution.
- Protect your fingers with a glove or heat-resistant tool as the wire gets hotter near the end.
- It is not necessary to tin areas that will be hidden or not visible