Frosted glass—that subtly diffused, elegant look—can elevate any design project, from subtle website backgrounds to eye-catching logos. Achieving this ethereal effect, however, doesn't require complex photographic techniques or expensive materials. Photoshop, with its versatile tools, offers a straightforward path to replicating this popular aesthetic. Whether you're a seasoned designer or just starting out, the ability to quickly and easily create a realistic frosted glass effect is a valuable skill to add to your repertoire. This effect is surprisingly simple to achieve, even for beginners.
This tutorial will guide you through a streamlined, step-by-step process to master this technique, using readily available Photoshop tools and filters. Get ready to transform your images and add a touch of sophisticated opacity with this quick and easy method, perfect for adding a unique and stylish touch to your designs. Let's dive into the detailed instructions and learn how to create stunning frosted glass effects in just minutes!
Preparation and Safety Guidelines
- Photoshop
- Always work on a duplicate layer. This prevents accidental damage to your original image.
- Experiment with opacity and blending modes to achieve the desired level of frostiness. A lower opacity will create a more subtle effect.
- The effectiveness of this technique depends on the original image. High-contrast images will show the effect more dramatically than low-contrast ones.
Step-by-Step Instructions
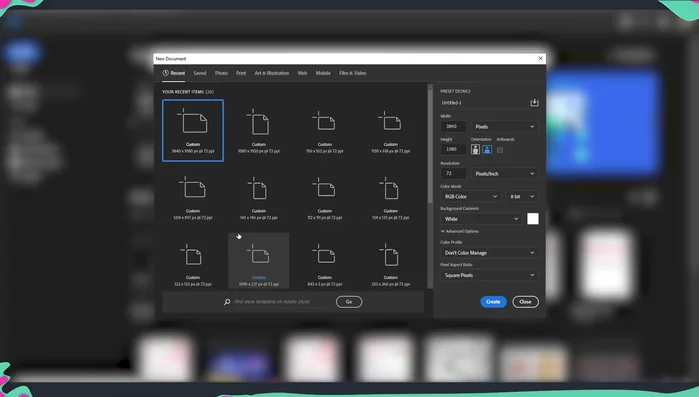
Create a New Document
- Create a new document (2000x2000 pixels recommended).

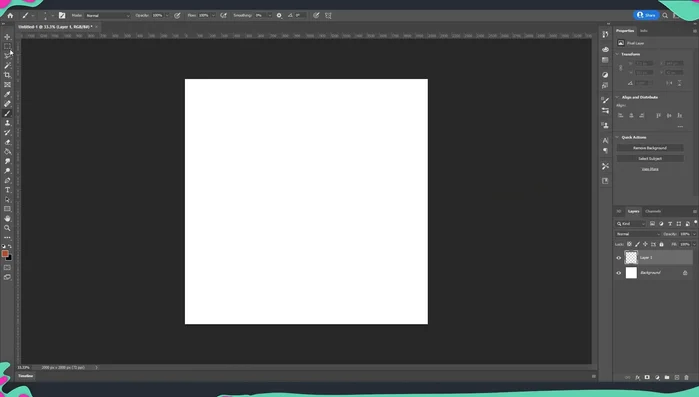
Create a New Document Create Base Layers
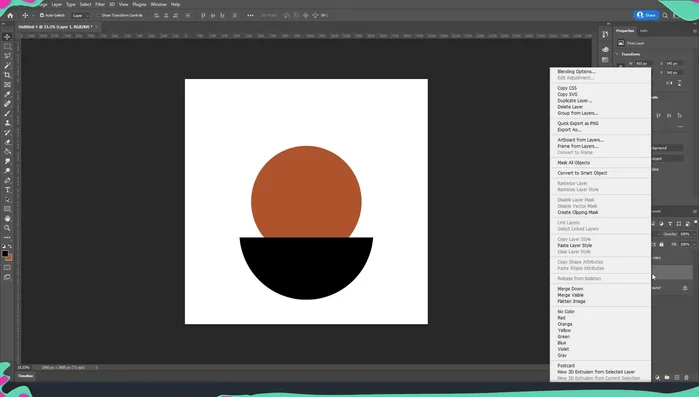
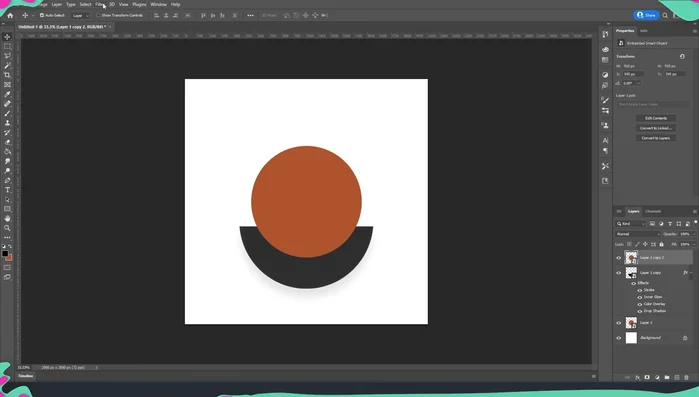
- Draw and fill a circle with your desired base color. Duplicate it, fill the duplicate with black, and position it below the first circle.

Create Base Layers Convert to Smart Objects
- Convert both circle layers to Smart Objects.

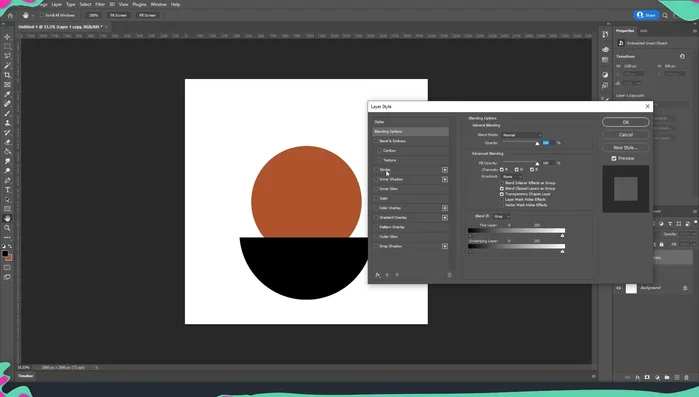
Convert to Smart Objects Apply Stroke Effect
- Double-click the top (black circle) layer to open Blending Options. Add a stroke (2 pixels, 60% opacity).

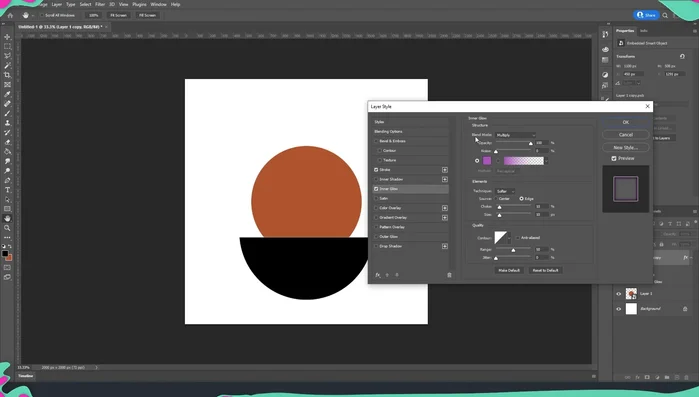
Apply Stroke Effect Apply Inner Glow Effect
- Add an inner glow (Normal blend mode, 8% opacity, 15 choke, 30 size). Adjust these values to fit your document size and desired effect.

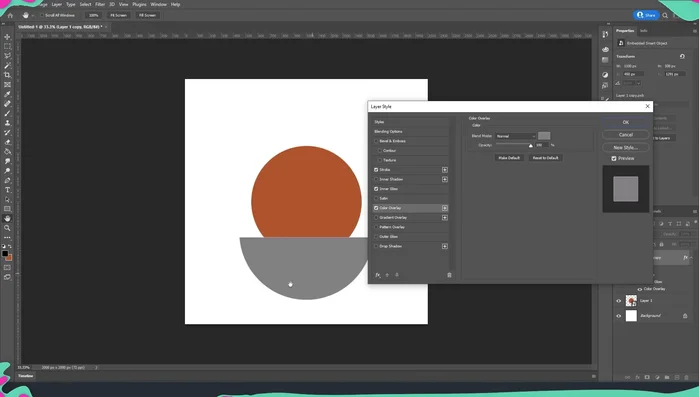
Apply Inner Glow Effect Apply Color Overlay Effect
- Add a color overlay (white, 18% opacity). You can adjust the color for different tints.

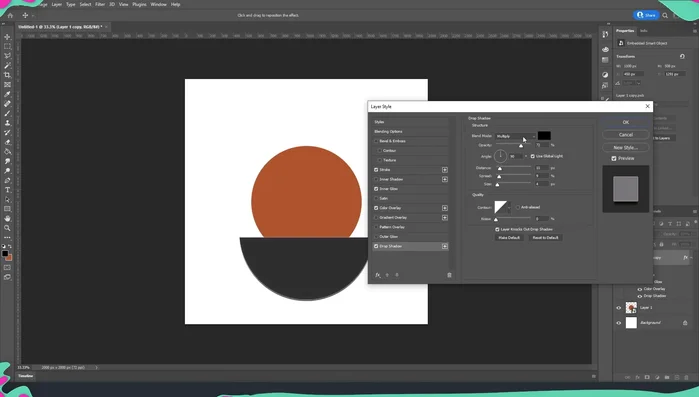
Apply Color Overlay Effect Apply Drop Shadow Effect
- Add a drop shadow (10% opacity, 70 distance, 0 spread, 65 size).

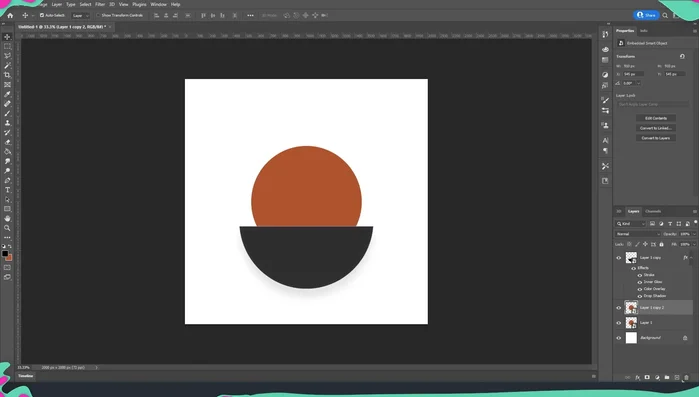
Apply Drop Shadow Effect Duplicate Bottom Layer
- Duplicate the bottom layer (Ctrl+J). Place the duplicate on top.

Duplicate Bottom Layer Apply Gaussian Blur
- Apply a Gaussian blur (around 40 pixels) to the top duplicated layer.

Apply Gaussian Blur Create Clipping Mask
- Create a clipping mask for the blurred layer.

Create Clipping Mask
Read more: DIY: Create Custom Canister Labels with Silhouette Cameo
Tips
- Adjust the inner glow, color overlay, and drop shadow settings to fine-tune the frosted glass effect and add color variations.
- Experiment with different base colors for varying frosted glass effects.
