Have you ever been captivated by the intricate beauty of stained glass? Imagine transforming that breathtaking artistry into a charming ladybug mosaic, a vibrant piece that will add a touch of whimsical elegance to any space. This isn't a project reserved for experienced artisans; with a little patience and the right guidance, you can create your own stunning stained glass ladybug, perfect for adorning a window, crafting a unique suncatcher, or even adding a personal touch to a piece of jewelry. The vibrant colours and glistening textures will bring a joyful energy to your home or a special gift for a loved one.
This tutorial will guide you through each stage of creating this delightful ladybug mosaic, from selecting the perfect glass pieces to the final grouting and finishing touches. We'll break down the process into manageable steps, complete with helpful tips and tricks to ensure a successful and satisfying crafting experience. Get ready to unleash your inner artist and embark on this rewarding journey—let's begin creating your stunning stained glass ladybug!
Preparation and Safety Guidelines
- Stained glass tiles (various colors and shapes)
- Multi-purpose exterior glue
- Cutting tools
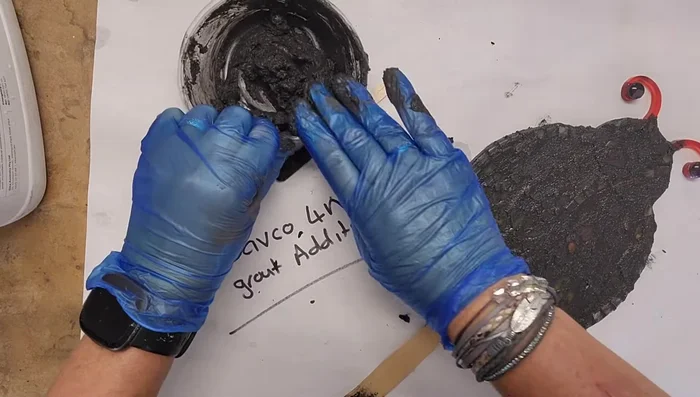
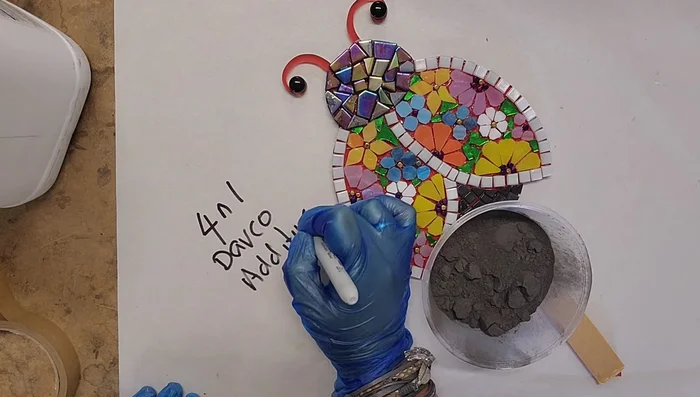
- Grout
- Damp cloth
- Dry cloth
- Always wear safety glasses to protect your eyes from flying glass fragments during cutting and handling.
- Use appropriate cutting tools for glass and follow manufacturer's instructions carefully. Improper use can lead to serious injury.
- Work in a well-ventilated area as some glass cutting tools and adhesives may release fumes.
Step-by-Step Instructions
Prepare the Surface
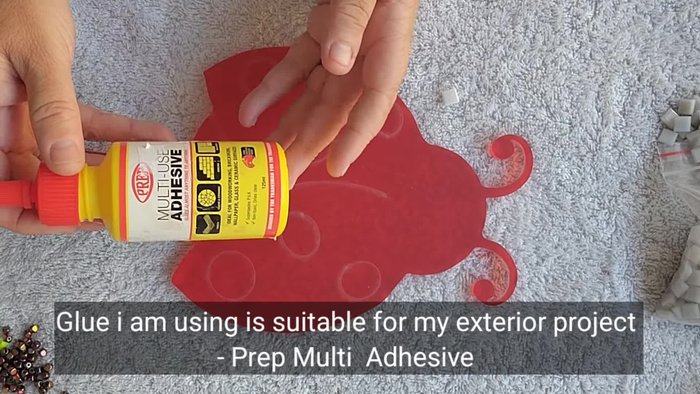
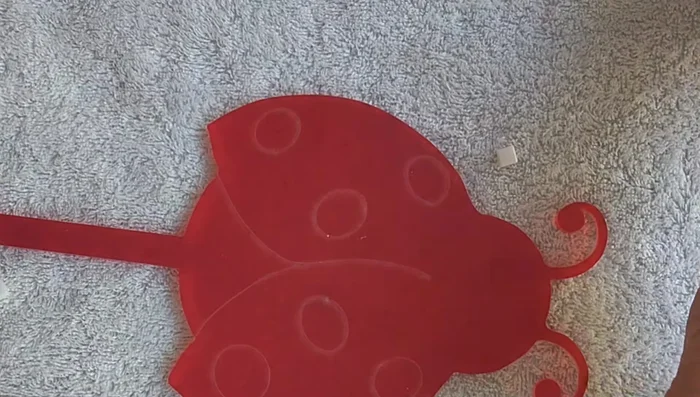
- Prepare the base (acrylic surface in this example).

Prepare the Surface Apply Adhesive
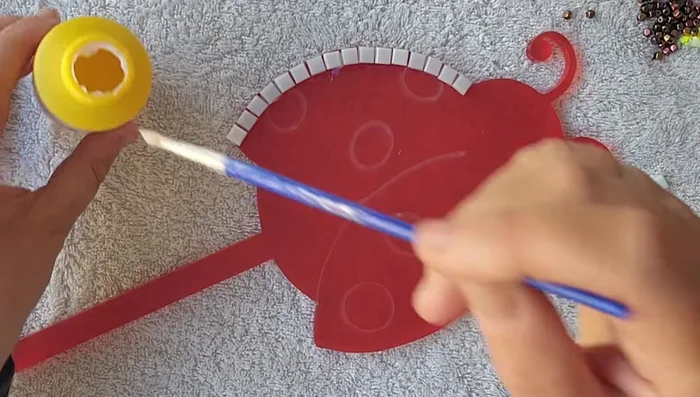
- Apply multi-purpose glue sparingly to the base, ensuring it's thin enough to seat between tiles.
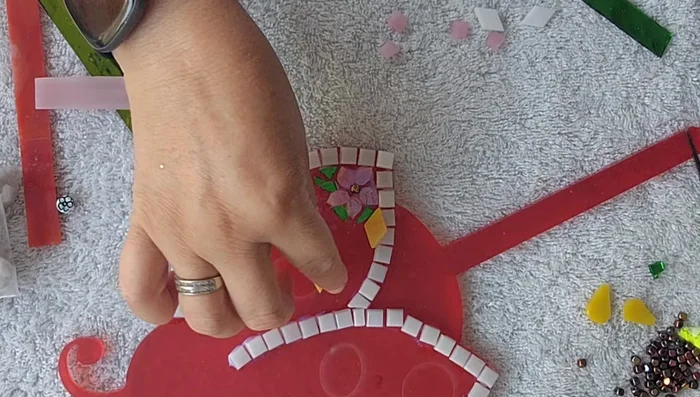
Apply Adhesive Create Flower Shapes
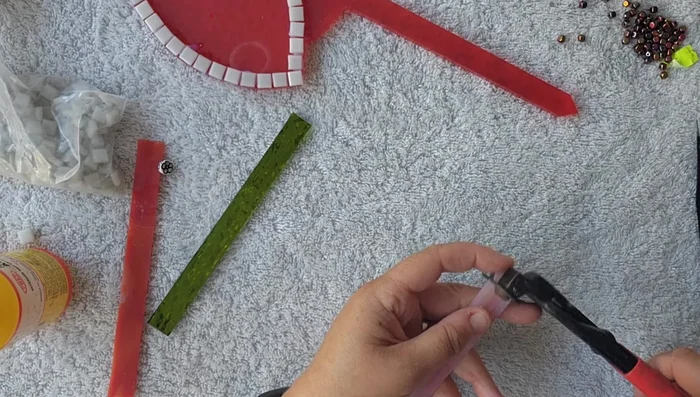
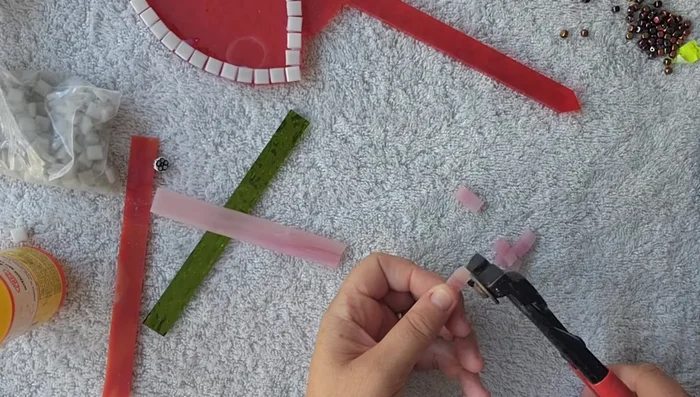
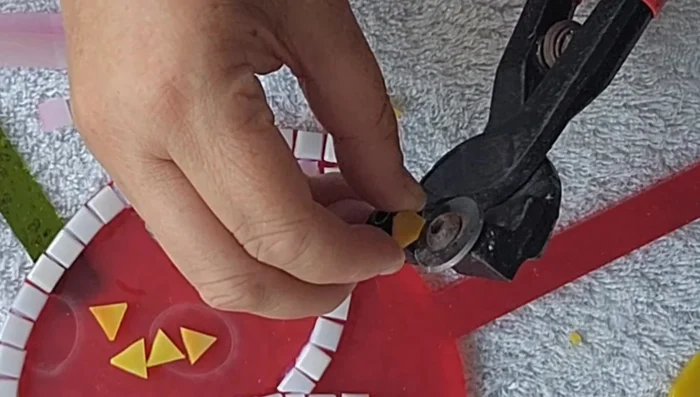
- Cut and shape stained glass sticks into flower shapes (refer to linked videos for detailed instructions).
- Cut and shape stained glass diamonds into smaller flower shapes and glue them in place.
- Cut and shape larger stained glass tiles into daisy shapes for the ladybug's body.
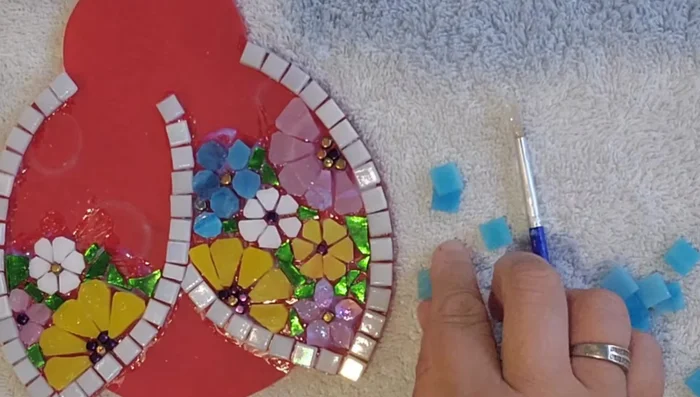
Create Flower Shapes Assemble Ladybug Wings
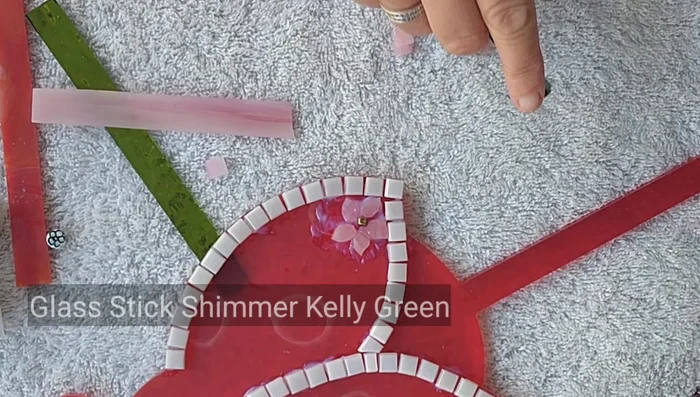
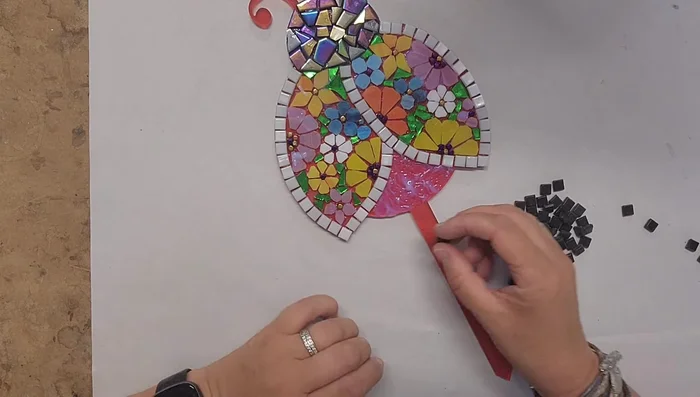
- Place tiles, starting from one end and working towards the opposite end to allow for adjustments.
- Arrange and glue the flower shapes onto the mosaic.
- Fill in gaps between flowers and around edges with smaller stained glass pieces. Work around the flowers as you go.
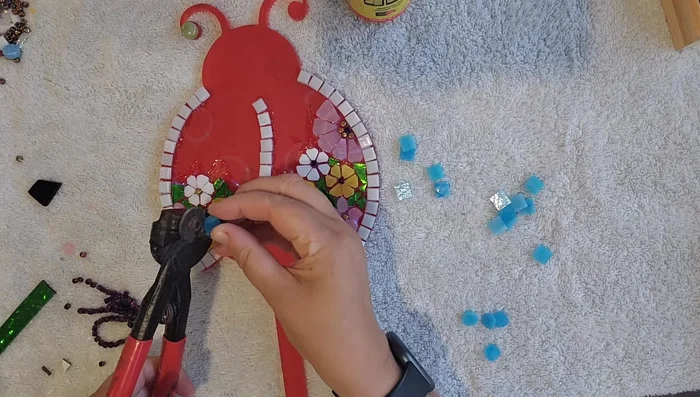
- Add small cubes as centers for the flowers.
Assemble Ladybug Wings Assemble Ladybug Body
- Glue the daisy-shaped tiles to form the ladybug's body. Continue filling in areas with the same techniques used for the wings.
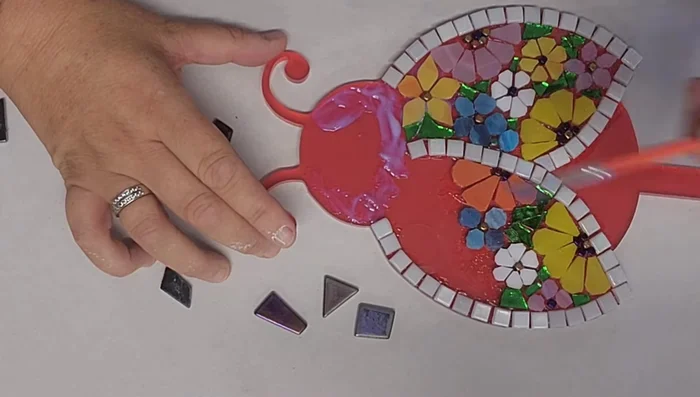
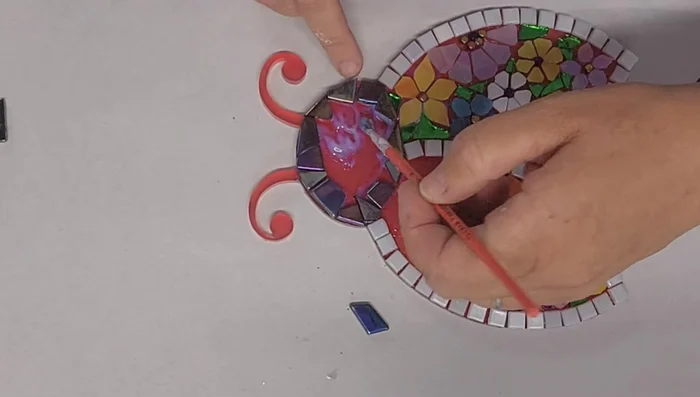
Assemble Ladybug Body Assemble Ladybug Head
- Outline the ladybug's head using black iridized glass puzzle pieces, ensuring straight edges face outwards.
- Fill in the ladybug's head with smaller pieces.
Assemble Ladybug Head Assemble Ladybug Bottom
- Create the bottom of the ladybug using 8mm gloss tiles, cutting angles to ensure a snug fit.
Assemble Ladybug Bottom Set and Finish
- Allow the project to rest for 5 minutes for the glue to settle.
- Wipe excess grout with a slightly damp cloth and then buff with a dry cloth.
Set and Finish
Read more: DIY: Create Custom Canister Labels with Silhouette Cameo
Tips
- Always double-check that the tiles are securely in place and haven't moved.
- Work from end to end when placing tiles to allow for wiggle room.
- Fill in around the flowers as you go, making it easier to place pieces later.