The gentle clinking of a wind chime is a soothing soundtrack to any summer day, but imagine the unique charm of a wind chime crafted from the treasures of the sea – smoothed, frosted sea glass. This DIY project allows you to create a beautiful, personalized wind chime using readily available materials and sea glass you've collected yourself (or perhaps purchased from a beach shop). The subtle variations in color and texture of each piece of sea glass will make your chime truly one-of-a-kind, a testament to the artistry of nature and your own creative spirit.
This tutorial will guide you through each step, from gathering your materials to hanging your finished masterpiece. Get ready to transform humble sea glass into a delightful, ocean-inspired decoration that will add a touch of coastal serenity to your home. Let's dive in and begin crafting your own unique sea glass wind chime!
Preparation and Safety Guidelines
- Printable template
- Transparent gift wrapping tape
- 6000 glue
- Fishing line
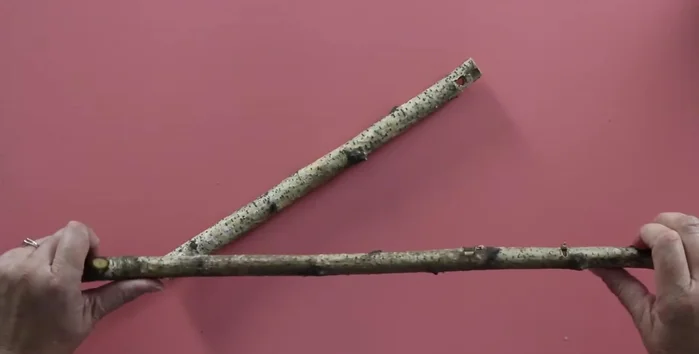
- Stick
- Sea glass
- Always supervise children when handling sharp sea glass or wire. Sea glass can have sharp edges even if they appear smooth.
- Use strong and appropriate wire or string for hanging the sea glass. Weak materials may break and cause injury or damage.
- Ensure the hanging mechanism is securely attached to prevent the wind chime from falling and causing injury or damage.
Step-by-Step Instructions
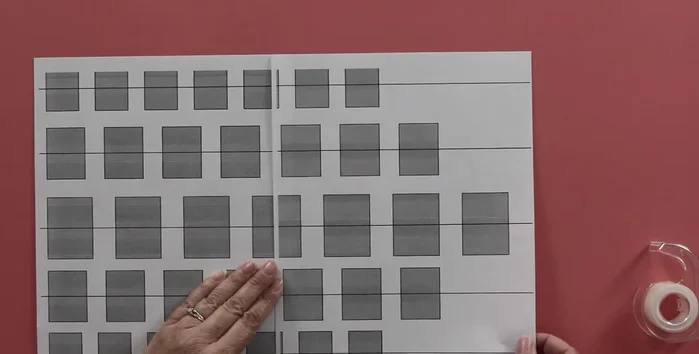
Prepare the Template
- Tape the two pieces of the printable template together.

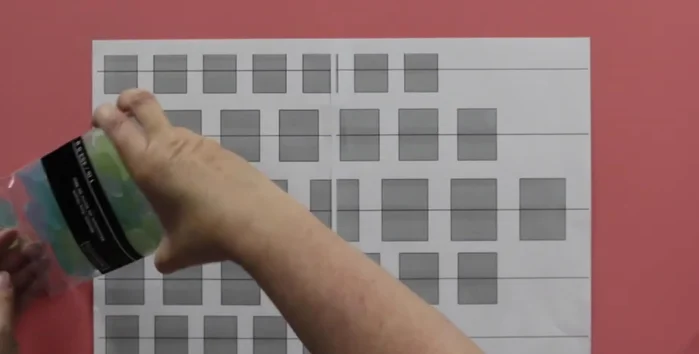
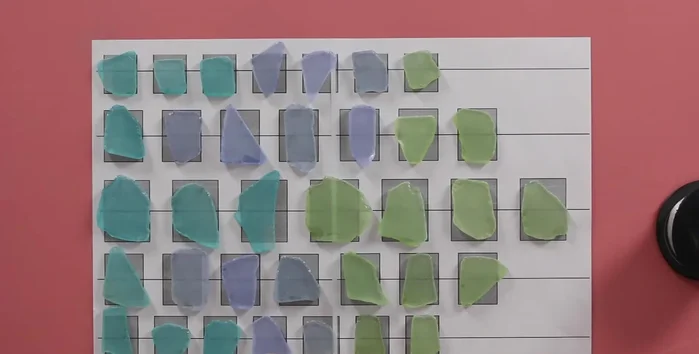
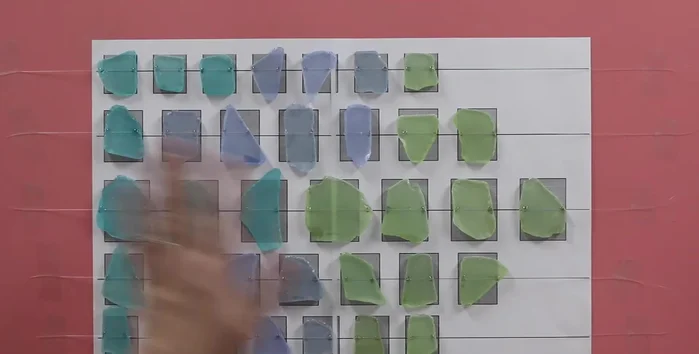
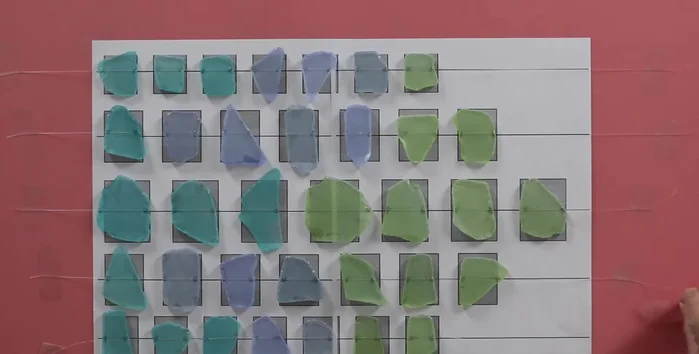
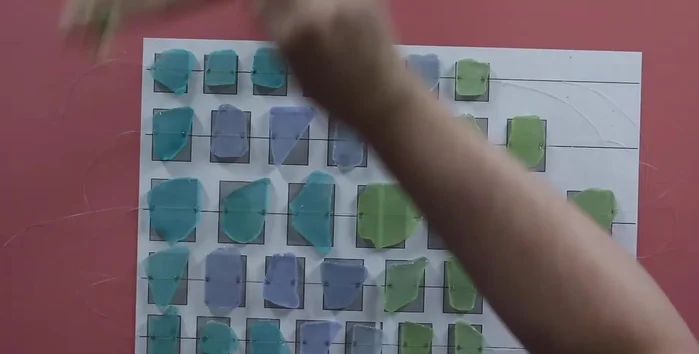
Prepare the Template Arrange Sea Glass
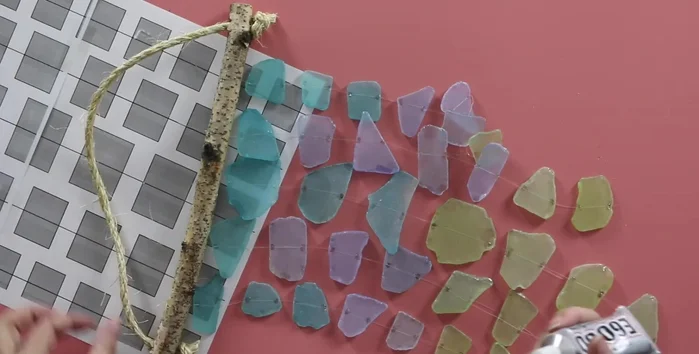
- Arrange sea glass pieces on the template according to your desired color scheme (e.g., ombre).
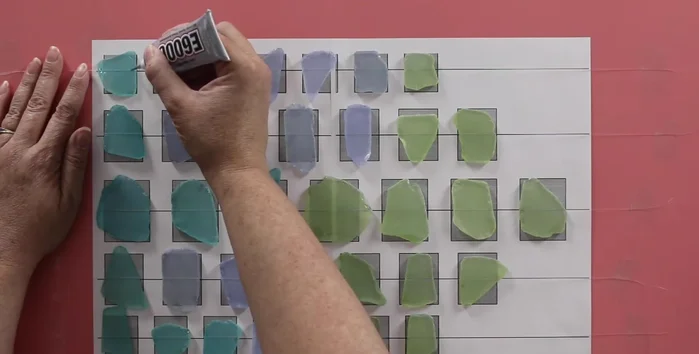
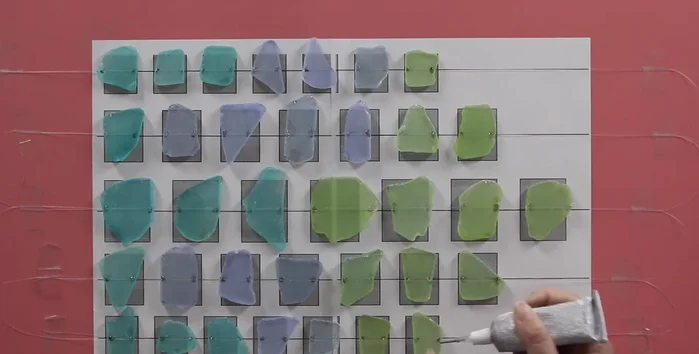
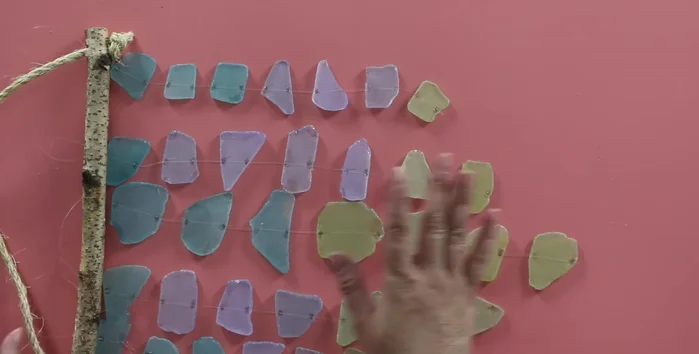
Arrange Sea Glass Attach Fishing Line (Front)
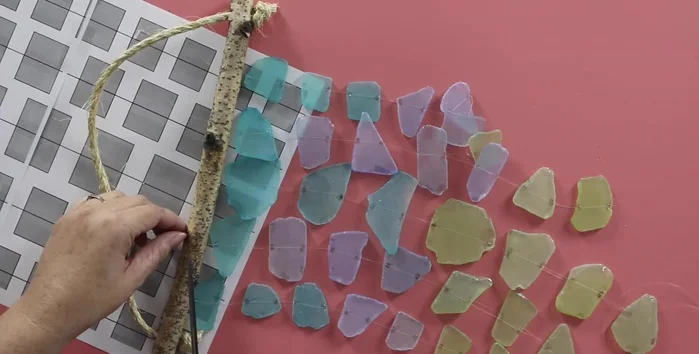
- Tape fishing line along the center line of the sea glass pieces on the template.
- Apply glue to the fishing line, securing it to the sea glass.
- Let the glue dry for 30 minutes.
Attach Fishing Line (Front) Remove Template
- Peel the template away from the sea glass and fishing line.
Remove Template Attach Fishing Line (Back)
- Repeat steps 3 and 4 for the back of the sea glass pieces.
- Let the glue dry for 30 minutes.
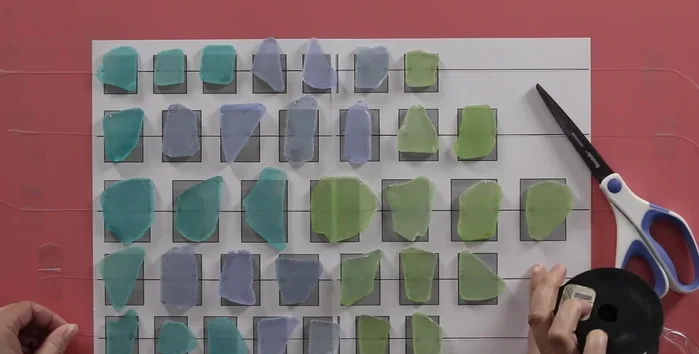
Attach Fishing Line (Back) Prepare Hanging Stick
- Cut to desired length (12 inches in this tutorial) and drill holes at each end.
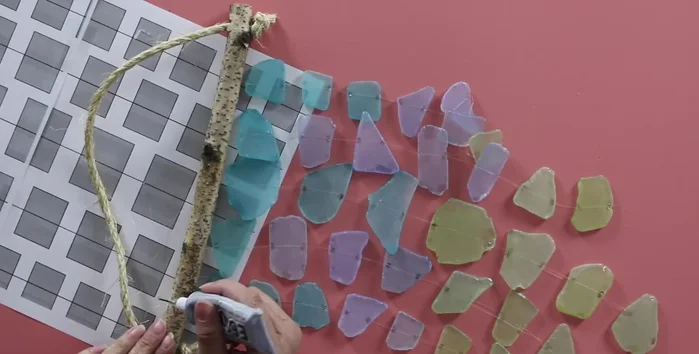
Prepare Hanging Stick Attach to Hanging Stick
- Attach the fishing line strands to the stick using twine, ensuring the bottom string is underneath and the top string is over the stick.
- Tie secure knots and adjust spacing as needed.
- Apply glue to secure the knots to the stick.
- Let the glue dry completely.
Attach to Hanging Stick Finishing Touches
- Trim excess fishing line.
Finishing Touches
Read more: DIY: Create Custom Canister Labels with Silhouette Cameo
Tips
- Use a non-stretchy line like fishing line or beading line for the hanging strings.
- Experiment with different color arrangements for a unique look.
- Use the right over left, left over right knotting method for easy adjustment.