Resin art is experiencing a surge in popularity, and for good reason: its versatility allows for stunning, unique creations. One captivating project perfect for both beginners and experienced crafters is the creation of a beautiful resin tray adorned with vibrant mosaic tiles. Imagine the rich colours and textures, the satisfying weight of the finished piece, a functional work of art that adds a touch of handmade elegance to any home. This mesmerizing effect is surprisingly achievable with readily available materials and a little patience.
This guide will walk you through each stage of the process, from preparing your mold and mixing the resin, to carefully arranging your mosaic tiles and achieving a flawlessly smooth, glossy finish. Get ready to unleash your creativity and discover the simple joy of crafting your own stunning, personalized resin tray – let’s dive into the step-by-step instructions!
Preparation and Safety Guidelines
- Three-quarter inch Mosaic glass tiles
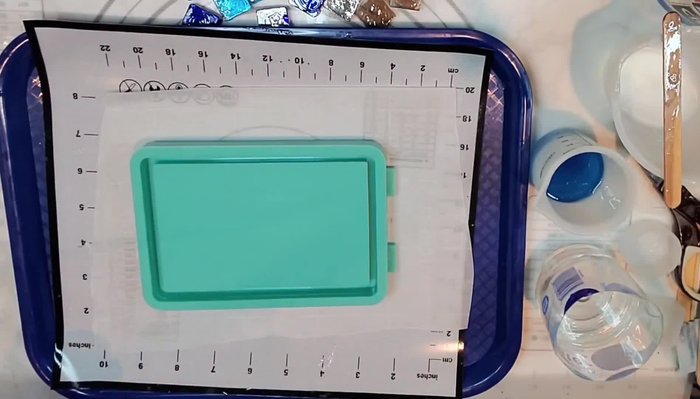
- 4x6 tray (from Etsy)
- Resin
- Navy translucent ink or dye
- Skewer
- Heat gun
- Small adhesive pads (optional)
- Always work in a well-ventilated area. Resin fumes can be harmful if inhaled.
- Wear gloves and eye protection throughout the entire process to protect your skin and eyes from resin and potential irritants.
- Use disposable containers and tools as resin is difficult to clean up completely.
Step-by-Step Instructions
Prepare Materials
- Mix resin and add navy translucent ink, addressing any bubbles with a spray and heat gun.

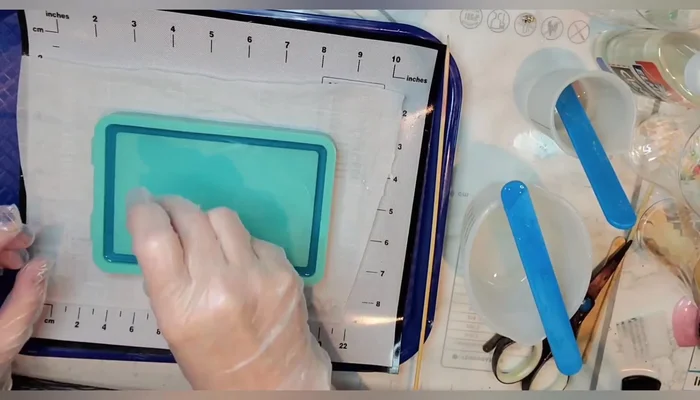
Prepare Materials Pour First Resin Layer
- Pour the first layer of resin into the tray and spread evenly.
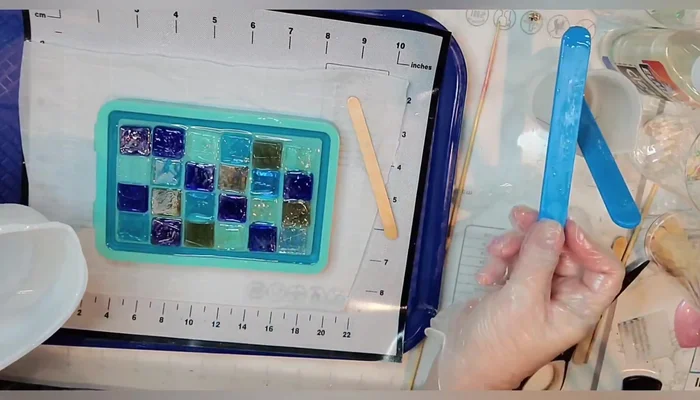
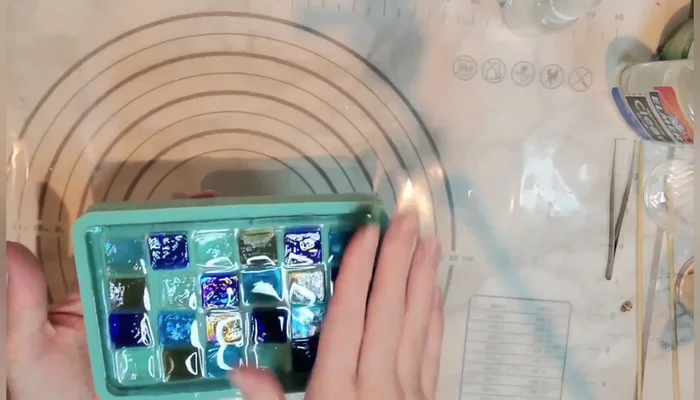
Pour First Resin Layer Arrange Mosaic Tiles
- Place the tiles on the resin layer, staggering colors and ensuring even spacing. Use a stick to adjust their positions.
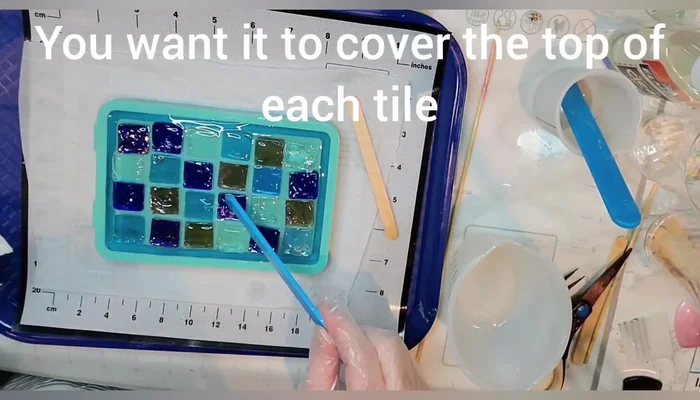
Arrange Mosaic Tiles Pour Second Resin Layer
- Carefully drizzle a thin layer of resin over the tiles, avoiding spills.
Pour Second Resin Layer Cure Resin
- Allow the resin to cure completely. Use a heat gun and alcohol spray to address any remaining bubbles.
Cure Resin Demold
- Demold and admire:
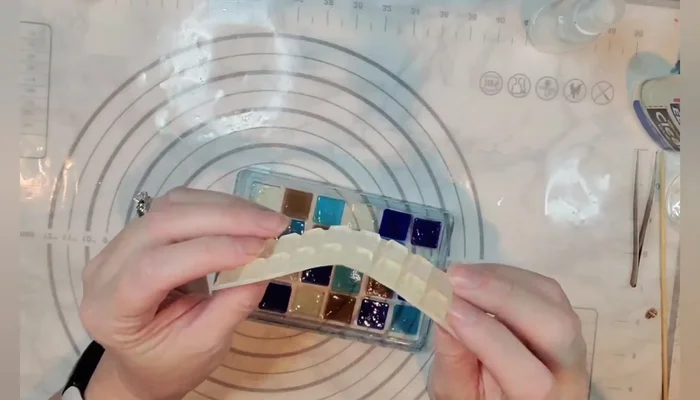
Demold Add Protective Pads (Optional)
- Attach small adhesive pads to the bottom corners for extra support and protection of surfaces.
Add Protective Pads (Optional)

Read more: DIY: Create Custom Canister Labels with Silhouette Cameo
Tips
- For a clear, bubble-free finish, ensure your resin is completely bubble-free before pouring the main layer.
- Use a heat gun to remove bubbles from the resin at each stage.
- Stagger the colors of your mosaic tiles for a more visually appealing result.
- A thin layer of resin is preferable for the top layer to avoid runs and ensure the tiles stay in place.
- Using a small, pointed object (like a skewer) helps to pop any surface bubbles after pouring the resin.