Unleash your inner artist and create a breathtaking mixed-media mosaic that's as unique as you are! Forget expensive supplies and complicated techniques – this tutorial will guide you through crafting a stunning piece of art using readily available materials and simple steps. Whether you're a seasoned crafter or a complete beginner, this project is perfect for adding a vibrant, personalized touch to your home décor or creating a one-of-a-kind gift. The possibilities are as endless as your imagination, allowing you to experiment with colors, textures, and shapes to achieve a truly mesmerizing result.
Imagine transforming ordinary objects into an extraordinary work of art. This project is surprisingly quick and easy, perfect for a weekend afternoon or a relaxing evening. From repurposed materials to readily available craft supplies, we’ll explore a range of options to suit your style and budget. Ready to dive into the creative process? Let's get started with our step-by-step guide to creating your own stunning mixed-media mosaic.
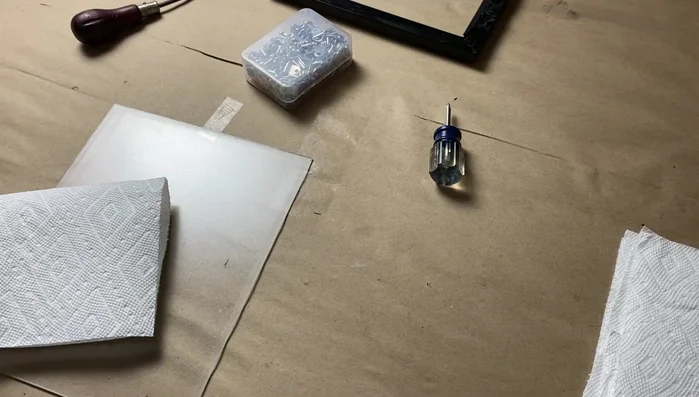
Preparation and Safety Guidelines
- Certificate frame (wood with glass insert)
- Spray paint
- D-rings
- Picture hanging wire
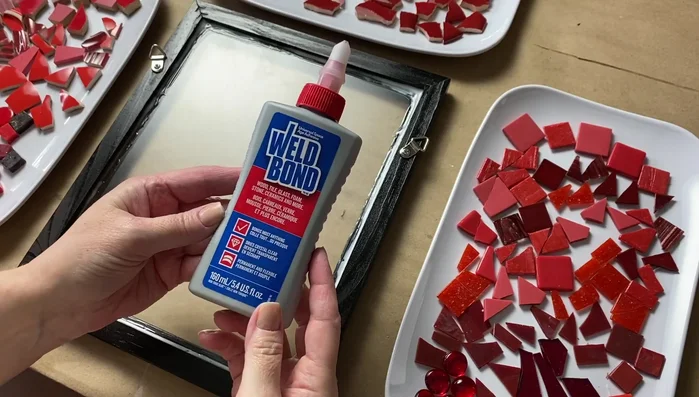
- Weld Bond (or tile adhesive/thinset mortar)
- Variety of mosaic tesserae (glass, ceramic, wood, beads, etc.)
- Glass cleaner
- Always work in a well-ventilated area, especially when using sprays, glues, or paints with strong fumes. Protect your lungs and skin by wearing a mask and gloves.
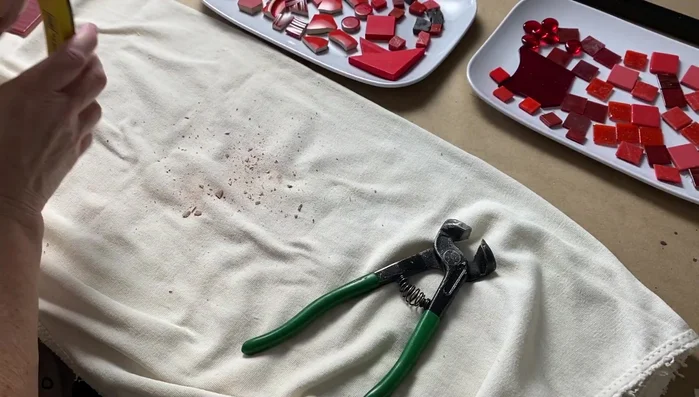
- Use caution when handling sharp objects like scissors, knives, or broken pieces of glass or ceramic. Always cut away from yourself and dispose of sharp waste properly.
- Be mindful of the materials you are using. Some materials may be toxic or cause allergic reactions. Read safety labels carefully and test a small area before applying extensively.
Step-by-Step Instructions
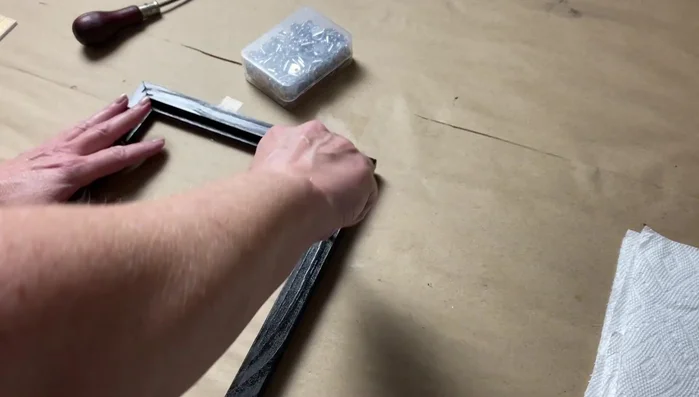
Prepare the Frame
- Remove the glass from a certificate frame, spray paint the frame (optional), and clean the glass thoroughly.

Prepare the Frame Add Hanging Hardware
- Attach D-rings or hooks to the back of the frame.
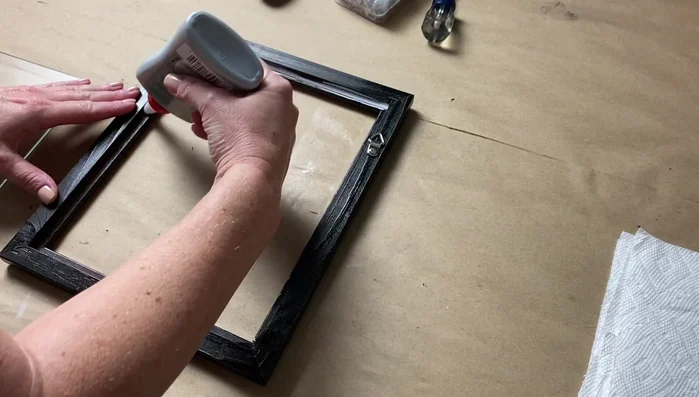
Add Hanging Hardware Glue the Glass
- Apply a line of Weld Bond around the inside of the frame opening and gently place the glass onto it. Add another line of Weld Bond along the glass edge where it meets the frame, ensuring a secure bond.
Glue the Glass First Drying Period
- Allow the frame to dry for at least 24 hours.
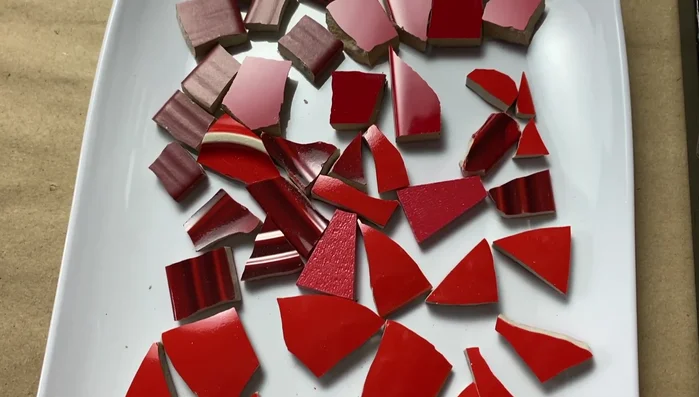
Gather Materials
- Collect a variety of mosaic tesserae in different shapes, sizes, colors, and textures.
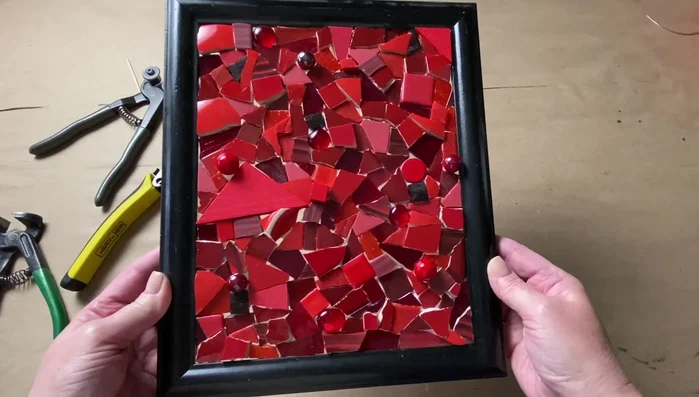
Gather Materials Apply Adhesive & Tile
- Use Weld Bond (or tile adhesive/thinset mortar) to adhere the tesserae to the glass surface. Avoid pushing too hard to prevent breaking the glass.
- Arrange the tesserae creatively, avoiding placing identical pieces next to each other. Work in sections if needed and wipe off excess adhesive.
Apply Adhesive & Tile Second Drying Period
- Allow the mosaic to dry for at least 24 hours.
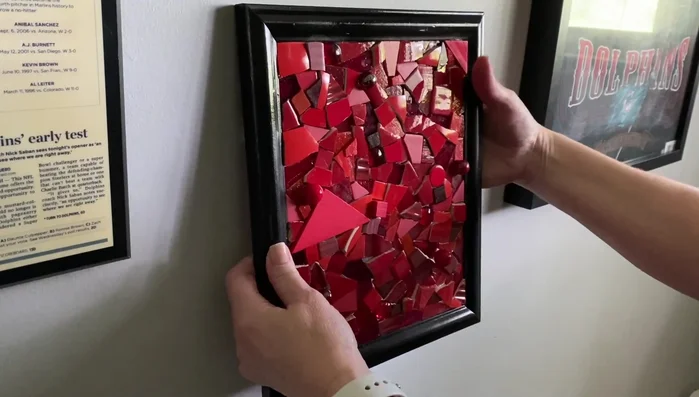
Second Drying Period Attach Hanging Wire
- Add the picture hanging wire to the back of the frame once the adhesive is completely dry.
Attach Hanging Wire
Read more: DIY: Create Custom Canister Labels with Silhouette Cameo
Tips
- Use a variety of materials for visual interest.
- Avoid placing identical pieces next to each other.
- Don't push too hard when adhering pieces to the glass.
- Wipe off excess adhesive between sessions for a clean edge.
- Consider the weight of your tesserae, especially when working on a glass substrate.