Have you ever admired the intricate beauty of antique clocks, their delicate curves and meticulous craftsmanship? Now you can capture that same artistry on a smaller scale with this comprehensive guide to building your own stunning miniature curved-top clock. This project combines the satisfaction of woodworking with the precision of clock-making, resulting in a unique piece you'll be proud to display. We’ll explore techniques that transform simple materials into a sophisticated timepiece, perfect for beginners and experienced crafters alike. The charming miniature size makes it an ideal addition to any shelf, desk, or mantlepiece.
Forget mass-produced clocks; this guide offers a rewarding journey into creating something truly special. From carefully selecting your wood and shaping the curved top to meticulously assembling the clock mechanism, every step will contribute to the final masterpiece. Let's dive into the detailed step-by-step instructions and begin crafting your miniature curved-top clock.
Preparation and Safety Guidelines
- Dado blade
- Miter saw
- Planer
- Flush trim router bit
- Plunge router
- Painter's tape
- Glue
- Clamps
- Xacto knife
- Spray contact adhesive
- Drill press
- Needlenose pliers
- Clock movement
- Clock hands
- Glass cutter (or glass shop)
- Printer
- Always use appropriate safety glasses when working with cutting tools and adhesives. Small pieces can easily fly off and cause eye injuries.
- Handle sharp tools with extreme care. Never leave sharp tools unattended, and always cut away from yourself.
- Some adhesives and wood finishes can be toxic. Ensure adequate ventilation and wear a mask if necessary. Refer to the manufacturer's safety data sheet (SDS) for specific precautions.
Step-by-Step Instructions
Prepare the Clock Components
- Cut the clock sides, top, and bottom using a dado blade to create L-shaped pieces. Miter the four corners at 45 degrees.
- Rip the sides of the outer box to the final thickness (5/8 inch).
- Cut the bottom of the outer box to the final thickness (5/8 inch).
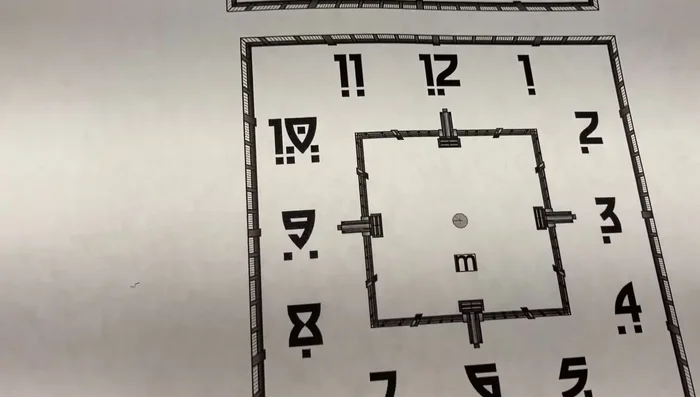
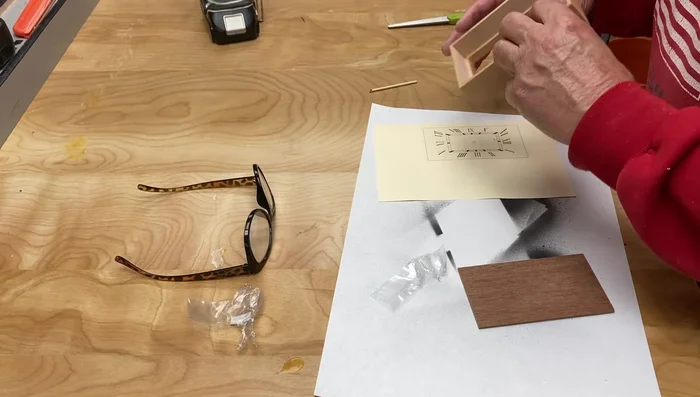
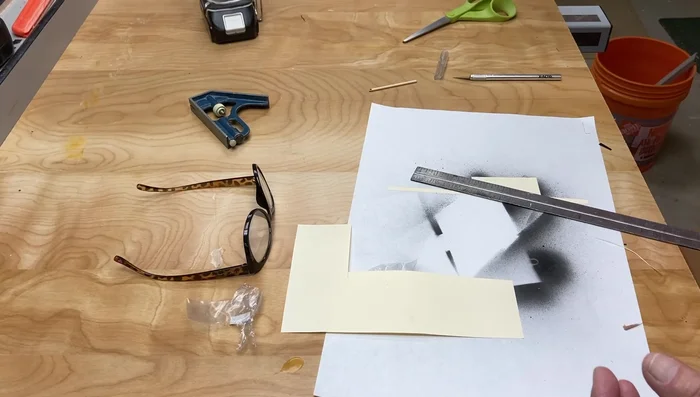
- Print clock faces and carefully trim them to fit the inner box.

Prepare the Clock Components - Adhere the printed clock face to a piece of plywood using spray contact adhesive. Trim excess paper.
Prepare the Clock Components Assemble the Outer Box
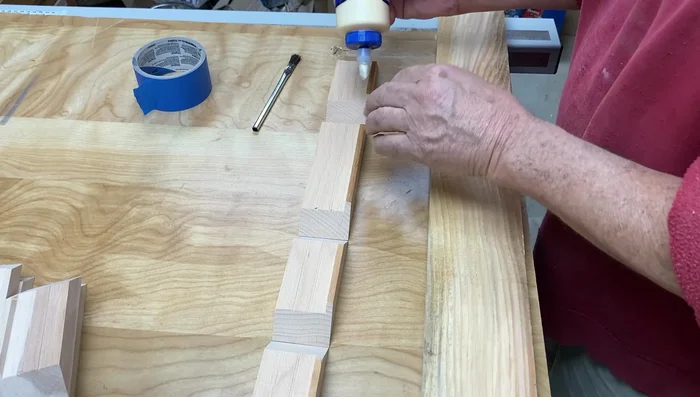
- Assemble the outer box using painter's tape as hinges. Apply glue liberally to all surfaces.
- Clamp the box overnight to ensure a strong bond.
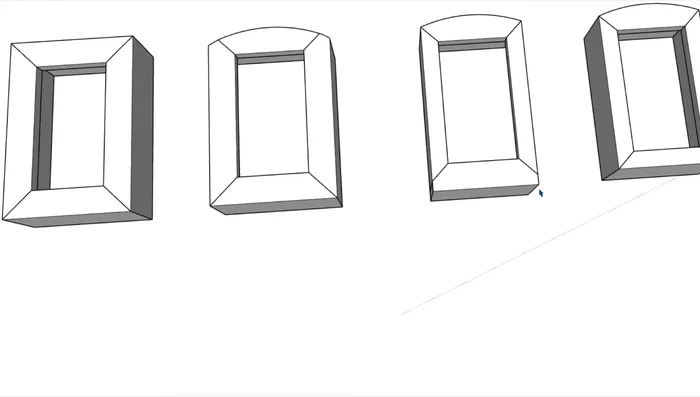
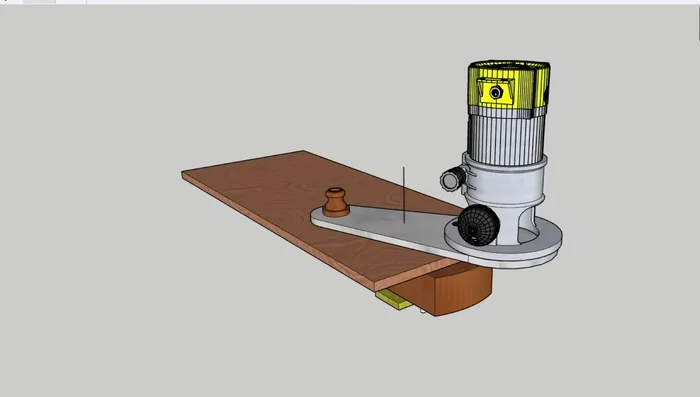
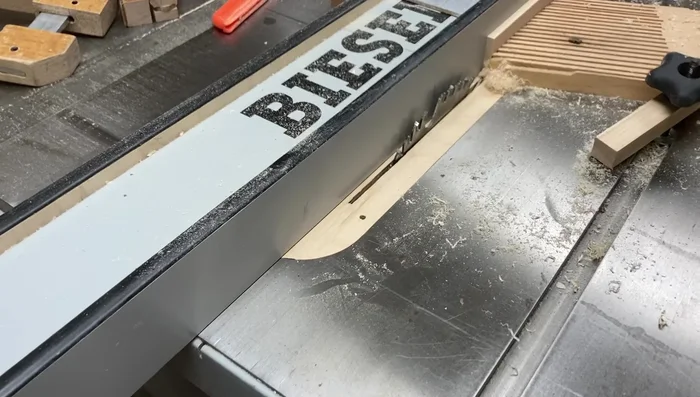
- Cut the curve on the top of the outer box using a jig, a flush trim router bit, and a plunge router. Make multiple passes to avoid tear-out.
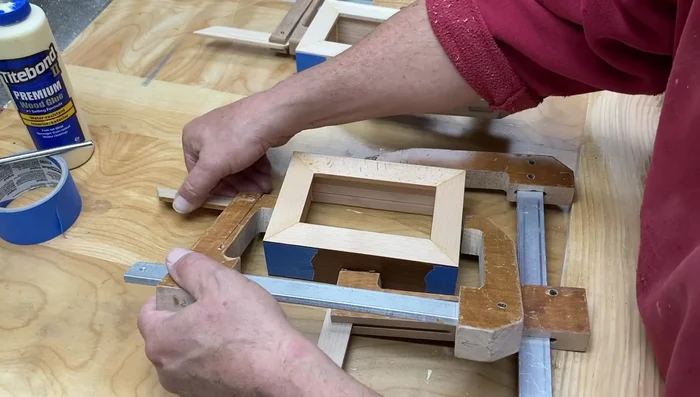
Assemble the Outer Box Construct the Inner Box
- Create the inner box using the same method as the outer box. Make sure to create a rabbet to hold the clock face and glass.
Construct the Inner Box Prepare the Clock Face
- Drill a hole in the center of the plywood clock face for the clock movement shaft. Use a drill press and protect the paper face.
Prepare the Clock Face Final Assembly
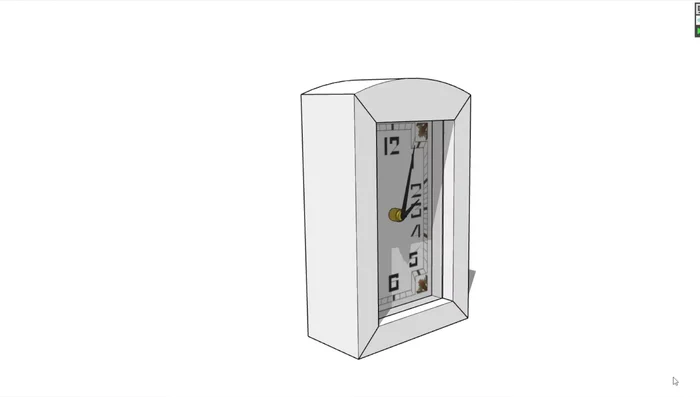
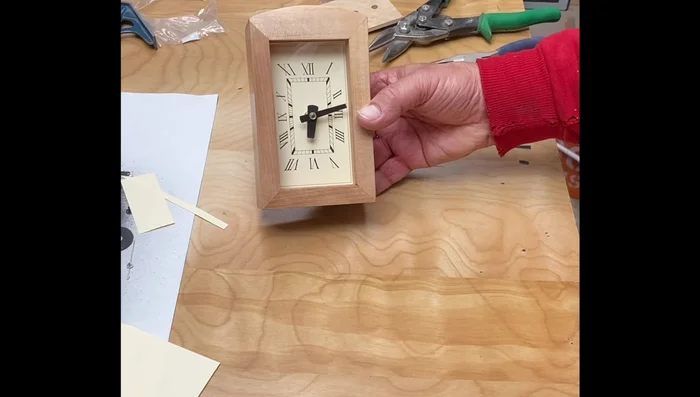
- Insert the clock face into the inner box, add the clock movement, slide in the glass, and secure with the back piece.
Final Assembly
Read more: DIY: Create Custom Canister Labels with Silhouette Cameo
Tips
- Use painter's tape as hinges for easy assembly and a strong bond.
- Leave extra material on the clock pieces before cutting the curve to prevent tear-out.
- Use a drill press to create a clean hole for the clock movement shaft.
- Get glass cut at a local glass shop – it's inexpensive.