Carve out some spooky fun this Halloween with this lightning-fast tutorial on creating a captivating glass-on-glass mosaic jack-o'-lantern votive! Forget tedious carving; this project utilizes the vibrant beauty of pre-cut glass tiles for a stunning, unique, and surprisingly speedy alternative to traditional pumpkin decorating. Imagine the warm glow of candlelight filtering through your handcrafted masterpiece, a testament to your creativity and speed. This isn't your grandma's pumpkin decorating—prepare to be amazed at how quickly you can transform ordinary glass tiles into a festive and elegant Halloween centerpiece.
This project is perfect for beginners and seasoned crafters alike, promising a rewarding experience without the time commitment of more complex mosaic projects. Forget waiting days for your creation to dry; this technique focuses on efficiency and breathtaking results. Ready to get started on your own shimmering jack-o'-lantern? Let's dive into the step-by-step process!
Preparation and Safety Guidelines
- Glass cutter
- Running pliers
- Wheeled glass nippers
- Tweezers
- Wood craft stick
- Lexel (clear silicone adhesive)
- Wax paper
- Toothpick
- Thinset mortar
- Black oxide
- Paper towels
- Always wear safety glasses to protect your eyes from flying glass fragments during cutting and tiling.
- Use appropriate cutting tools (glass cutter, running pliers) and work on a stable, padded surface to prevent glass breakage and injury.
- Handle glass pieces with care to avoid cuts. Wash hands thoroughly after handling glass.
Step-by-Step Instructions
Substrate Preparation
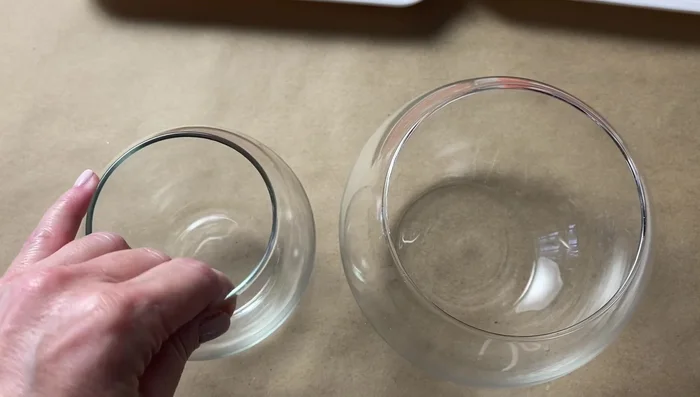
- Prepare the substrate (clean the glass votive)

Substrate Preparation Tesserae Preparation
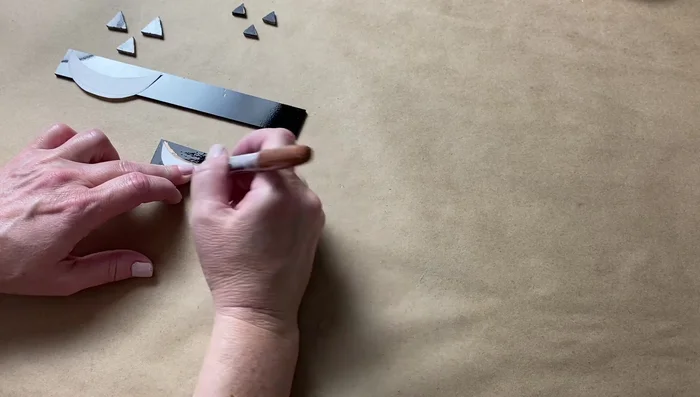
- Prepare the tesserae (cut stained glass to desired shapes and sizes)
Tesserae Preparation Adhesive Application (Method 1)
- **Efficient Tiling Method:** Apply a thin layer of Lexel directly to the votive's surface. Place tesserae directly onto the adhesive. This method is faster but requires more skill and speed to prevent adhesive drying.
Adhesive Application (Method 1) Adhesive Application (Method 2)
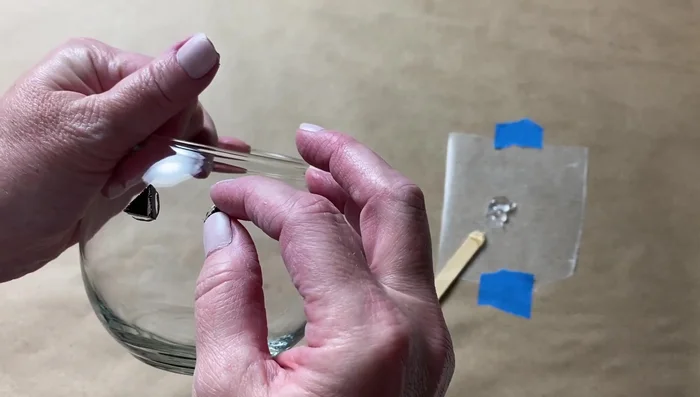
- Apply Lexel to the back of each tessera (butter the back). This is slower but minimizes mess and risk of adhesive showing between tiles.
Adhesive Application (Method 2) Tiling
- Tile the entire surface of the votive, leaving the bottom clear
Tiling Adhesive Curing
- Allow the adhesive to cure for at least 48 hours.
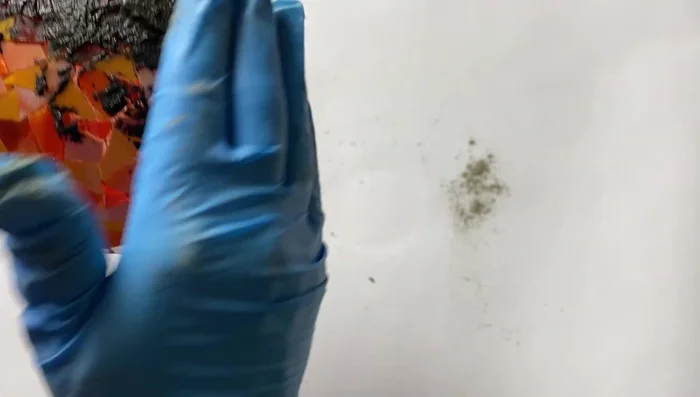
Grout Preparation
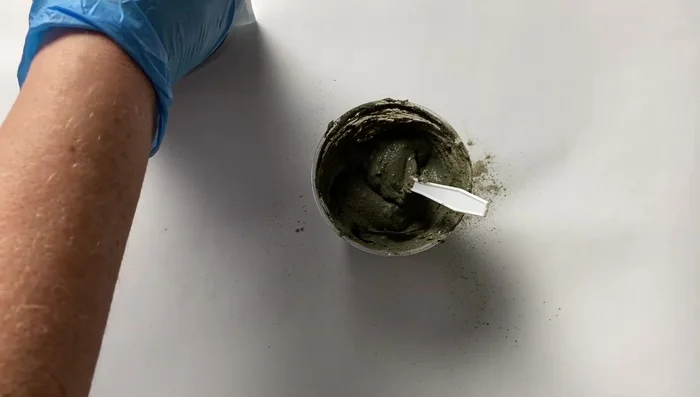
- Mix thinset mortar with black oxide for the grout.
Grout Preparation Grout Application
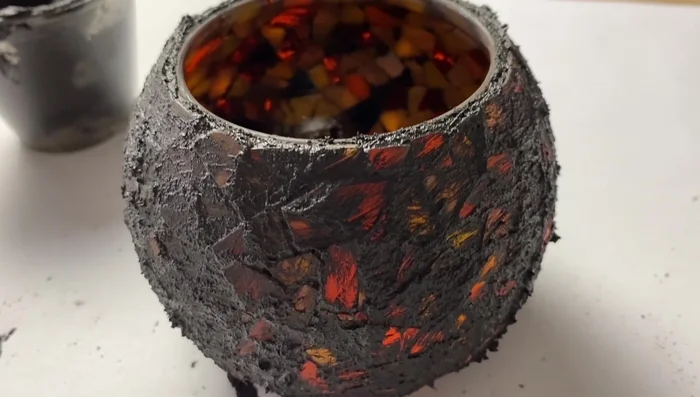
- Apply the grout, pushing it into the grout lines.
Grout Application Grout Setting
- Let the grout set for 10 minutes
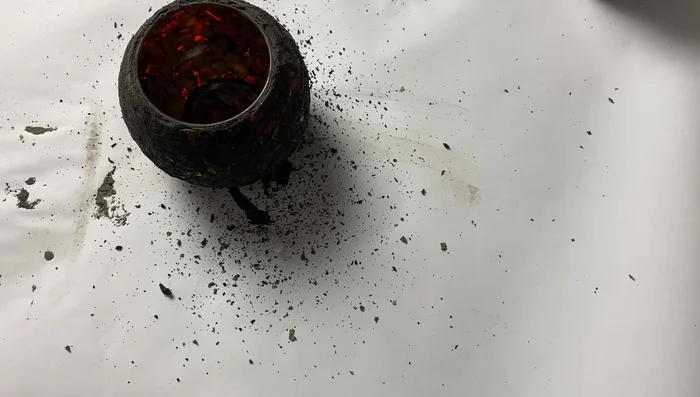
Grout Setting Excess Grout Removal
- Remove excess grout using paper towels.
Excess Grout Removal


Read more: DIY: Create Custom Canister Labels with Silhouette Cameo
Tips
- Use a clear adhesive for glass-on-glass mosaics to allow light to show through.
- Use a fortified grout (like thinset) for glass substrates to prevent cracking and ensure adhesion.
- Butter the back of each tessera with adhesive for a cleaner, less messy application and to reduce grout bleed.
- Clean tools and hands with olive oil and paper towels to remove sticky silicone adhesive.
- Maintain consistent, small grout lines for a clean finish, especially with small tesserae.