Honeycomb fume marble, with its captivating blend of swirling colours and translucent depth, offers a unique and visually stunning material for crafting exquisite pendants. This captivating stone, often featuring vibrant hues reminiscent of sunsets or deep oceans, lends itself beautifully to jewelry making, creating pieces that are both elegant and strikingly individual. The intricate patterns within each piece ensure that no two pendants are ever truly alike, making them perfect for showcasing one's personal style or creating a truly one-of-a-kind gift.
This guide will take you through a detailed, step-by-step process of transforming a piece of honeycomb fume marble into a beautiful, wearable pendant. From selecting the perfect slab to the final polishing touches, we'll cover every stage, providing helpful tips and techniques to ensure your creation is both stunning and durable. Let's begin!
Preparation and Safety Guidelines
- Saw
- Lap wheel
- Nippers
- Kiln
- 10 mil rod
- Tweezers
- Marble mold
- Graphite
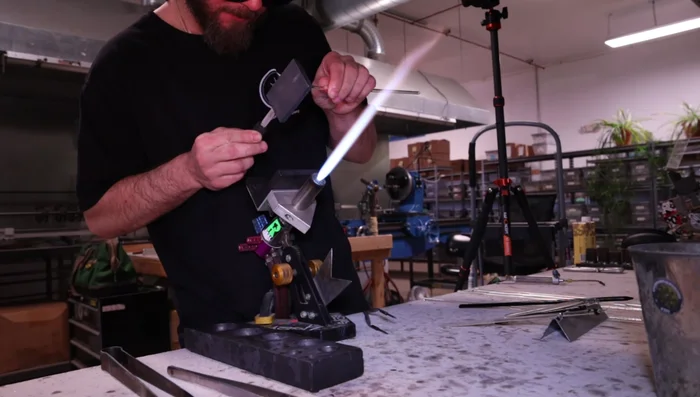
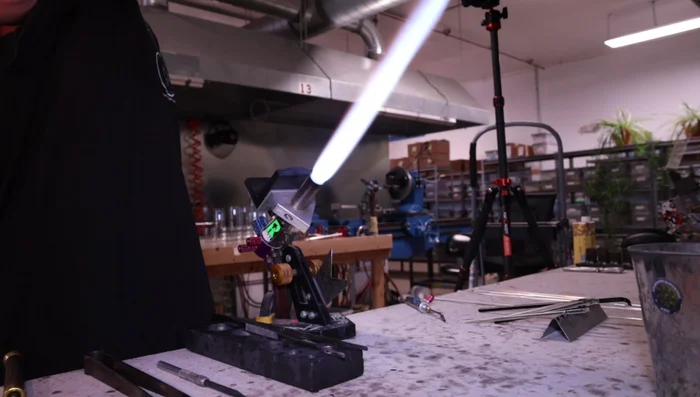
- Hand torch
- Onyx
- Always wear a respirator mask when working with resin and pigments to avoid inhaling harmful fumes. Proper ventilation is crucial.
- Use gloves to protect your skin from resin and pigments. Resin can cause skin irritation.
- Work in a well-ventilated area away from open flames and heat sources. Resin is flammable.
Step-by-Step Instructions
Preparing the Millie
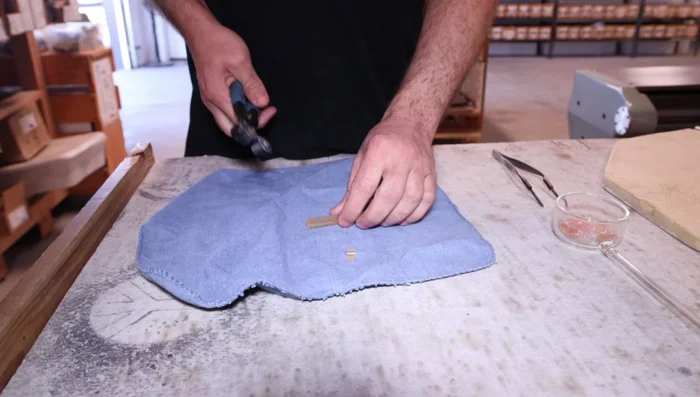
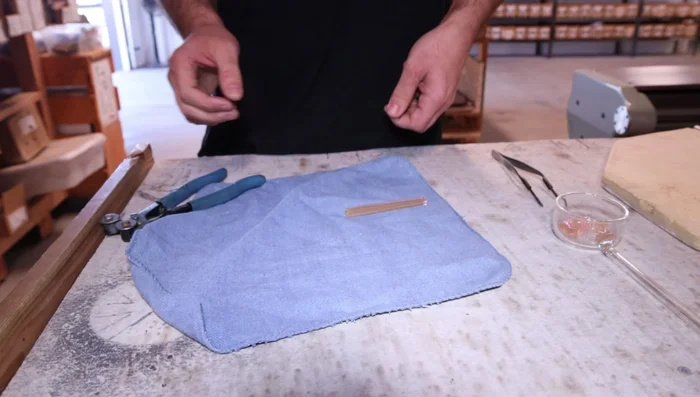
- Cut Millie into small chunks (at least 1/16 inch thick).
- Place Millie chunks in a kiln and let them soak to avoid shocking them when applying flame.

Preparing the Millie Creating the Honeycomb Core
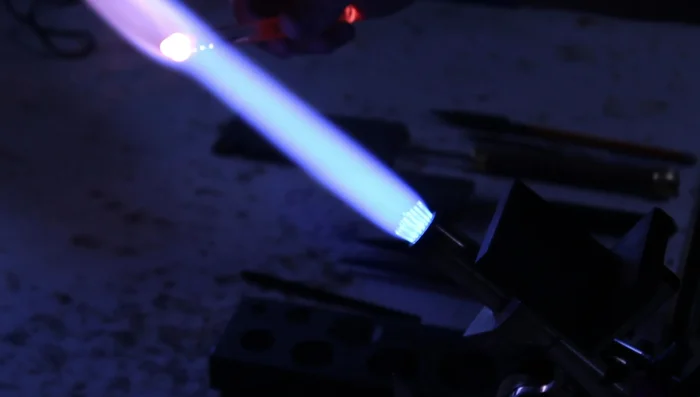
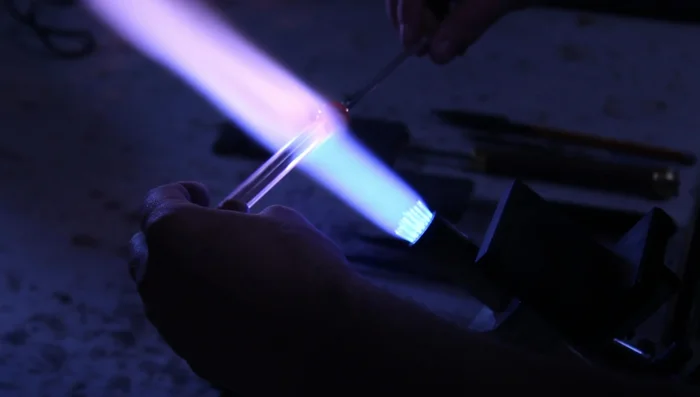
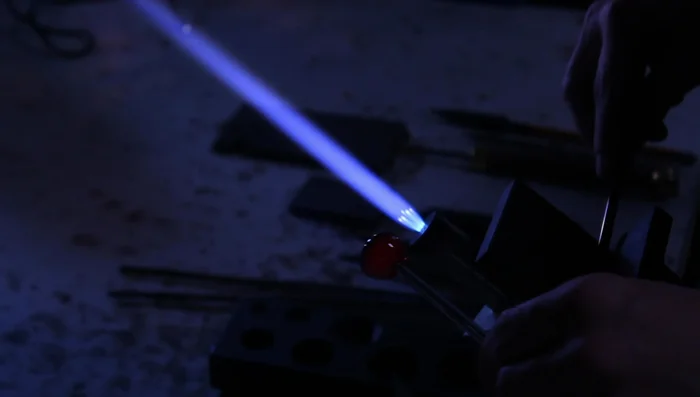
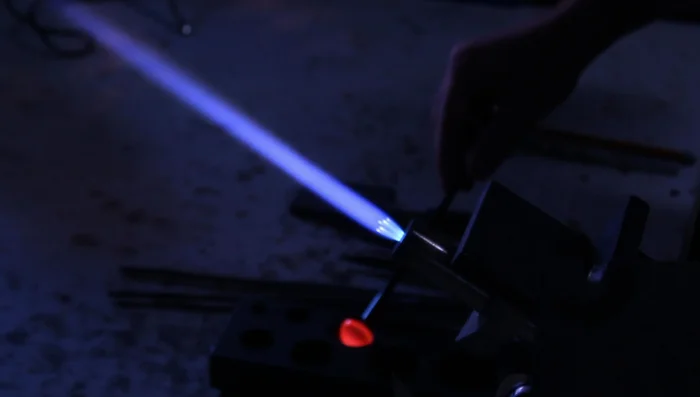
- Heat up a 10 mil rod for lensing.
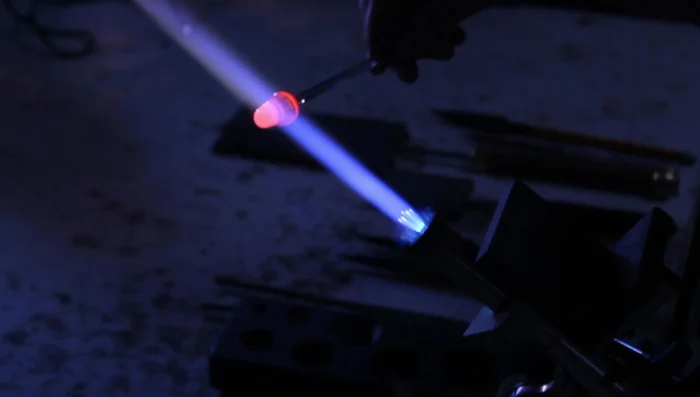
- Lens the Millie by heating the lens material hotter than the Millie and carefully attaching it to the edge.
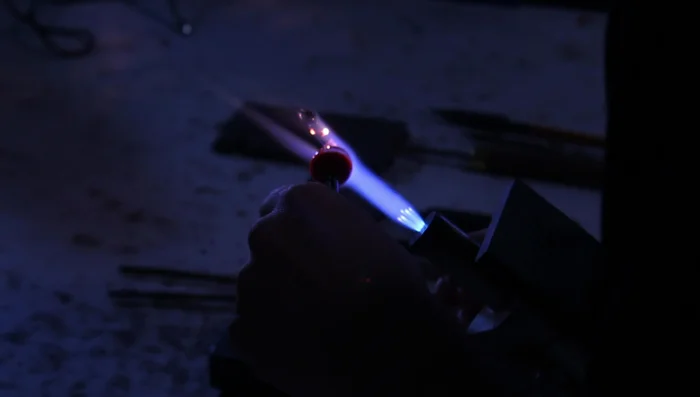
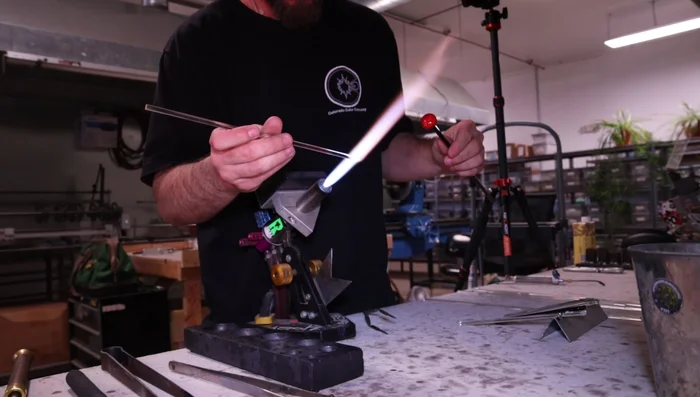
- Attach Onyx to the Millie by heating the Onyx more than the Millie, focusing on the outer edge of the flame to avoid distorting the image.
- Gather black glass and attach it to the back of the Millie, ensuring it covers all edges.
Creating the Honeycomb Core - Heat and melt the marbles together using one hand to prevent image distortion.
Creating the Honeycomb Core Building the Backside
- Heat the marble mold to reduce moisture and dust.
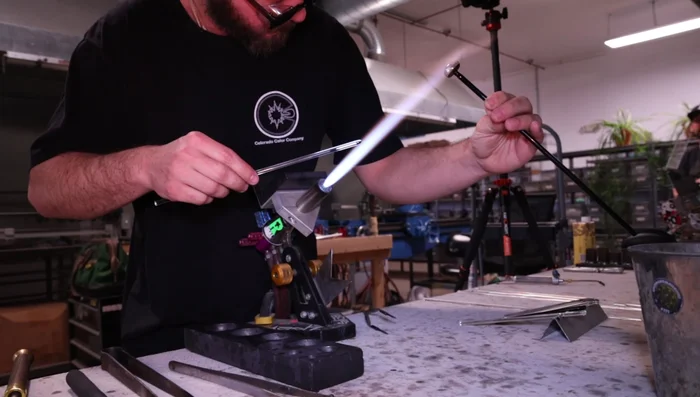
- Gather clear glass and attach it to the back of the marble, ensuring an even and straight gather.
- Attach additional Onyx to the clear glass to avoid clear blips on the back.
Building the Backside Forming the Lens
- Gather clear glass to create a lens for the marble.
- Use gravity to help gather and shape the lens, avoiding distortion.
- Round out the front of the lens after a good gather.
Forming the Lens Initial Pendant Shaping
- Attach a piece of 6 mil clear glass to the front of the marble to begin pendant formation.
- Remove the punty and excess glass, ensuring a smooth finish.
- Melt in the back again, focusing heat on the black glass to create a flat back.
Refining the Shape
- Use smaller molds to refine the marble shape.
- Create a flat back for the pendant, using gravity to help shape it.
Refining the Shape Attaching the Punty
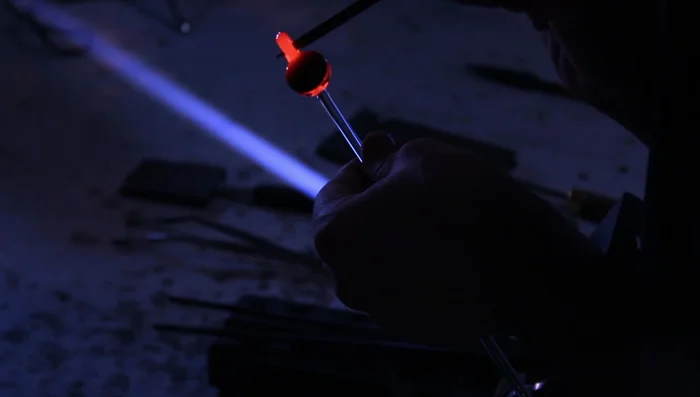
- Attach Onyx to the back of the pendant as a punty.
Attaching the Punty Final Shaping and Refinement
- Remove any excess clear glass to prevent distortion of the lens.
- Use gravity to flatten the front of the pendant, preserving a round concave image.
Final Shaping and Refinement Adding the Hanging Loop
- Determine the top and bottom of the pendant and punty to the bottom.
- Add a loop to the pendant.
- Melt and smooth the loop, ensuring it is wide enough for a cord.
Adding the Hanging Loop Finalizing and Removing the Punty
- Heat the back of the pendant to prevent cracking before removing the punty.
Finalizing and Removing the Punty


Read more: DIY: Create Custom Canister Labels with Silhouette Cameo
Tips
- Use a saw and lap wheel, or nippers in a pinch, for cutting Millie.
- Heat the lensing material hotter than the Millie to ensure proper bonding.
- Use one hand to melt marbles together to avoid image distortion.
- Heat your mold before using it to reduce sticking.
- Use gravity to help shape your glass for a more natural look.