Have you ever admired the breathtaking beauty of a sunset painted across a rugged landscape, the vibrant hues bleeding into one another in a mesmerizing gradient? Capturing that same dramatic effect on rocks, whether in a photograph or a digital painting, can elevate your creative projects to a whole new level. Imagine the possibilities: stunning backgrounds for websites, captivating textures for game design, or even unique artwork for your home. The rich interplay of color and texture creates a visual depth that's both captivating and incredibly versatile.
This tutorial will guide you through the process of creating your own stunning gradient backgrounds on rocks, perfect for any project that demands a touch of natural artistry. From selecting the right colors and techniques to mastering the blending process for a seamless effect, we’ll explore various methods to achieve these captivating gradients, providing you with the tools and knowledge to unleash your creativity. Let's dive into the step-by-step instructions and begin crafting your masterpiece!
Safety Guidelines
- Always prioritize safety. Wear appropriate safety gear including eye protection, gloves, and a dust mask when working with paints and chemicals, especially outdoors.
- Choose paints and sealants specifically designed for outdoor use and rock surfaces to ensure longevity and prevent damage to the environment. Check local regulations regarding painting on natural surfaces.
- Test your paint and sealant on a small, inconspicuous area of the rock first to ensure compatibility and to check the final color appearance before applying it to the entire surface.
Methods: Creating Gradient Backgrounds with Sponge Brushes
Tools Needed
- Foam brushes
- Acrylic paints
Step-by-Step Instructions
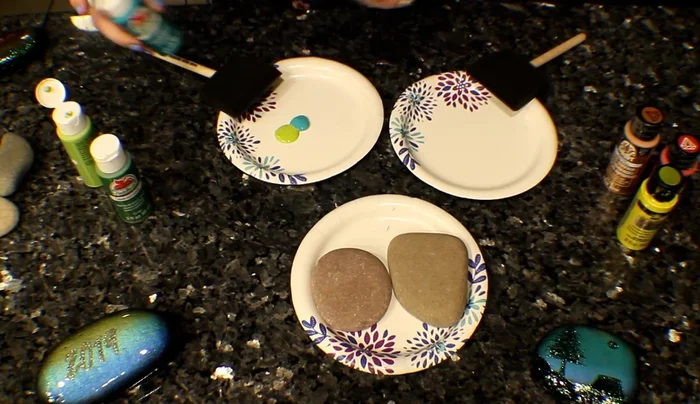
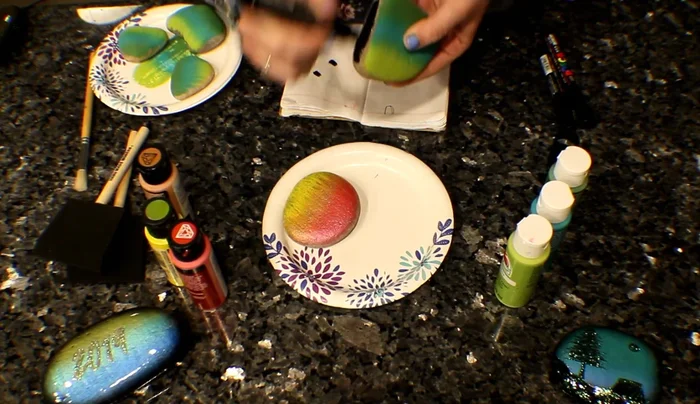
Prepare the Paints
- Place blobs of paint next to each other on a plate.

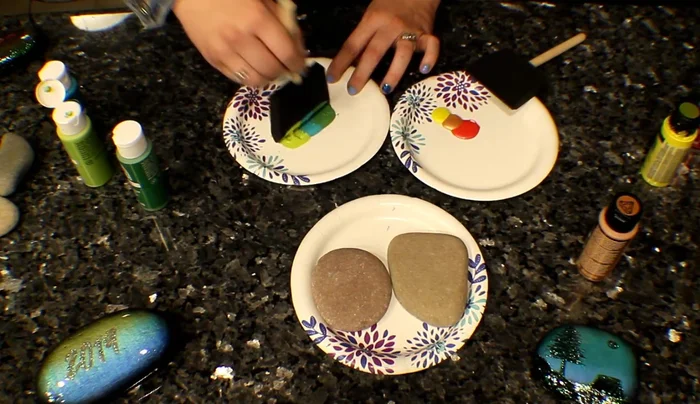
Prepare the Paints Prepare the Sponge Brush
- Dip both sides of the sponge brush into the paint, ensuring it's saturated.
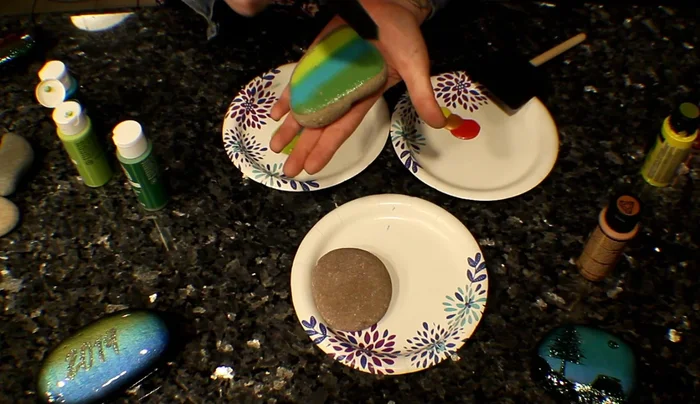
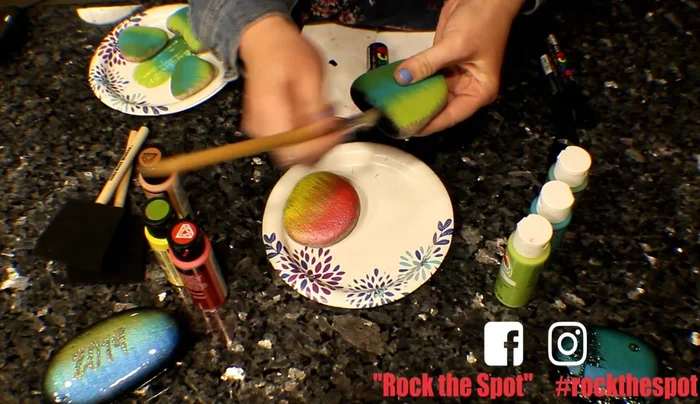
Prepare the Sponge Brush Apply Paint with Swiping Technique
- Apply the brush to the rock, using swiping motions to blend the colors. The more swipes, the better the blend.
Apply Paint with Swiping Technique Apply Paint with Dabbing Technique
- Alternatively, use a dabbing technique for more paint coverage and a slightly different look.
Apply Paint with Dabbing Technique

Tips
- Test paint consistency before applying it to the rock.
- Choose colors that blend well together to avoid muddy results.
Methods: Adding a Black Fade with Paska and Stencil Brush
Tools Needed
- Paska paint
- Stencil brush
Step-by-Step Instructions
Prepare the Paska Paint
- Prime your paska and ensure you have enough paint.
Prepare the Paska Paint Apply Paska Base
- Apply paska paint around the edge of the rock.
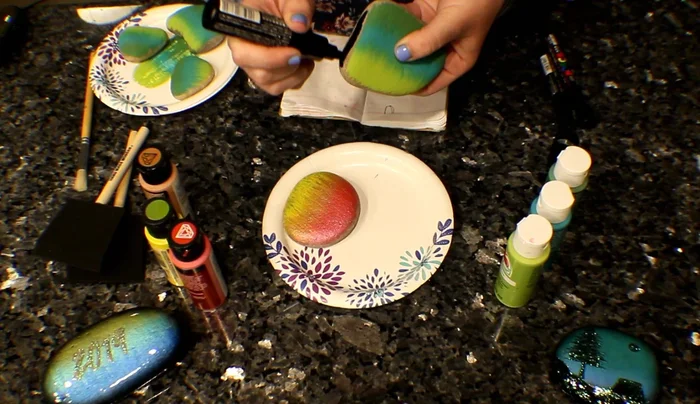
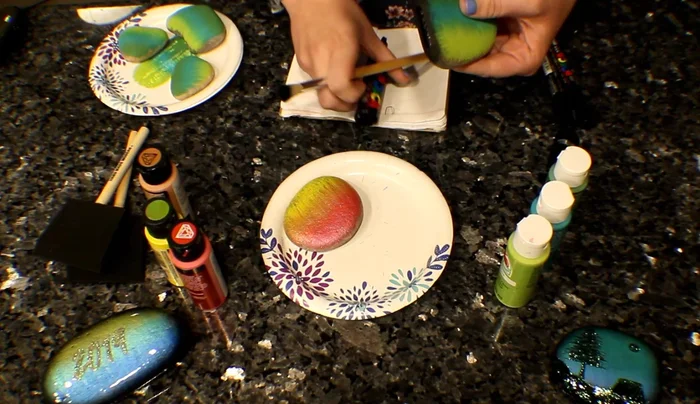
Apply Paska Base Blend with Stencil Brush
- Use a stencil brush to blend the paska, creating a fade.
Blend with Stencil Brush Refine and Soften the Fade
- If needed, add more paska and blend again for a softer fade. Work underneath any hard lines to smooth them out.
Refine and Soften the Fade
Tips
- Paska dries faster than acrylic paint.
- Choose a color that complements your gradient background.
Read more: Ultimate Stenciling Techniques: Achieve Professional Results with These Easy Steps