Stencils offer a surprisingly versatile and accessible route to creating stunning artwork, from intricate wall designs to personalized clothing and even unique home décor. Whether you're a seasoned artist or a complete beginner, mastering the art of stenciling can unlock a world of creative possibilities, transforming plain surfaces into breathtaking masterpieces. The seemingly simple process holds hidden nuances that can significantly impact the final result, leading to either amateurish blots or truly professional-looking designs. This is why understanding the correct techniques is paramount.
This guide will equip you with the knowledge and skills to achieve flawlessly executed stencil projects every time. We'll delve into the essential steps, from choosing the right stencil and preparing your surface, to applying paint effectively and achieving clean, crisp lines. Ready to elevate your stenciling game and discover the secrets to professional-looking results? Let's dive into our step-by-step process.
Safety Guidelines
- Always use a well-ventilated area when working with stencils and spray paints, as the fumes can be harmful. Wear a respirator mask for added protection.
- Secure your stencil firmly to the surface to prevent slippage and blurry lines. Use painter's tape or stencil adhesive, depending on the surface and project.
- Apply paint in thin, even coats to avoid bleeding under the stencil. Allow each coat to dry completely before applying the next.
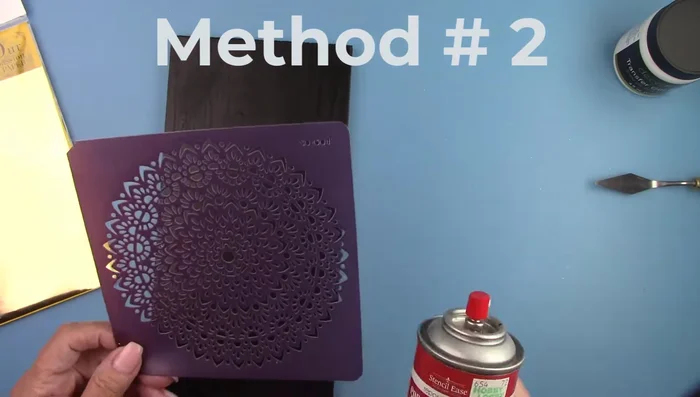
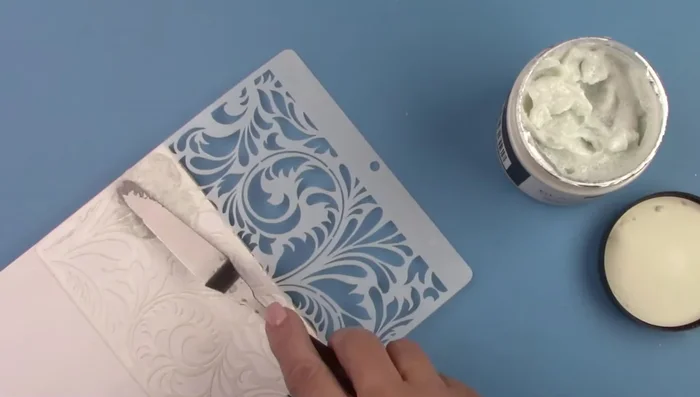
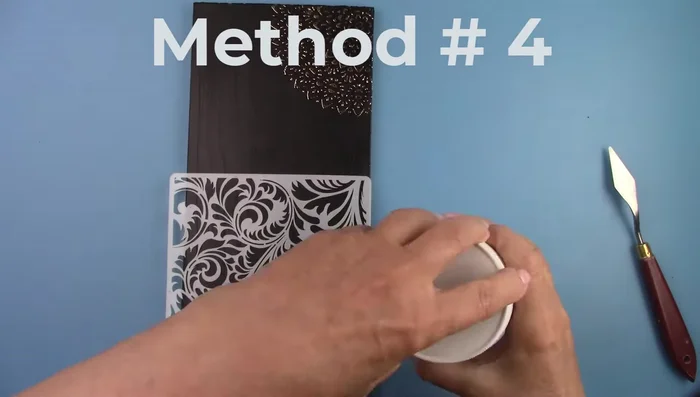
Methods: Raised Lettering with Modeling Paste
Tools Needed
- Stencil
- Repositionable spray adhesive
- Modeling paste
- Palette knife
- Gray paint
Step-by-Step Instructions
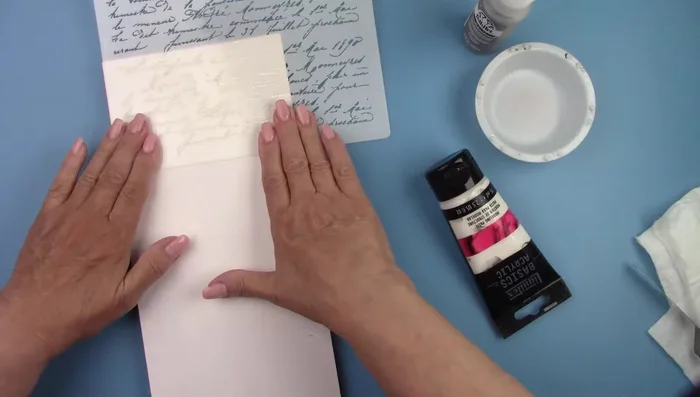
Prepare the Stencil
- Spray the back of your stencil with repositionable spray adhesive.

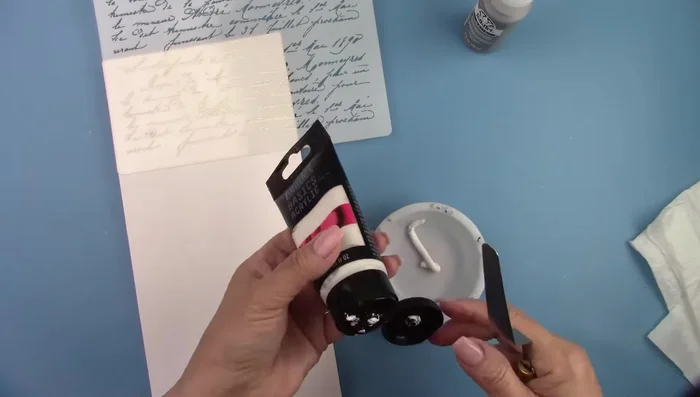
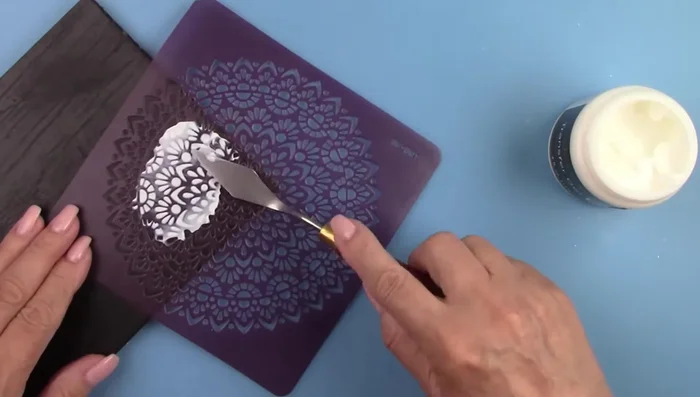
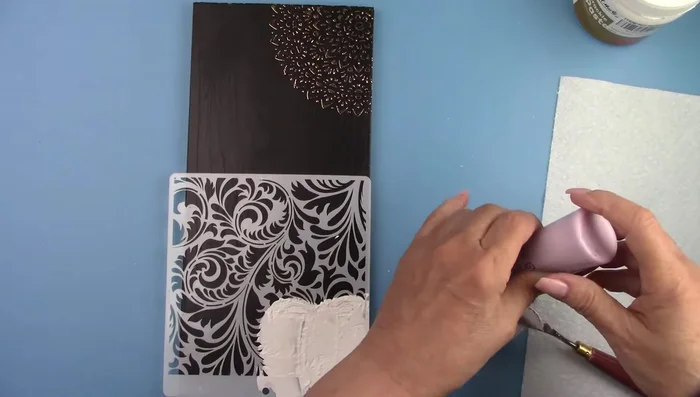
Prepare the Stencil Prepare the Modeling Paste
- Mix modeling paste with gray paint (or any desired color).
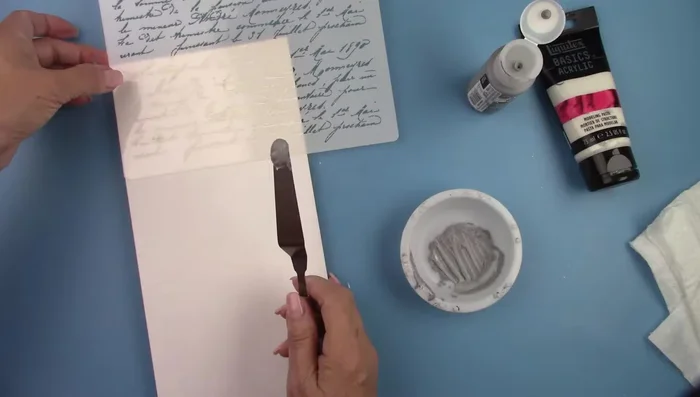
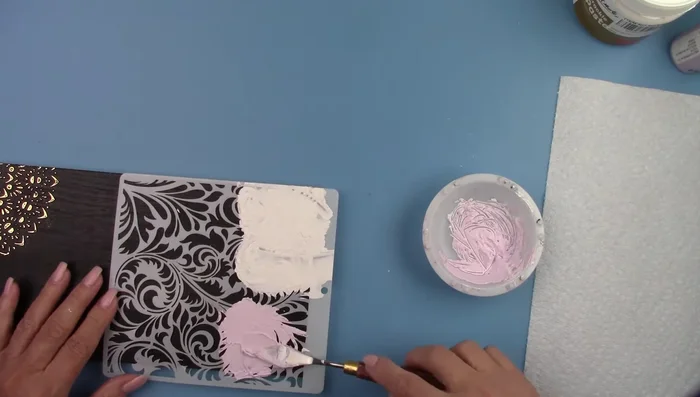
Prepare the Modeling Paste Apply the Paste
- Spread the paste over the stencil using a palette knife.
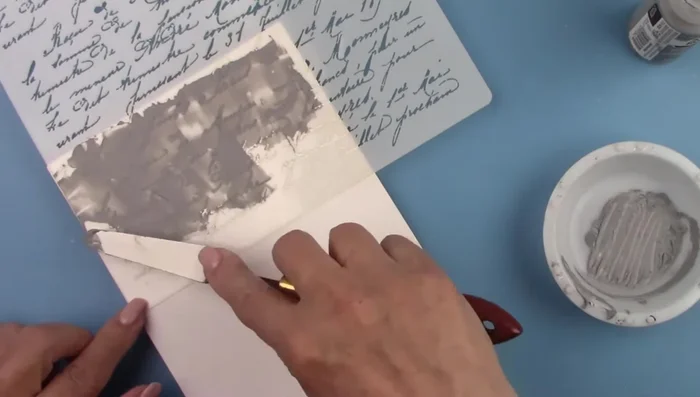
Apply the Paste Remove Stencil and Reveal Lettering
- Remove the stencil.
Remove Stencil and Reveal Lettering
Tips
- Wash your stencil immediately after use to prevent medium from drying on it.
- For a 3D effect, mix modeling paste with paint and use rubbing or dry brushing to make lettering stand out.
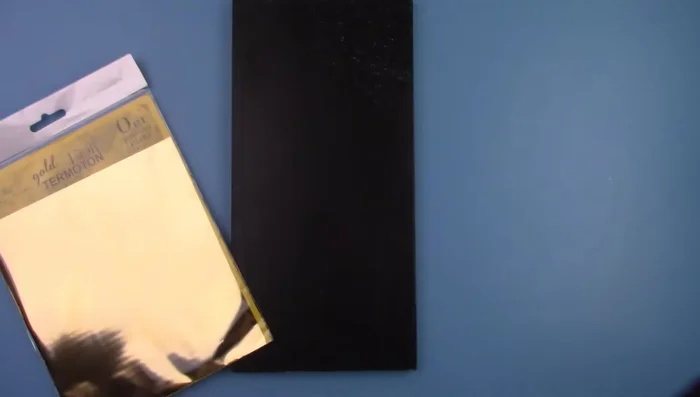
Methods: Gold Foil Transfer with Transfer Gel
Tools Needed
- Stencil
- Repositionable spray adhesive
- Transfer gel
- Palette knife
- Gold foil sheet
Step-by-Step Instructions
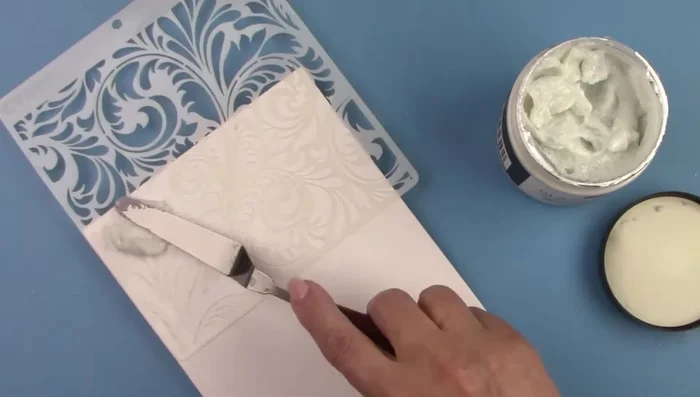
Prepare the Stencil
- Spray the stencil with repositionable adhesive.
Prepare the Stencil Apply Transfer Gel
- Apply transfer gel using a palette knife.
Apply Transfer Gel Apply Gold Foil
- Rub a gold foil sheet over the gel; the gold will stick where the gel is.
Apply Gold Foil
Tips
- Repositionable adhesive spray is crucial for precise stenciling, preventing movement and seepage.
Methods: Glass Bead Gel for Textured Effects
Tools Needed
- Stencil
- Repositionable spray adhesive
- Glass bead gel
- Palette knife
Step-by-Step Instructions
Prepare the Stencil
- Spray stencil with adhesive.
Prepare the Stencil Apply Glass Bead Gel
- Spread glass bead gel over the stencil using a palette knife.
Apply Glass Bead Gel Dry and Reveal
- Let it dry; it will dry clear, showcasing the glass beads.
Dry and Reveal

Tips
- Use rubbing or dry brushing to highlight glass beads after drying.
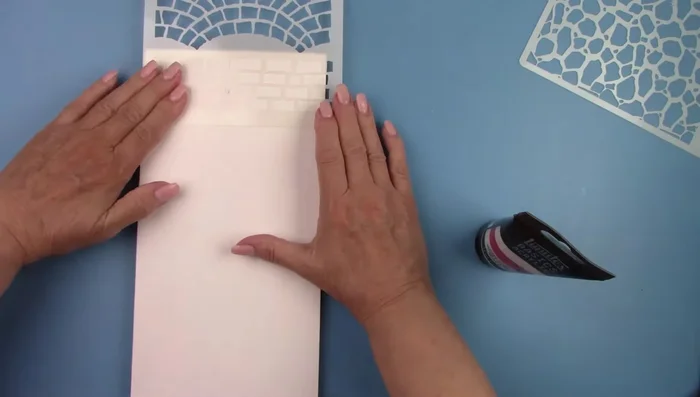
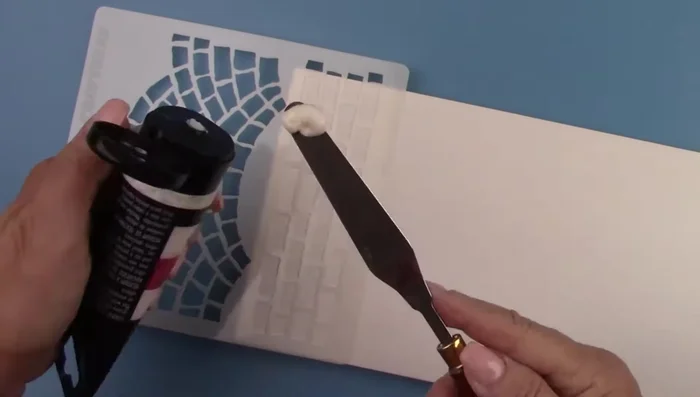
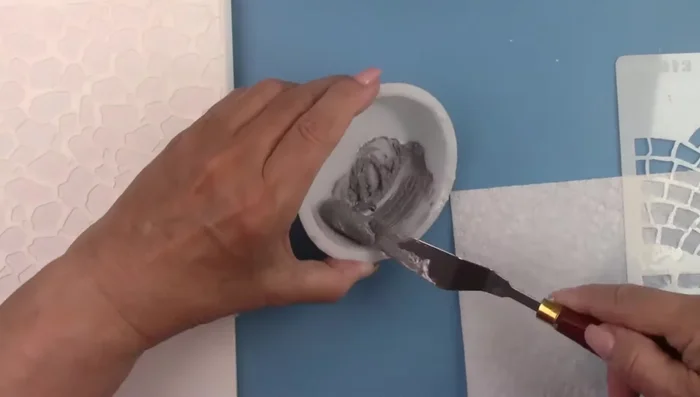
Methods: Creating Brick and Rock Textures with Coarse Texture Medium
Tools Needed
- Stencil
- Repositionable spray adhesive
- Coarse texture medium
- Palette knife
- Gray paint
Step-by-Step Instructions
Prepare Stencils
- Spray stencils with adhesive.
Prepare Stencils Create Brick Texture
- Spread texture paste over the stencil to create bricks and rocks.
Create Brick Texture Create Rock Texture
- Mix gray paint with texture paste (or any desired color) and spread over the stencil.
Create Rock Texture Finishing and Detailing
- Let it dry; paint the bricks and add rubs for highlights.
Tips
- Use contrasting colors to make the textures stand out.
Methods: Crackle Paste and Glitter for Unique Effects
Tools Needed
- Stencil
- Repositionable spray adhesive
- Crackle paste
- Paint
- Glass gel medium
- Glitter
Step-by-Step Instructions
Prepare the Stencil and Apply Crackle Paste
- Spray the stencil with adhesive and spread crackle paste over it.
- Add paint to some of the crackle paste and spread it over the stencil.
Prepare the Stencil and Apply Crackle Paste Dry and Reveal Crackle Effect
- Let it dry overnight for crackle effect to appear.
Dry and Reveal Crackle Effect Apply Glitter Gel Medium
- Mix glass gel medium with glitter, spread over the stencil and let it dry overnight.
Apply Glitter Gel Medium
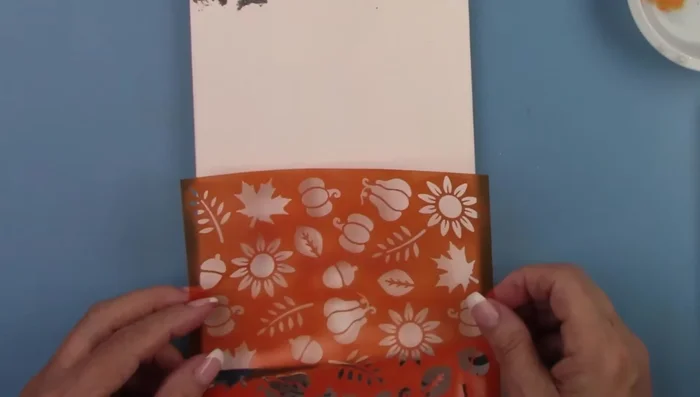
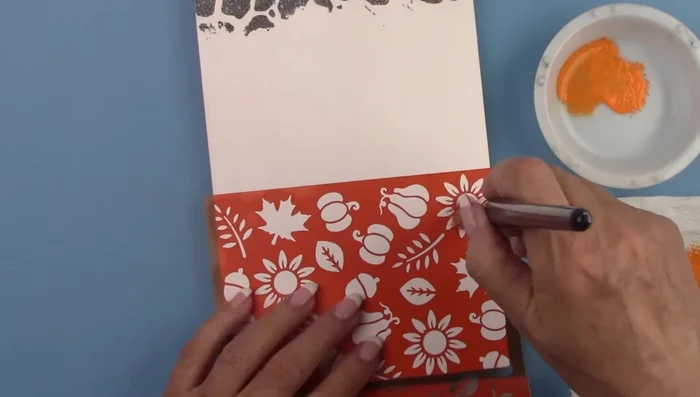
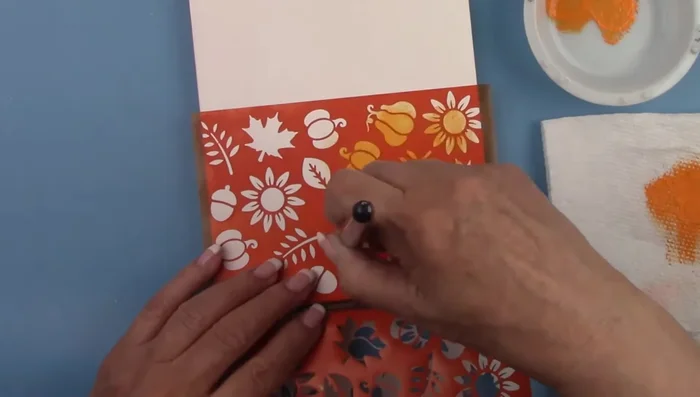
Methods: Perfect Paint Application with Stencils
Tools Needed
- Stencil
- Paint
- Stencil brush
- Paper towel
- Painter's tape (optional)
Step-by-Step Instructions
Prepare the Stencil
- Ensure the stencil is completely adhered.
Prepare the Stencil Apply Paint to Stencil
- Dip your brush in paint and rub off most of the paint on a paper towel.
- Hold your brush upright and lightly go in circles. Add more paint only if needed.
Apply Paint to Stencil
Tips
- Use a proper stencil brush for best results. The stiff bristles won't go under the stencil.
- To avoid going over the edge, use painter's tape along the stencil's edge.