Dive into the captivating world of glass fusing and create a truly stunning soap dish, perfect for adding a touch of oceanic elegance to your bathroom. This tutorial will guide you through the process of crafting a unique, under-the-sea-themed soap dish, using vibrant glass colours to evoke the beauty of the ocean depths. Imagine the swirling blues, greens, and perhaps even a touch of shimmering gold, all meticulously fused together to create a piece that is both functional and artistically breathtaking. The result will be a one-of-a-kind soap dish that's as beautiful as it is practical, a perfect gift or a delightful addition to your own home.
This project is surprisingly accessible, even for beginners in glass fusing. Whether you're an experienced artisan or just starting your glass fusing journey, this step-by-step guide will provide you with clear instructions and helpful tips to ensure your success. Let's begin crafting your stunning under-the-sea soap dish!
Preparation and Safety Guidelines
- Glass sheets
- Marine life embellishments (fish, shells, etc.)
- Glass kiln
- Kiln wash
- Mold
- Cutting tools
- Always wear safety glasses to protect your eyes from flying glass fragments during cutting and fusing.
- Use appropriate gloves to handle hot glass. The kiln and fused pieces will reach extremely high temperatures.
- Work in a well-ventilated area. Fusing glass can release fumes.
Step-by-Step Instructions
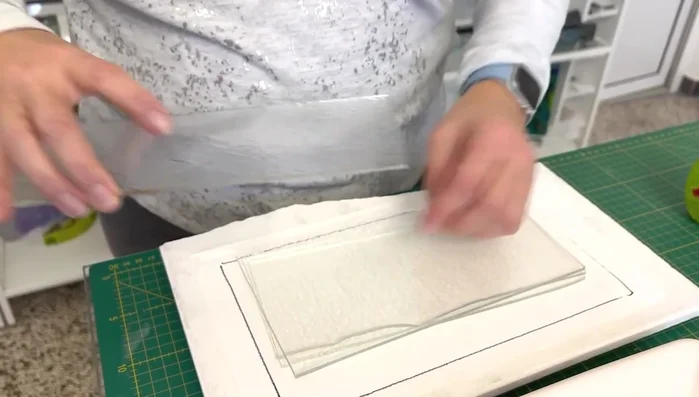
Prepare the Glass
- Cut glass sheets to fit the mold, ensuring a good fit.

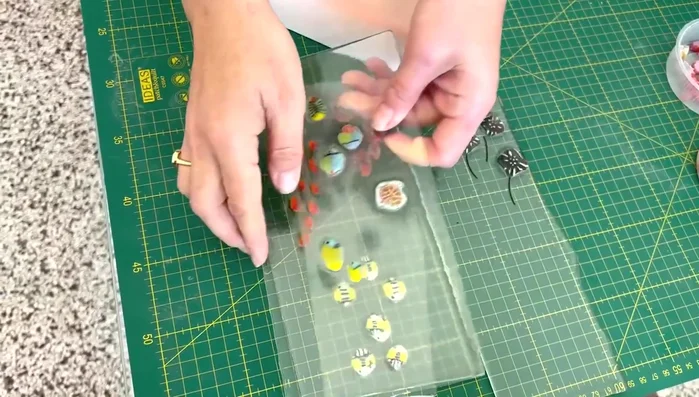
Prepare the Glass Prefuse Elements
- Pre-fuse layers of glass with marine life embellishments to maintain shape during the final fusing process.
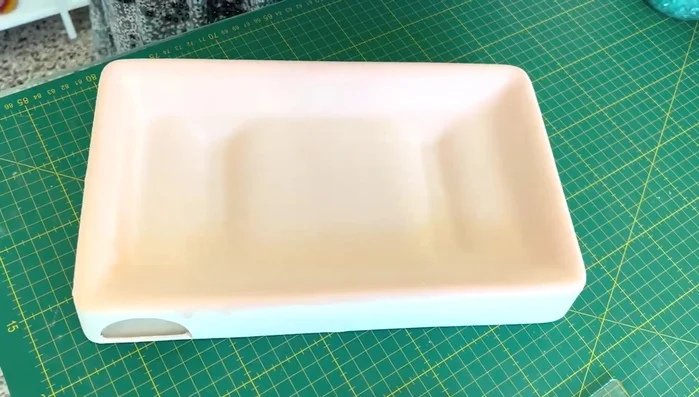
Prefuse Elements Prepare the Mold
- Coat the mold with kiln wash to prevent sticking.
Prepare the Mold Assemble the Layers
- Arrange the pre-fused glass layers in the mold.
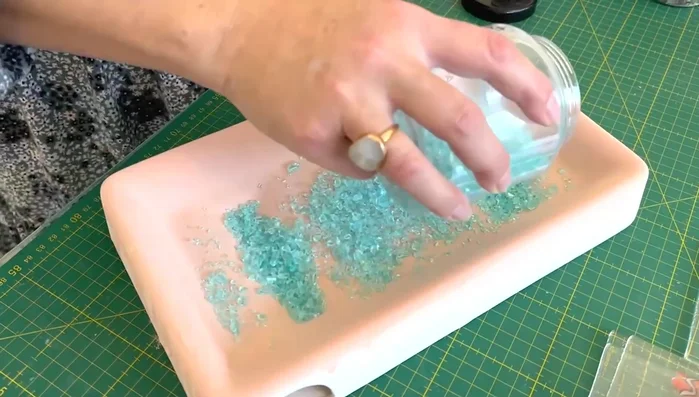
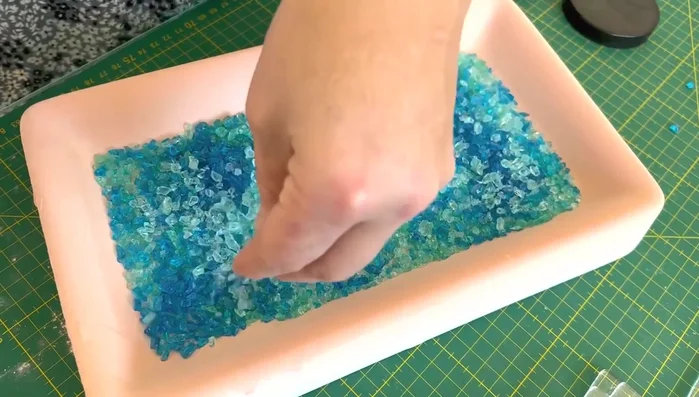
- Fill the bottom of the mold with a base layer of colored glass frits.
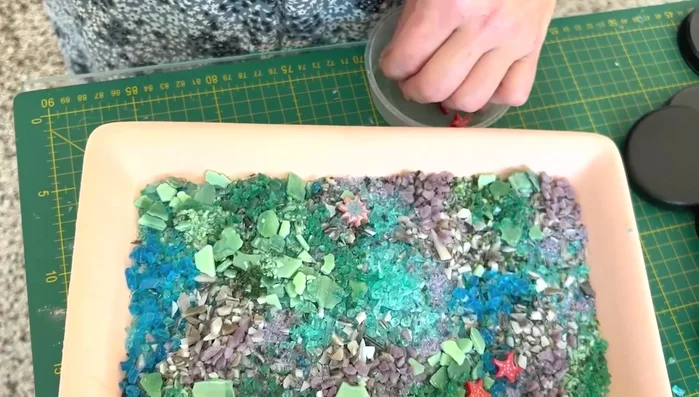
- Add additional layers of colored glass frits to create depth and texture.
- Carefully place marine life embellishments (fish, shells, anemones) into the glass layers.
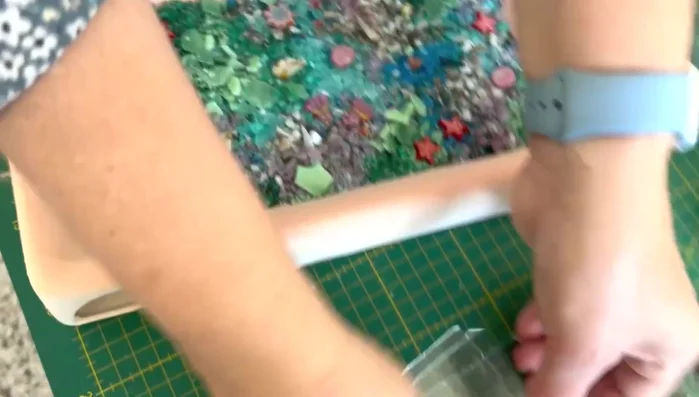
Assemble the Layers - Add any final touches and arrange the elements to achieve the desired look.
Assemble the Layers Kiln Firing
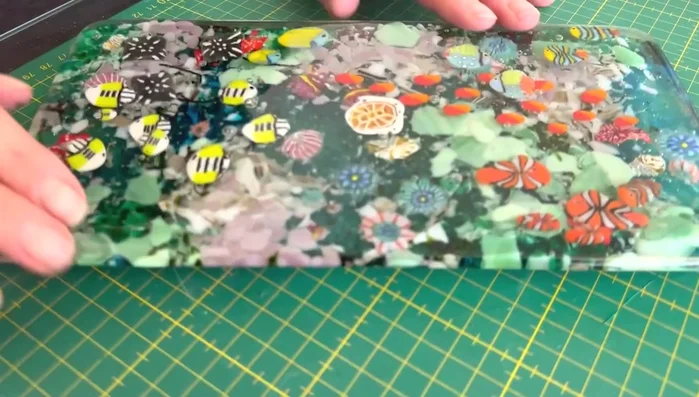
- Place the mold in the kiln and fuse the glass according to the kiln's instructions.
Kiln Firing

Read more: DIY: Create Custom Canister Labels with Silhouette Cameo
Tips
- Pre-fusing helps maintain the shape of the marine life and prevents them from squashing during the full fuse.
- Using kiln wash prevents the glass from sticking to the mold.
- Experiment with different colored glass frits to achieve your desired effect. Consider the overall look you want to create, rather than focusing too much on a bottom and top.
- Gently push the marine life into the frit layer to help secure their position.