Transform ordinary glassware into extraordinary wedding favors with the elegant art of glass etching! This unique and personalized touch adds a sophisticated charm to your special day, leaving guests with a cherished keepsake long after the celebrations end. Forget generic party favors; imagine instead, beautifully etched glasses showcasing your names, wedding date, or a meaningful design, reflecting your personal style and creating lasting memories. The process is surprisingly accessible, even for beginners, requiring only a few readily available materials and a steady hand.
This step-by-step guide will walk you through creating stunning etched glassware using stencils, offering clear instructions and helpful tips for achieving professional-looking results. From selecting your stencils and prepping your glassware to the etching process itself and final touches, we'll cover everything you need to know to craft unforgettable wedding favors that your guests will truly appreciate.
Preparation and Safety Guidelines
- Glass coasters
- Cricut machine
- 631 adhesive vinyl
- Transfer tape
- Fabric brayer
- Rubbing alcohol
- Armored Etch glass etching cream
- Fluffy brush
- Kitchen towel
- Twine
- White card
- Gold foil
- Always wear safety glasses to protect your eyes from glass shards and etching cream splashes.
- Work in a well-ventilated area. Etching cream fumes can be harmful if inhaled.
- Use gloves to prevent skin contact with the etching cream. It can cause irritation or burns.
Step-by-Step Instructions
Design and Stencil Creation
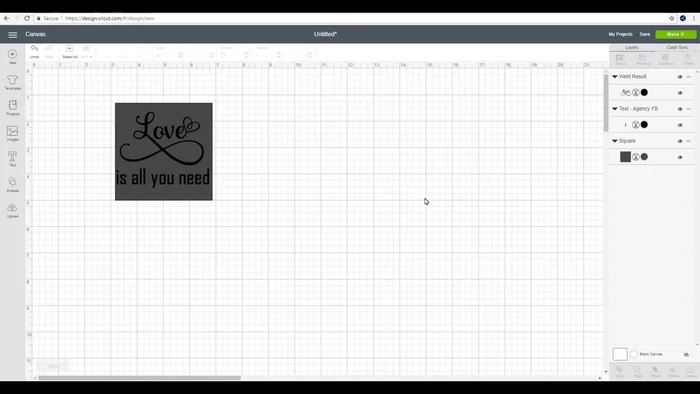
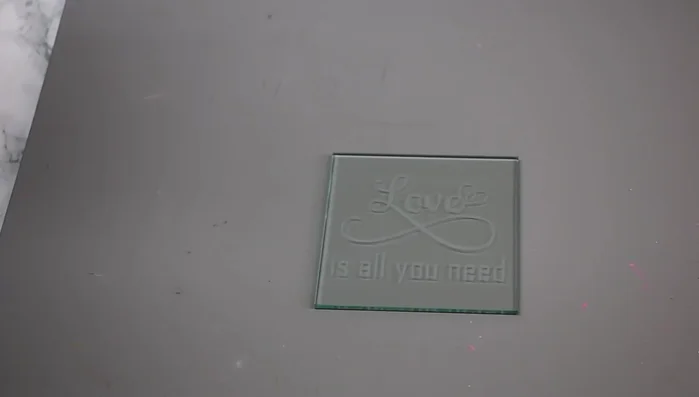
- Prepare your stencil design using design software. Size it to fit your glass coaster.
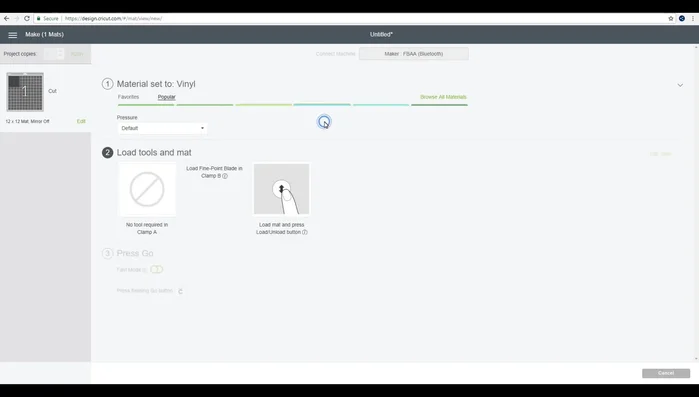
- Cut the stencil using your Cricut machine and 631 adhesive vinyl.
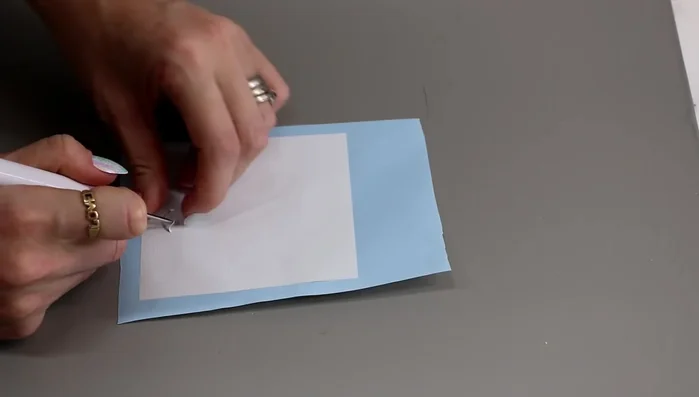
- Weed the excess vinyl from around your design.

Design and Stencil Creation Stencil Application
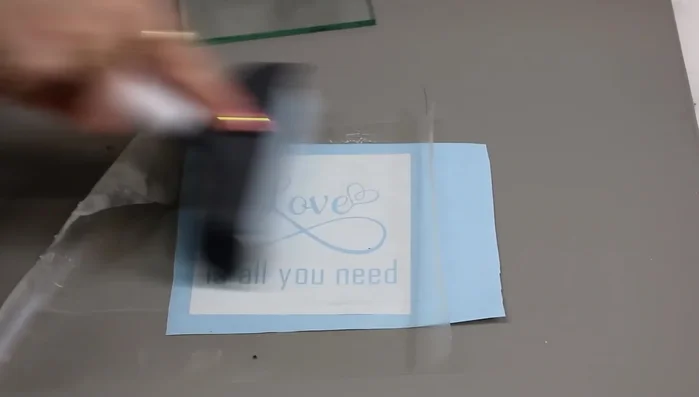
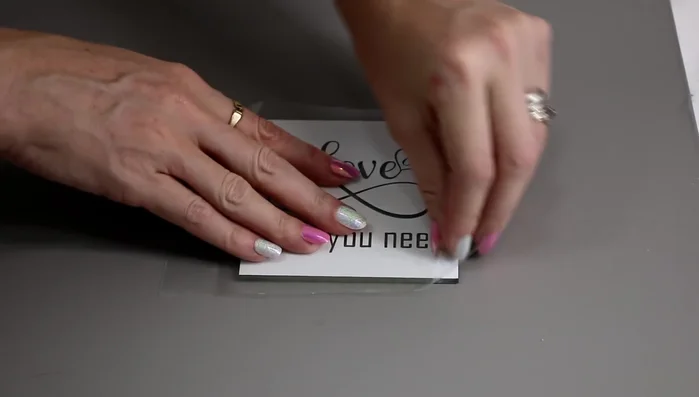
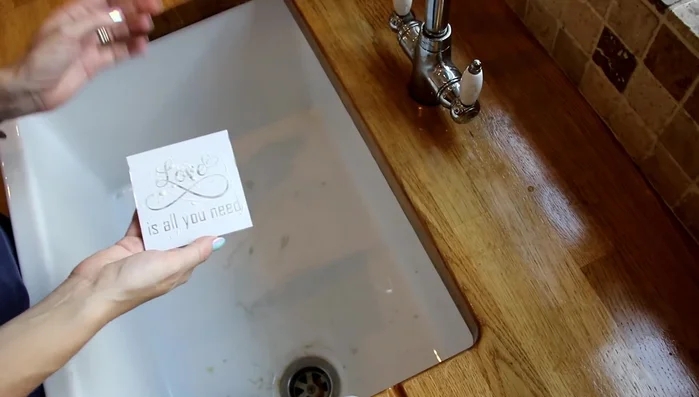
- Apply transfer tape to your stencil and transfer it to your glass coaster using a fabric brayer.
- Remove the transfer tape, leaving the stencil adhered to the glass.
- Roll over the stencil with a scraper to ensure it is firmly adhered and has no air bubbles.
Stencil Application Etching Process
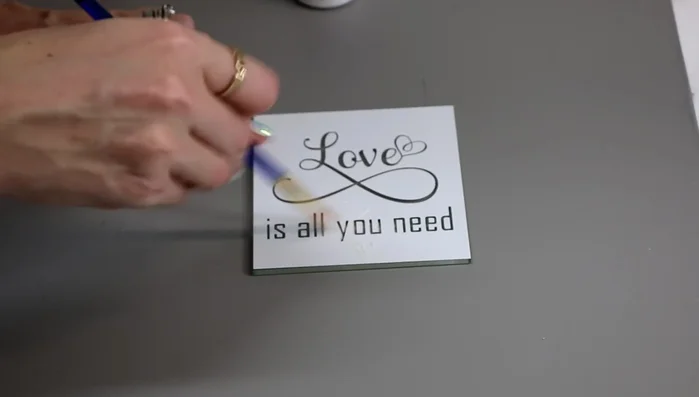
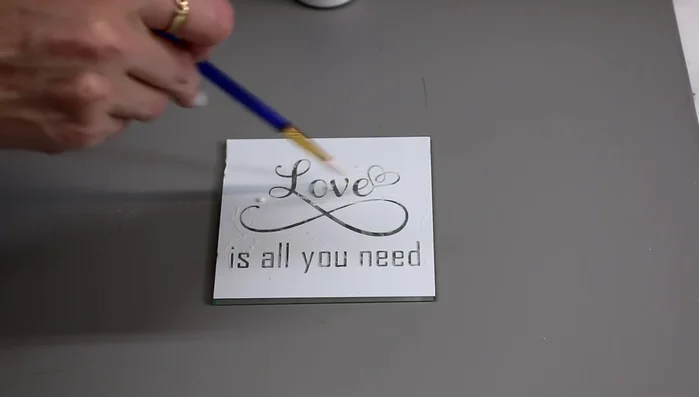
- Apply a thin, even coat of etching cream using a fluffy brush.
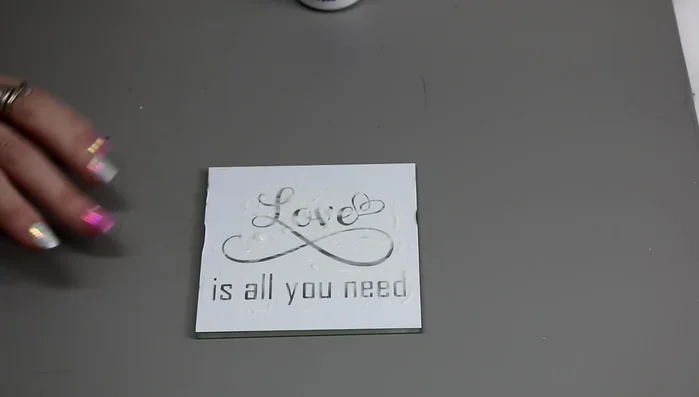
- Apply a second, thicker coat of etching cream ensuring even coverage.
- Let the etching cream sit for 20-25 minutes in a well-ventilated area.
Etching Process Cleaning and Finishing
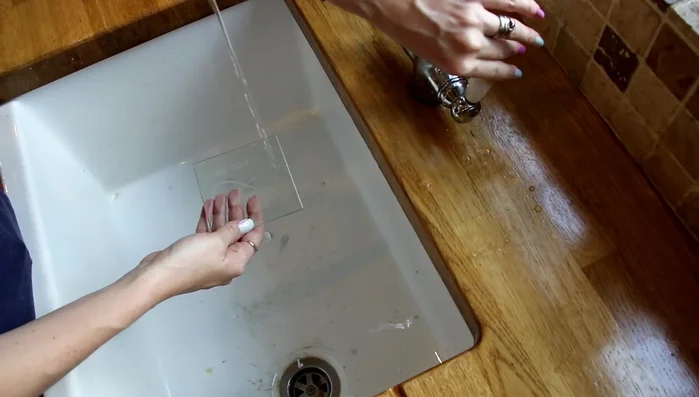
- Rinse the etching cream off under lukewarm water.
- Remove the stencil.
- Wash the coaster thoroughly with cold water and dry with a kitchen towel.
Cleaning and Finishing Packaging
- Add twine and a tag to complete the wedding favor.
Packaging


Read more: DIY: Create Custom Canister Labels with Silhouette Cameo
Tips
- Use 631 adhesive vinyl instead of 651 for easier stencil removal.
- Create a square around your text to ensure enough space around your stencil for easy application and avoid etching cream getting on unwanted areas.
- Use a high-quality fluffy brush for a smooth application of etching cream and avoid bristles falling into your project.
- Apply etching cream in thin coats for a smoother, more even finish.
- Turn the coaster over to check for any missed spots or unevenness in the etching cream application.