Add a touch of whimsical charm and vibrant color to your garden this year with these delightful fused glass tomato garden stakes! Forget plain, boring stakes; this simple project lets you create unique, personalized accents that perfectly complement your tomato plants. These stunning stakes are surprisingly easy to make, requiring minimal tools and materials, and the results are undeniably impressive. The beautiful, translucent colors of the fused glass will catch the sunlight, adding a captivating sparkle to your vegetable patch. They're perfect for adding a personal touch to your garden, making a thoughtful gift, or even a fun craft project for a sunny afternoon.
This tutorial will guide you through each step of creating your own fused glass tomato garden stakes, from gathering your supplies to the final firing in the kiln. Get ready to transform ordinary glass into extraordinary garden art, and let's dive into the step-by-step process now!
Preparation and Safety Guidelines
- Glass tack gel
- Stringer (90 or 96 coefficient)
- Base glass (3mm recommended)
- Red glass dots
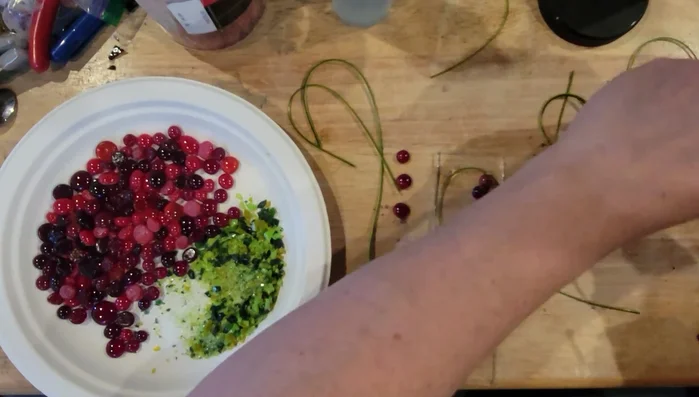
- Green glass frit or crushed glass
- Tweezers
- Optional: Fruit piston or hammer and bag for crushing glass
- B7000 glue (or similar strong adhesive)
- Kiln
- Always wear safety glasses when working with glass, especially during cutting and grinding.
- Use appropriate ventilation when working with glass fusing kilns to avoid inhaling fumes.
- Glass gets extremely hot during firing. Allow pieces to cool completely in the kiln before handling to prevent burns.
Step-by-Step Instructions
Gather Supplies
- Stringer, base glass, red dots, green frit, and glue.

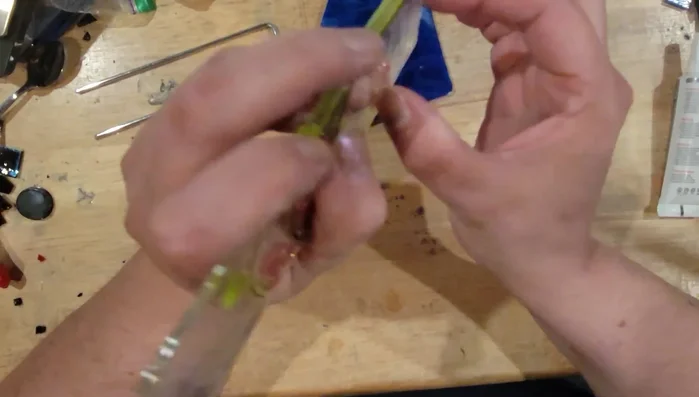
Gather Supplies Attach Stringer
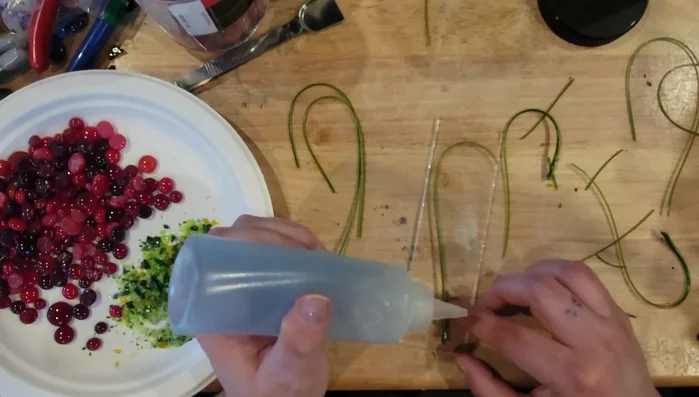
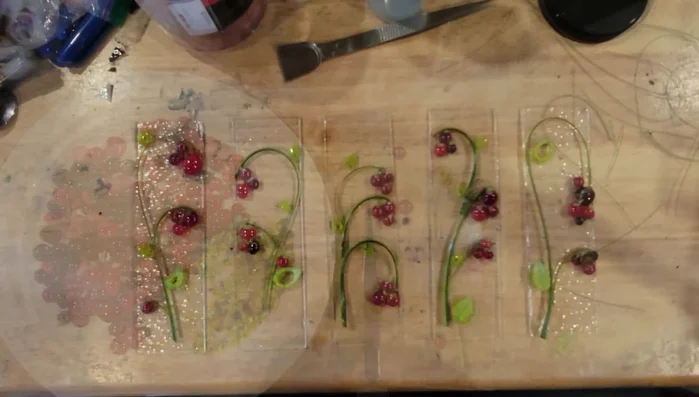
- Glue the Stringer to the base glass. Use glass tack gel or your preferred adhesive in a few spots to ensure it stays put.
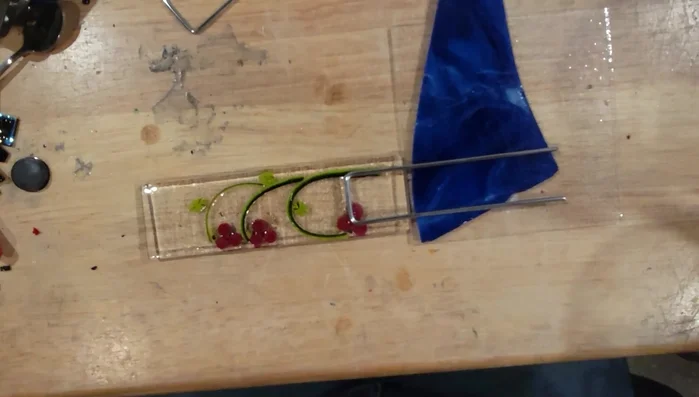
Attach Stringer Create Tomato Clusters
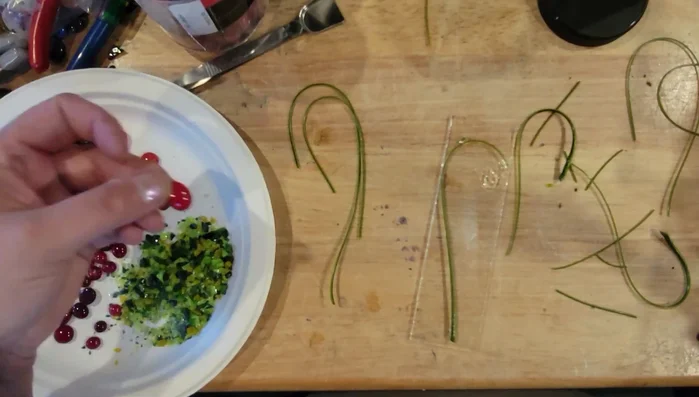
- Arrange and glue three red dots to represent tomatoes. Consider using a slightly irregular arrangement for visual appeal.
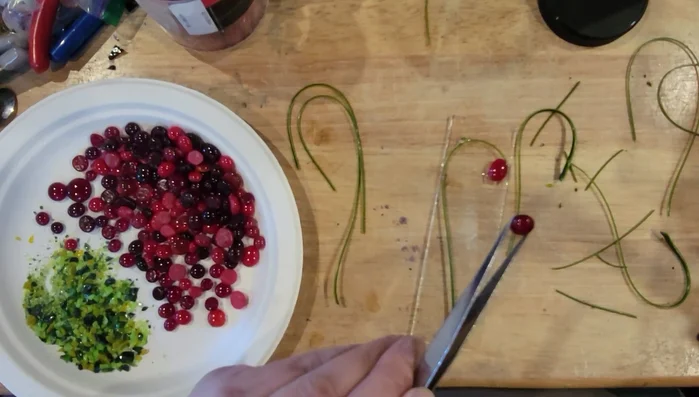
- Add smaller pieces of red glass to create additional tomatoes.
- Apply a small amount of glue to the tops of the glass tomatoes and add a small amount of green frit to represent leaves.
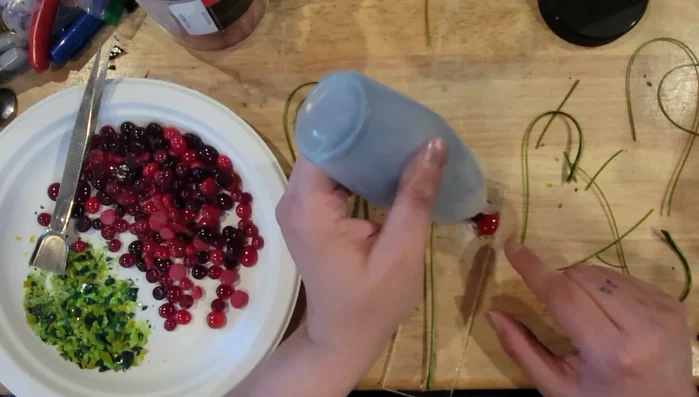
Create Tomato Clusters Add Details & More Tomatoes
- Add additional details and clusters of tomatoes as desired, using small glass pieces and glue to secure them.
Add Details & More Tomatoes Kiln Firing
- Fire the garden stake in a kiln.
Kiln Firing Prepare for Attachment to Stake
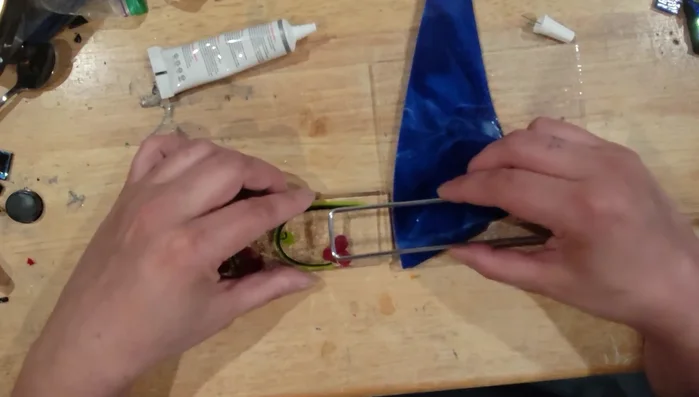
- Clean your garden stake and apply a bead of B7000 glue or similar adhesive to the back of the stake, leaving about a quarter inch unglued.
Prepare for Attachment to Stake Attach to Stake
- Carefully place the fused glass tomato piece onto the glue. Press gently to secure it. Add additional glue around the edges to ensure a secure bond.
Attach to Stake Cure
- Allow the glue to cure for at least four hours, preferably 24-48 hours before using the garden stake.
Cure

Read more: DIY: Create Custom Canister Labels with Silhouette Cameo
Tips
- Use 3mm base glass for optimal thickness.
- Consider using a pre-made blend of glass frit colors that complements your stringer.
- Group glass pieces in threes for visual appeal.
- Use fine-tipped tweezers to add small details and manipulate glass pieces accurately.
- Monitor B7000 glue as it may yellow over time.