The holiday season is a time for twinkling lights, cozy gatherings, and handcrafted decorations that add a personal touch to your home. This year, ditch the mass-produced ornaments and embrace the charm of a DIY project that’s both beautiful and surprisingly easy: frosted mason jar Christmas decor. These sparkling jars, transformed with simple materials, create a rustic yet elegant festive ambiance, perfect for adorning your mantelpiece, dining table, or windowsills. They're versatile enough to hold fairy lights, sprigs of greenery, or even small gifts, making them a delightful addition to your Christmas celebrations.
Imagine the warm glow of candlelight filtering through delicately frosted glass, creating a magical winter wonderland in your own home. Transforming ordinary mason jars into these stunning holiday accents is simpler than you might think! Follow our easy, step-by-step guide below and discover how to create your own collection of these sparkling, festive decorations.
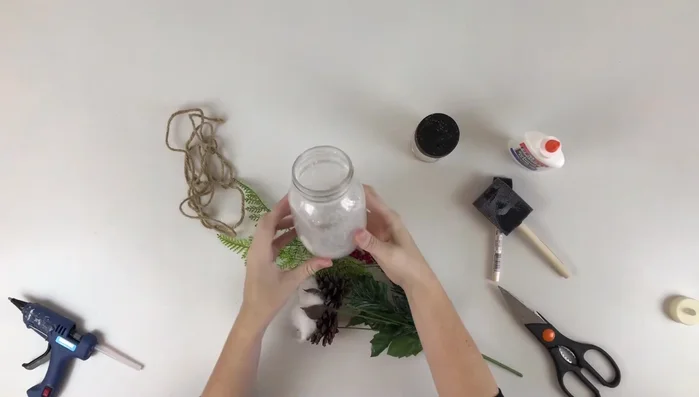
Preparation and Safety Guidelines
- Mason jar
- Glue
- Glitter (crystal glitter recommended)
- Greens (ferns suggested)
- Twine
- Bow
- Red berries
- Battery-operated tea light or pillar candle
- Always supervise children when using glass jars and crafting materials. Sharp edges and small parts present choking and cutting hazards.
- Use caution when working with hot glue. Allow ample time for glue to cool before handling to avoid burns. Keep glue away from flammable materials.
- Ensure adequate ventilation when using spray paint or other aerosol products. Wear a mask to avoid inhaling fumes.
Step-by-Step Instructions
Prepare the Jar
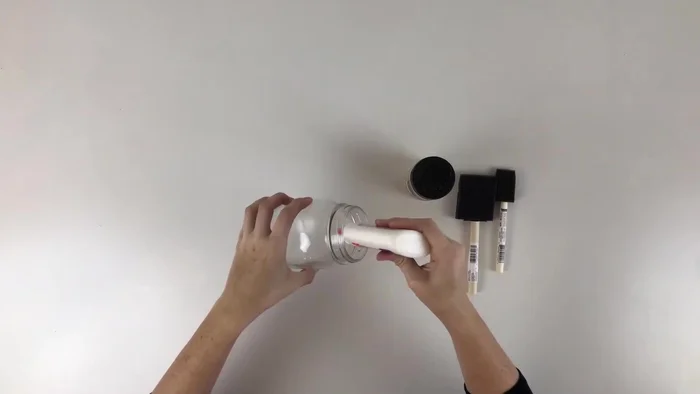
- Apply a smooth, even coat of glue to the inside of the mason jar, ensuring no clumps.
- Shake in crystal glitter, ensuring the glue is completely covered.

Prepare the Jar Create the Swag
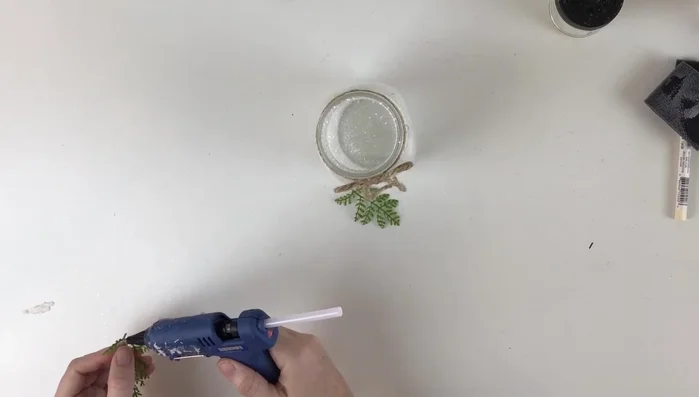
- Cut greens to create a swag.
- Glue the greens together to form the swag and add red berries to the center.
Create the Swag Decorate the Jar
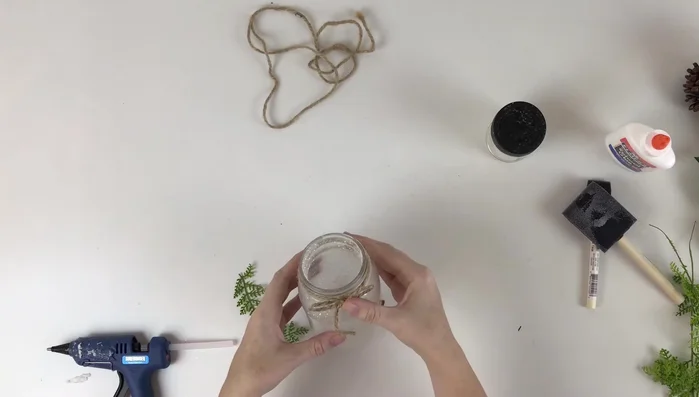
- Tie twine around the jar.
- Glue the bow in place.
- Glue the swag to the front of the jar.
Decorate the Jar Add the Light
- Insert a battery-operated tea light or pillar candle.
Add the Light
Read more: DIY: Create Custom Canister Labels with Silhouette Cameo
Tips
- Use crystal glitter for a snowy, sparkly effect.
- Smooth out the glue to avoid clumps for an even frosted look.