Imagine a breathtaking serving platter, its rich, warm wood cradling a mesmerizing river of shimmering epoxy resin. This isn't some store-bought item; it's a testament to your creativity and skill, a stunning DIY project that transforms ordinary wood into an extraordinary centerpiece. Creating an epoxy river serving platter is more achievable than you might think, blending woodworking techniques with the captivating beauty of resin art. This unique piece will not only elevate your entertaining game but also become a conversation starter, a display of your handcrafted artistry.
This guide will walk you through each step of the process, from selecting the perfect wood and preparing the resin to achieving a flawlessly smooth, polished finish. We'll explore techniques for creating a realistic river effect, minimizing air bubbles, and ensuring your finished platter is both visually striking and incredibly durable. Ready to embark on this exciting woodworking adventure? Let's dive into the step-by-step instructions.
Preparation and Safety Guidelines
- Radial arm saw
- Planer
- Wire brush
- Sandpaper
- Glue
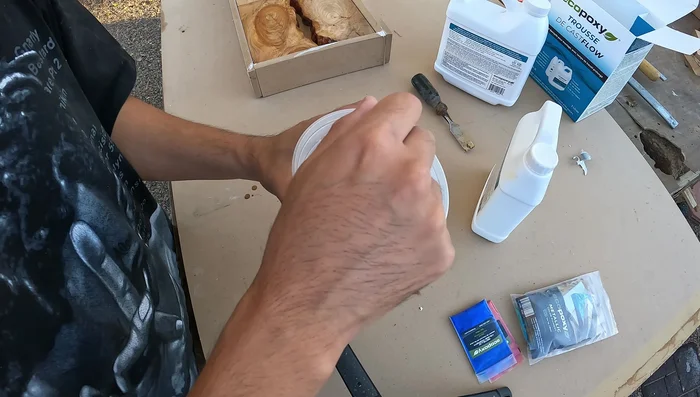
- Epoxy resin
- HDX mixing container
- Painter's tape or Scotch tape
- Brad nailer
- Caulk (or silicone)
- Lacquer
- Flex Seal
- Shellac (for French polish, optional)
- Denatured alcohol
- Hand sander or random orbital sander
- Epoxy resin is a powerful chemical. Always work in a well-ventilated area, wearing gloves, eye protection, and a respirator. Skin contact should be avoided.
- Measure epoxy resin and hardener precisely according to the manufacturer's instructions. Inaccurate mixing can lead to incomplete curing or an exothermic reaction (producing excessive heat).
- Dispose of resin and hardener containers and any waste materials responsibly according to local regulations. Never pour uncured resin down the drain.
Step-by-Step Instructions
Wood Preparation
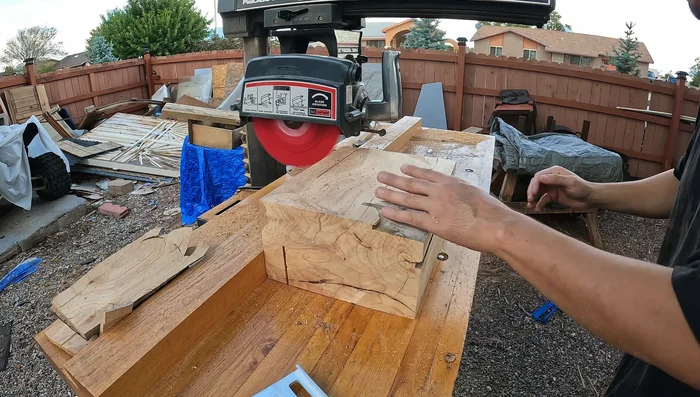
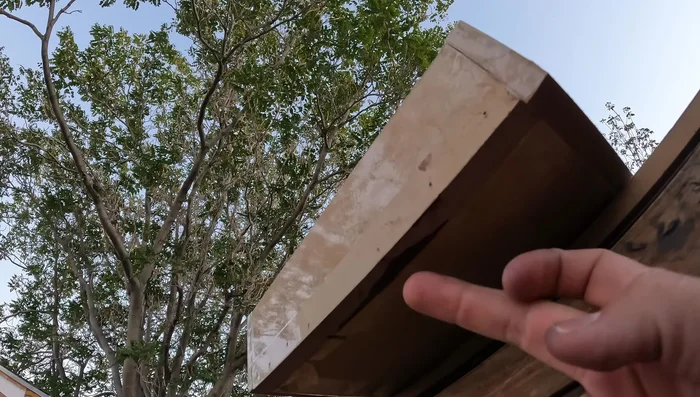
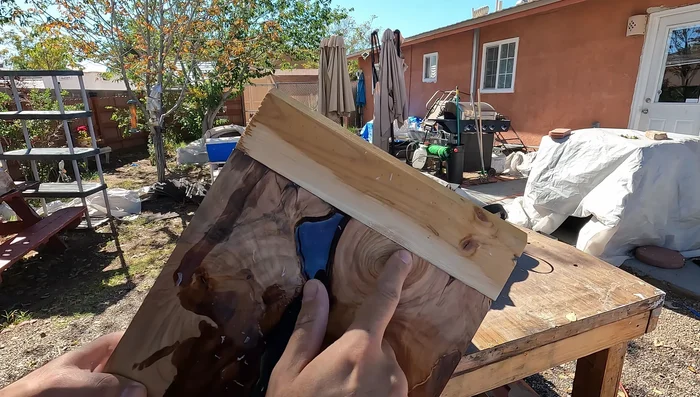
- Cut a piece of stump in half and plane it to remove imperfections.
- Cut the planed stump into lumber pieces using a radial arm saw.
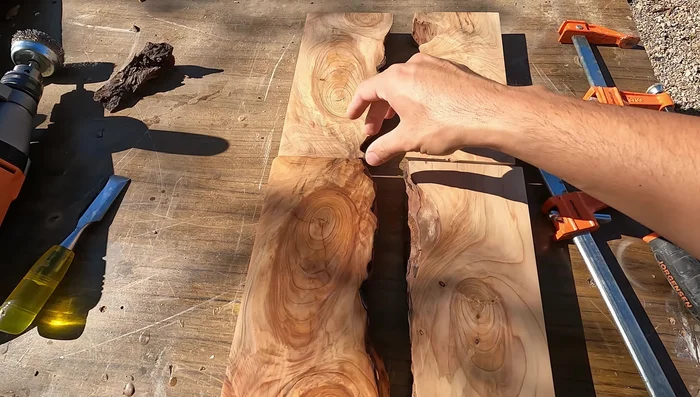
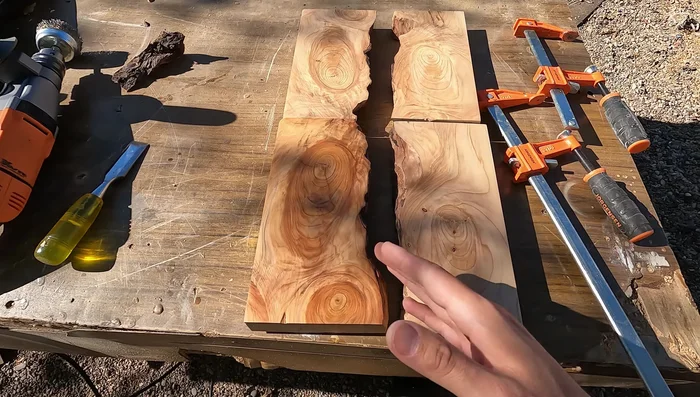
- Glue pairs of lumber pieces together.
- Sand the glued seams to create a smooth surface for epoxy.

Wood Preparation - Clean the wood surface using a wire brush to remove bark and excess materials, then refine with sandpaper.
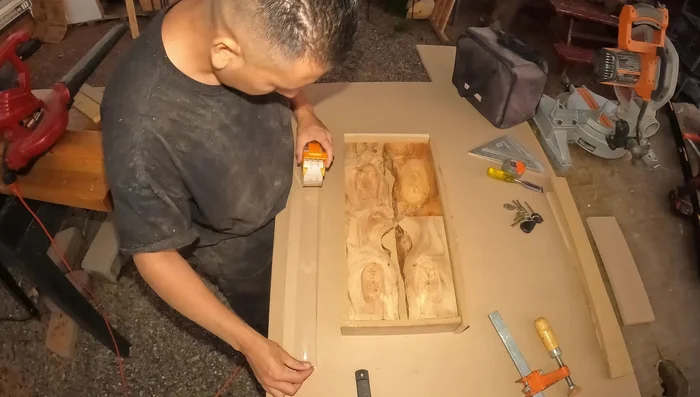
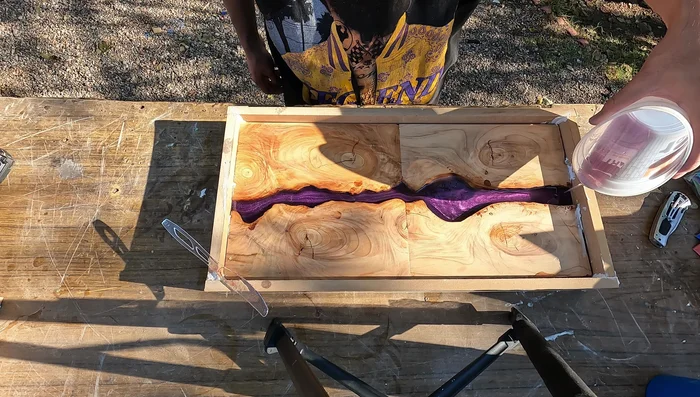
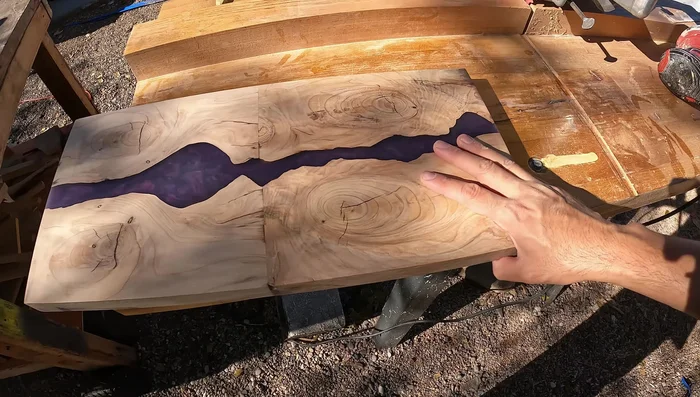
Wood Preparation Forming and Epoxy Pour
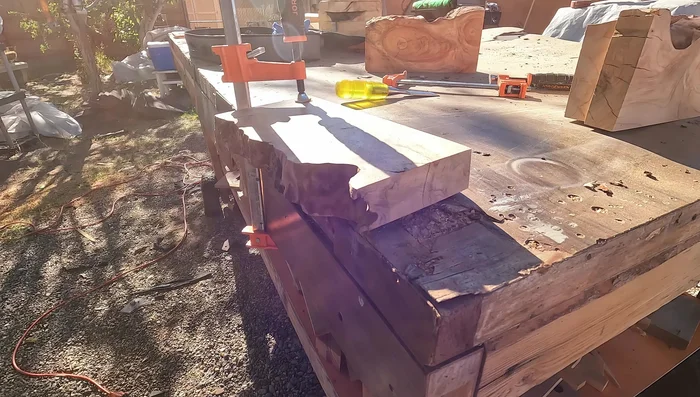
- Tape the forms to prevent epoxy adhesion.
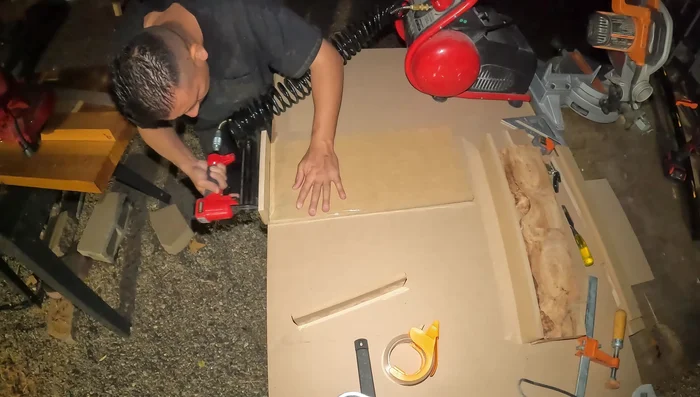
- Secure the wooden pieces into the form using a brad nailer.
- Seal the edges of the wood with caulk (or better, silicone) to prevent epoxy leakage.
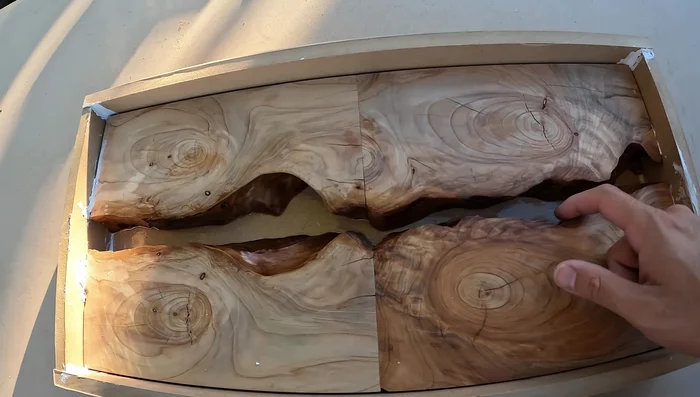
- Pour and mix the epoxy resin with desired color pigments.
Forming and Epoxy Pour - Apply the epoxy mixture carefully, avoiding air bubbles.
- Patch any leakage with Flex Seal or similar sealant.
- Allow the epoxy to cure completely. Perform additional epoxy pours as needed to fill any voids.
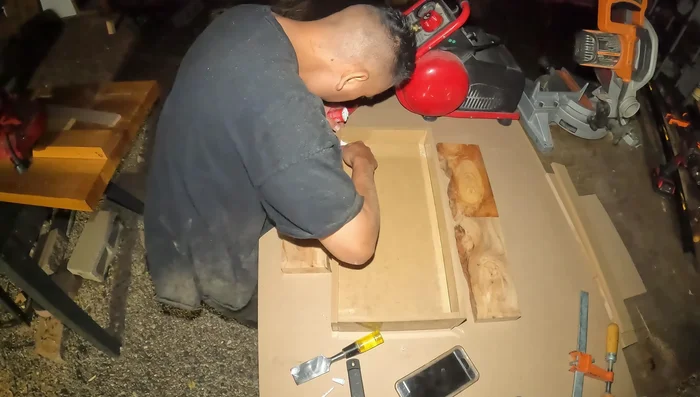
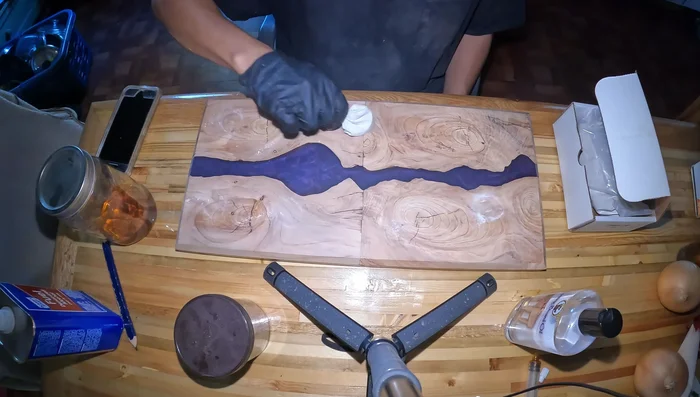
Forming and Epoxy Pour Finishing
- Glue boards to the ends to protect them during planing.
- Plane the serving platter to achieve a smooth, even surface.
- Sand the serving platter progressively, starting with 180 grit and moving up to 400 grit.
- Apply a French polish (shellac) or a regular polyurethane finish as desired.
Finishing
Read more: DIY: Create Custom Canister Labels with Silhouette Cameo
Tips
- Use silicone instead of caulk to prevent leakage.
- Mix epoxy thoroughly to eliminate white haze and air bubbles.
- Add pigments gradually until you achieve the desired color.
- Apply multiple thin coats of shellac or polyurethane for a smooth finish.