Are you tired of your kitchen canisters looking drab and dull? Do you crave a touch of elegance and personality in your culinary space? Then get ready to transform those ordinary containers into breathtaking works of art! This simple yet stunning DIY project uses the magic of epoxy resin to elevate your kitchen canisters, adding a layer of shimmering sophistication that will leave your guests mesmerized. Forget expensive, mass-produced kitchenware – you can create unique, bespoke canisters that perfectly reflect your style.
Using readily available materials and a surprisingly straightforward technique, you can achieve professional-looking results in just a few hours. This project is perfect for both beginners and experienced crafters, offering a rewarding experience and a beautiful upgrade for your kitchen. Ready to unleash your inner artist and add a touch of glamour to your cooking essentials? Let's dive into the step-by-step process and begin creating your stunning epoxy resin kitchen canisters!
Preparation and Safety Guidelines
- Airtight glass kitchen canisters
- Bamboo lids
- Epoxy resin
- Acrylic paint (white and gray)
- Glitter (white and gray)
- Handles/Doorknobs
- Blue tape
- Popsicle sticks
- Sanding paper
- Chrome strip
- Hot glue/E6000
- Drill
- Epoxy resin is a chemical; always work in a well-ventilated area, wearing gloves and eye protection. Skin contact should be avoided.
- Measure resin and hardener precisely according to the manufacturer's instructions. Incorrect ratios can prevent proper curing or create dangerous fumes.
- Dispose of resin and any related materials responsibly according to your local guidelines. Never pour unused resin down the drain.
Step-by-Step Instructions
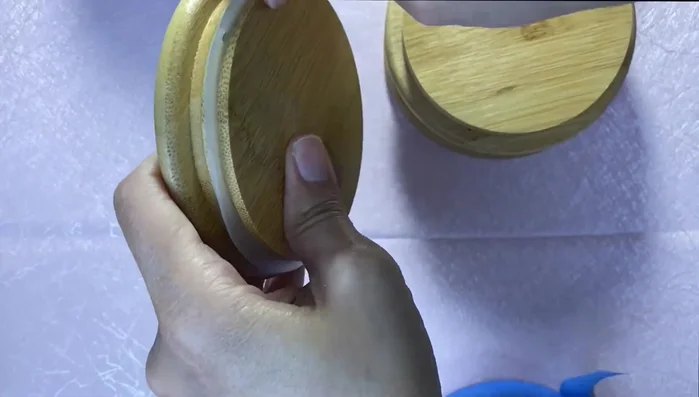
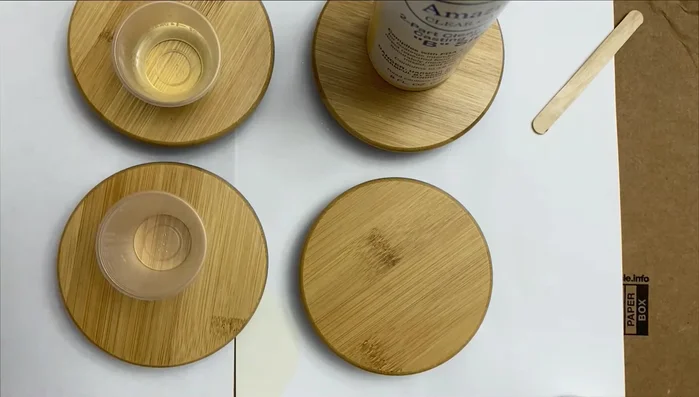
Prepare Canisters
- Remove plastic airtight parts and protect the bottom of the lids with blue tape.

Prepare Canisters Mix Epoxy Resin
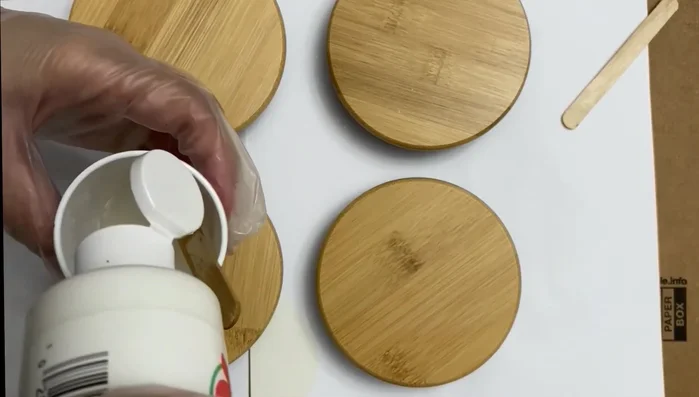
- Combine equal parts of resin A and B (about 15ml each), mixing thoroughly for at least 3 minutes to remove air bubbles.
- Incorporate acrylic paint (white and gray) and glitter directly into the mixed epoxy resin. Mix until well combined.
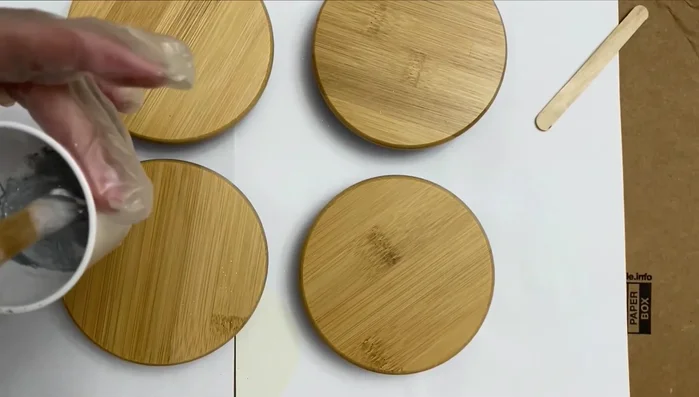
Mix Epoxy Resin Apply Epoxy to Lids
- Carefully drizzle the epoxy mixture onto the prepared bamboo lids, spreading it evenly to create a marble effect. A cardboard and paper underneath is recommended to prevent sticking.
Apply Epoxy to Lids Cure Epoxy
- Allow the epoxy resin to cure completely.
Finish and Attach Handles
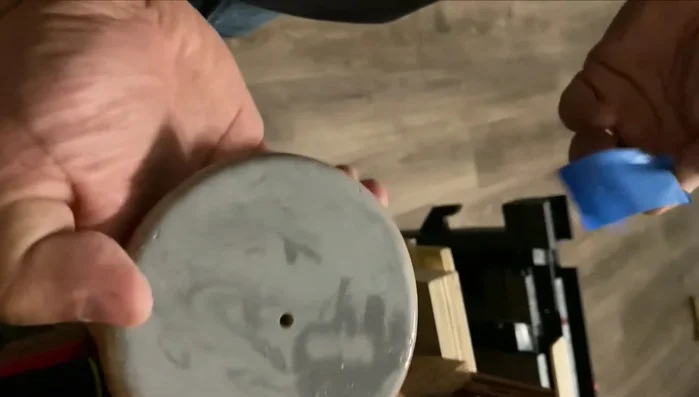
- Use sanding paper to smooth any rough edges on the dried epoxy.
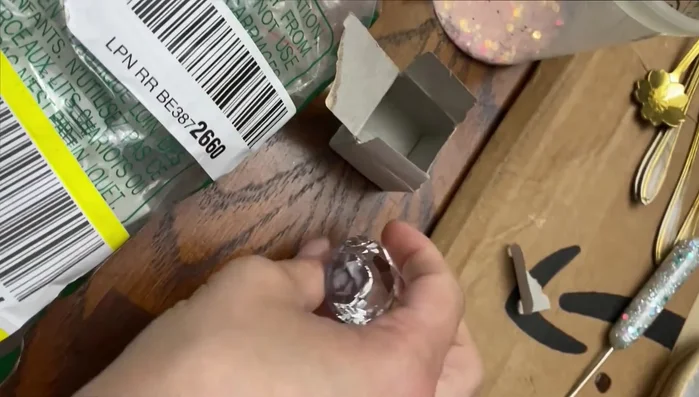
- Drill holes in the center of the lids and attach the chosen handles (doorknobs in this case). Securely attach the handles using hot glue or another suitable adhesive.
- Apply a decorative strip (chrome strip in this case) to cover the drilled area around the handle, using hot glue or E6000 to secure.
Finish and Attach Handles Reassemble
- Add the rubber seals back onto the lids.
Reassemble

Read more: DIY: Create Custom Canister Labels with Silhouette Cameo
Tips
- Wear gloves and a mask while working with epoxy resin due to its strong scent.
- Thoroughly mix the epoxy resin to remove air bubbles.
- Protect your work surface when applying epoxy resin.
- Consider pre-painting the lids before applying epoxy for a cleaner look, but this will add to the drying time.