Christmas is just around the corner, and the festive spirit is in the air! This year, ditch the expensive store-bought decorations and unleash your inner crafter with these adorable, DIY Christmas magnets. Made entirely from inexpensive materials found at your local dollar store, this project is perfect for beginners and seasoned crafters alike. You'll be amazed at how much festive cheer you can create with a little creativity and minimal cost. Forget spending a fortune on holiday decor; these charming magnets will add a personal touch to your refrigerator and bring a smile to everyone's face.
Imagine transforming simple craft supplies into unique and personalized Christmas ornaments that you can proudly display. This fun and easy project is perfect for a family crafting session or a relaxing solo activity. From whimsical snowmen to sparkling stars, the possibilities are endless! Let's get started with the step-by-step instructions below to create your own set of delightful DIY Christmas magnets.
Preparation and Safety Guidelines
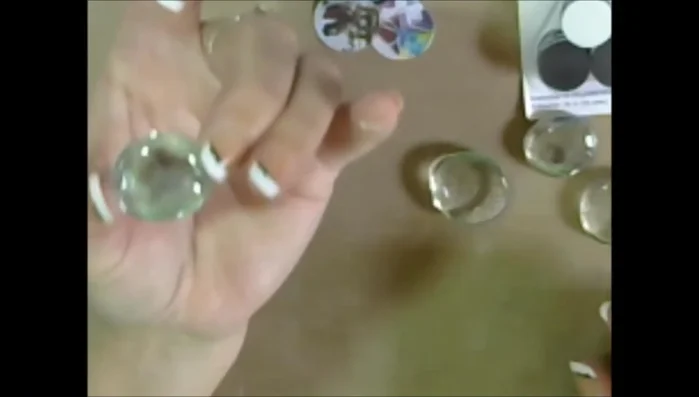
- Glass drops (Dollar Tree)
- Magnetic buttons
- 1-inch hole punch or scissors
- White glue
- Inkjet printer
- Copy paper
- Optional: Clear nail polish
- Adult supervision is required, especially when using hot glue guns or sharp craft tools. Keep these items away from children.
- Always ensure adequate ventilation when using paints, glitter, or other potentially strong-smelling materials. Work in a well-ventilated area or wear a mask.
- Be mindful of small craft items like beads or sequins which could pose a choking hazard for young children if the magnets are not securely sealed. Consider using a sealant or strong glue for extra security.
Step-by-Step Instructions
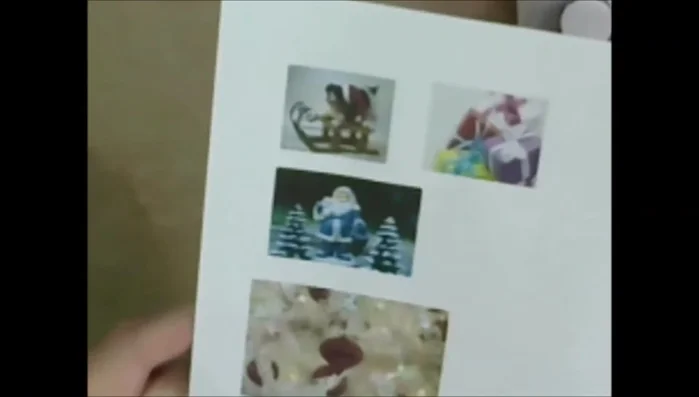
Prepare Images
- Print out desired pictures on copy paper.
- Cut out the printed pictures.

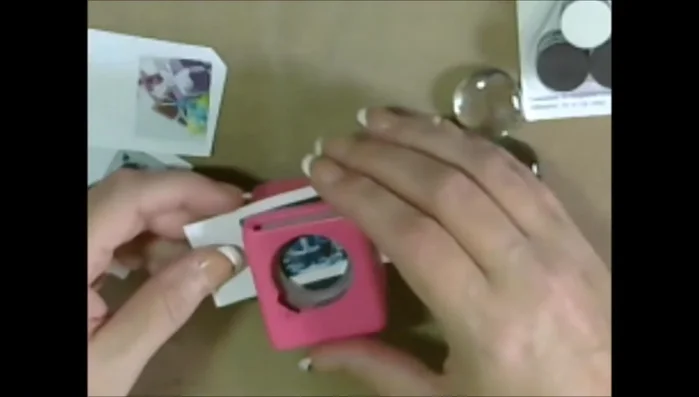
Prepare Images Cut and Shape Images
- Use a hole punch (upside down) to create perfectly sized circles for the glass drops, inserting the picture to guide the punch.
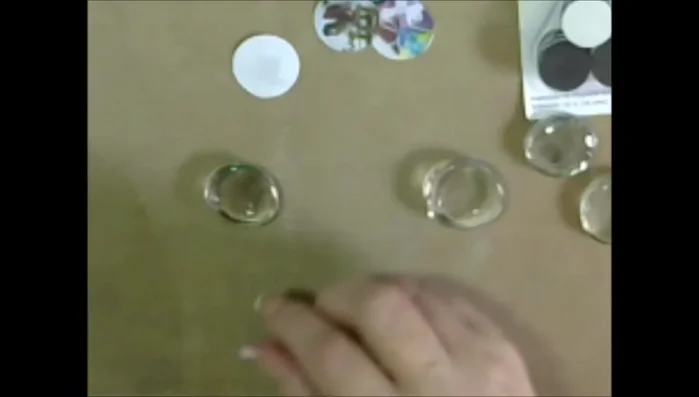
Cut and Shape Images Assemble the Magnet
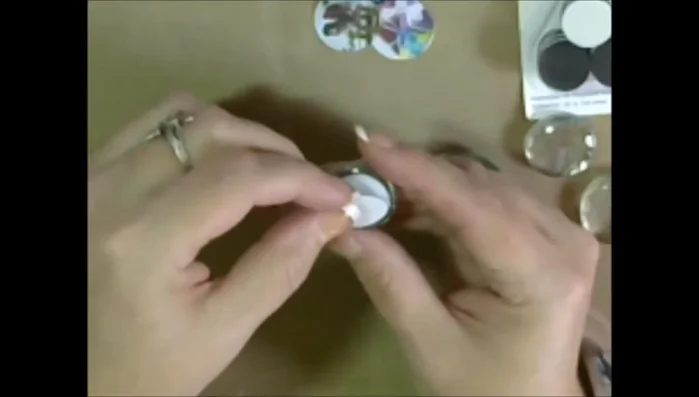
- Apply a small amount of white glue to the flat side of each glass drop.
- Place the punched-out picture onto the glued glass drop, ensuring the entire picture is covered with glue. Gently flatten.
- Set aside to dry.
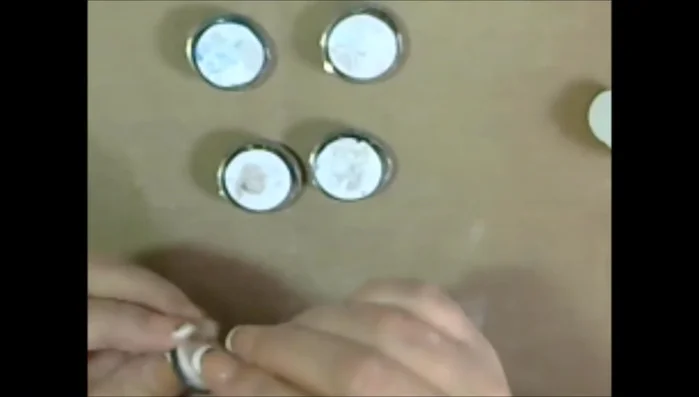
Assemble the Magnet Attach Magnet and Finish
- Use the adhesive already on the magnets).
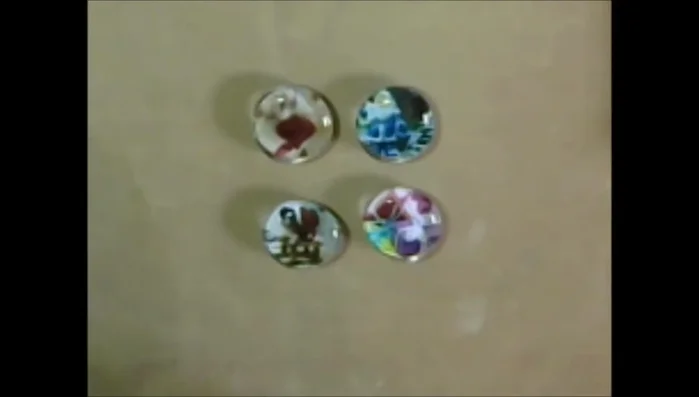
- Apply clear nail polish to the front of the glass for a smoother, more polished finish.
Attach Magnet and Finish
Read more: DIY: Create Custom Canister Labels with Silhouette Cameo
Tips
- If the glass drops aren't perfectly round, glue the picture to the paper first, then cut around it after drying for a cleaner look.
- Clear nail polish can be used as an alternative to white glue for adhering the picture.
- This craft can be used for any occasion, not just Christmas, by using different photos or images.