Are you looking for a fun and rewarding woodworking project that will also add a touch of rustic charm to your home? Then look no further than this easy DIY balancing wine bottle holder! This project is perfect for beginners, requiring minimal tools and readily available materials. It’s a fantastic way to showcase your crafting skills while creating a unique and practical piece for your kitchen, dining room, or even a bar area. The satisfying challenge of building something that relies on balance adds a special element to the experience, resulting in a piece you'll be proud to display. You’ll be surprised how easily you can transform simple wood pieces into a functional and stylish wine bottle holder.
This simple design requires only basic woodworking knowledge and skills. Ready to create your own elegant and functional wine bottle holder? Let's dive into the step-by-step instructions below and get started on this delightful project!
Preparation and Safety Guidelines
- Wood
- Saw
- Drill
- Forstner bit (recommended)
- Measuring tape
- Pencil
- Always use safety glasses when using power tools or sharp objects like saws and chisels.
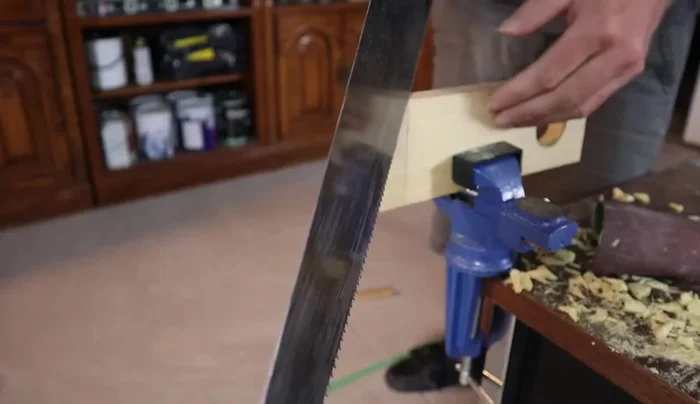
- Ensure the wood is securely clamped before cutting or drilling to prevent injury and ensure accurate cuts.
- Allow ample drying time for any wood glue used to ensure a strong and lasting bond before placing heavy wine bottles on the holder.
Step-by-Step Instructions
Prepare the Wood
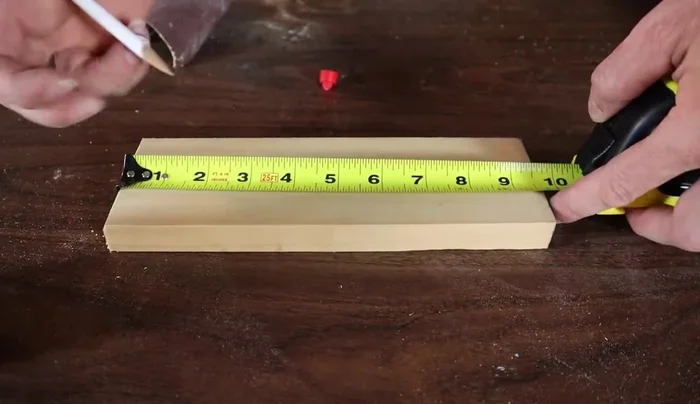
- Cut the wood piece to 8.5 inches long.
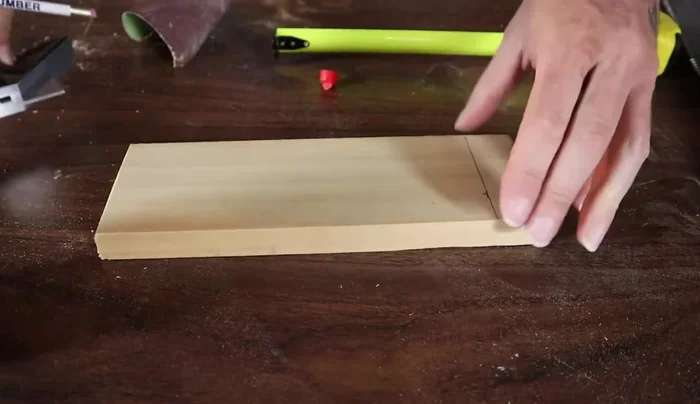
- Sand the edges for a smooth finish.

Prepare the Wood Mark and Drill the Bottle Hole
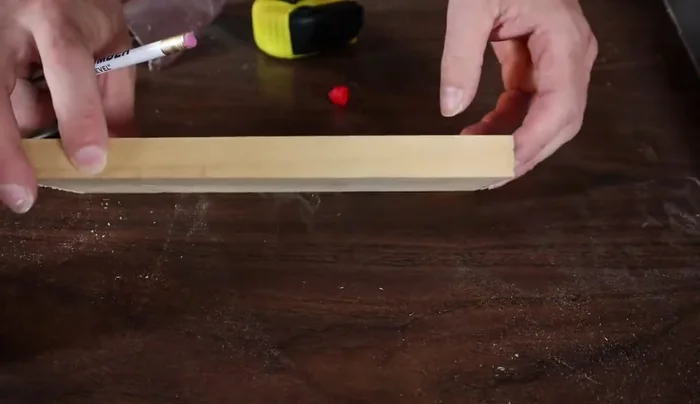
- Mark the center point 2 inches from the top of the wood.
- Drill a hole using a Forstner bit (1.25 to 1.625 inches in diameter) at the marked center point.
Mark and Drill the Bottle Hole Cut the Angled End
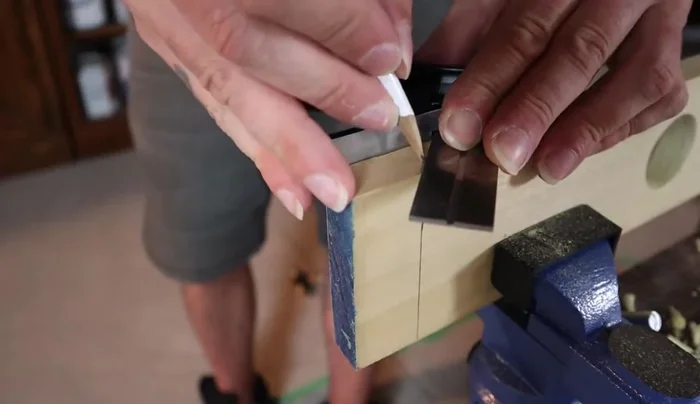
- Draw a 45-degree angle line on both sides of the wood piece at the end.
- Carefully cut along the 45-degree angle lines to create the angled end.
Cut the Angled End
Read more: DIY: Create Custom Canister Labels with Silhouette Cameo
Tips
- Use a Forstner bit for a clean and precise hole.
- Take your time with the 45-degree angle cut for accurate balancing.