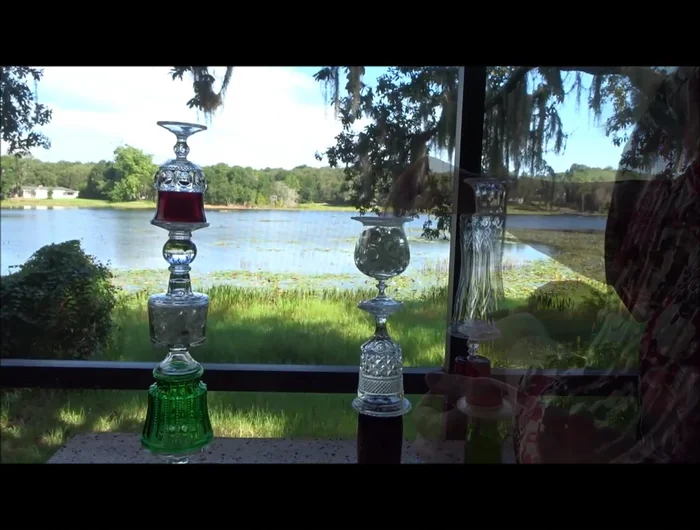
Transform discarded glass into a stunning, eco-friendly garden ornament with this DIY guide to creating an upcycled glass garden totem. Tired of watching beautiful glass bottles and jars pile up in your recycling bin? Imagine instead, a vibrant, shimmering centerpiece for your garden, crafted from these very materials and reflecting sunlight in a dazzling display. This project is surprisingly simple, requiring minimal tools and showcasing the transformative power of upcycling. It's a perfect blend of artistry and sustainability, allowing you to contribute to a greener environment while adding a unique touch to your outdoor space.
Forget expensive garden decorations; this project offers a budget-friendly and creatively fulfilling alternative. From choosing your glass containers to the final assembly, this guide will take you through each step of the process, providing clear instructions and helpful tips along the way. Let's get started and create your own breathtaking upcycled glass garden totem!
Preparation and Safety Guidelines
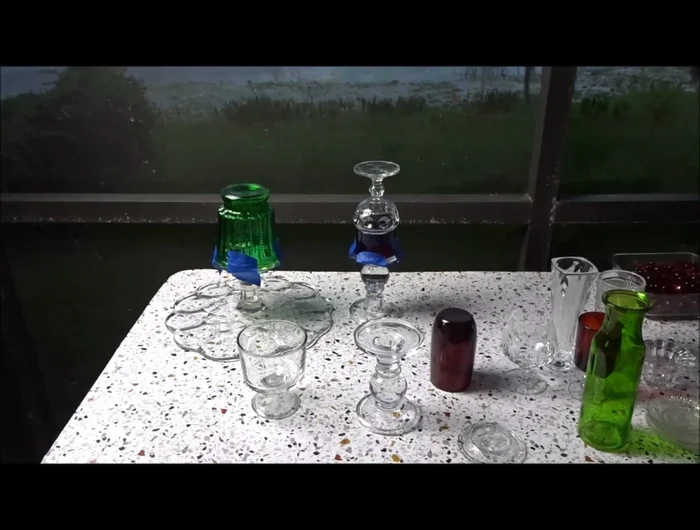
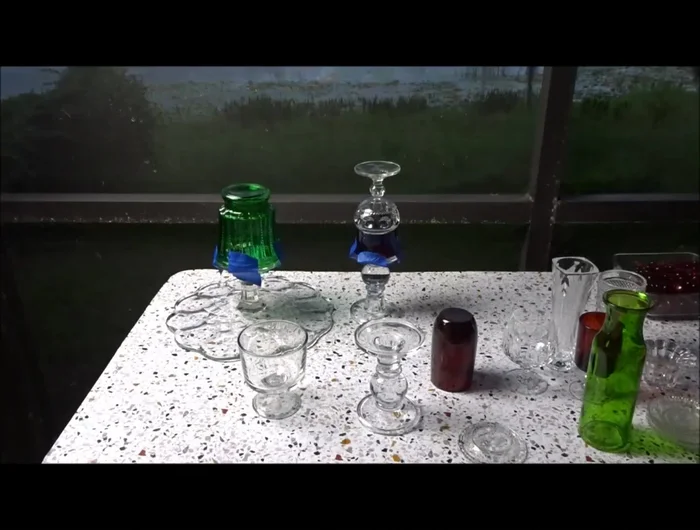
- Upcycled glass (from thrift stores)
- Gorilla Glue (or E6000)
- Painter's tape
- Level
- Gems (optional)
- Silly Putty (optional)
- Always wear safety glasses when working with glass to protect your eyes from shards or flying debris.
- Use caution when handling broken glass. Sweep up all fragments thoroughly to prevent injuries.
- If using a hot glue gun, be mindful of the hot glue and allow it to cool before handling the totem. Keep it away from children and pets.
Step-by-Step Instructions
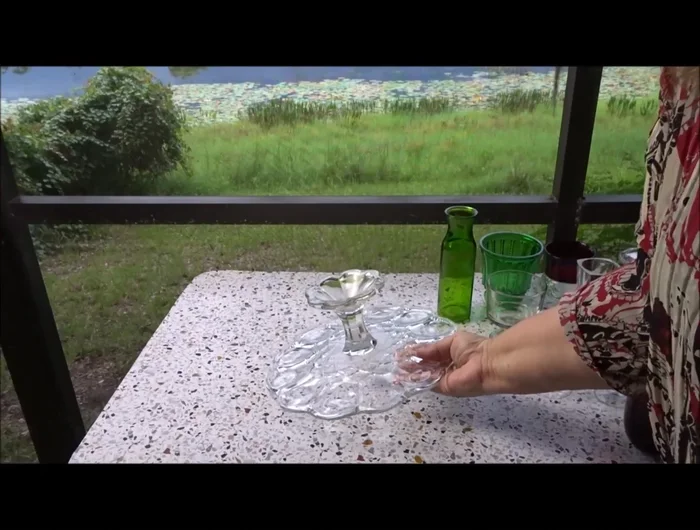
Prepare the Base
- Glue a piece of glass to the cake plate base (upside down).
- Glue the candlestick to the base, then add another glass piece on top.

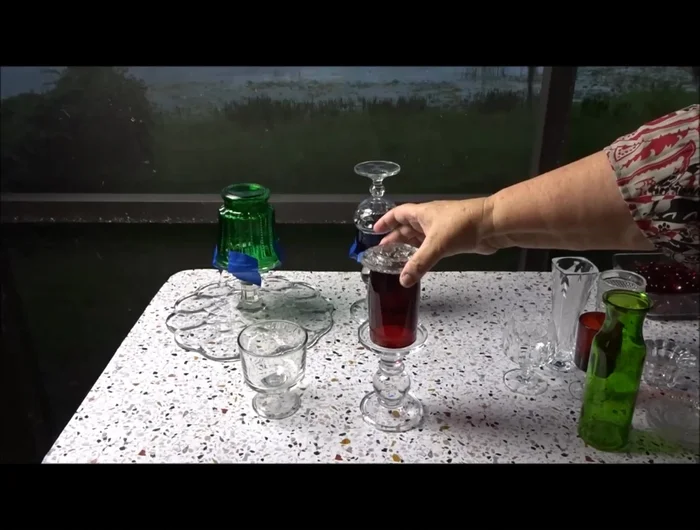
Prepare the Base Initial Construction & Drying
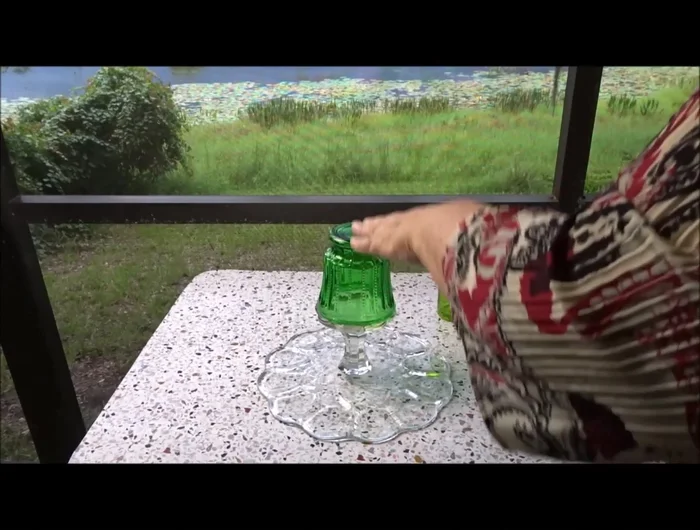
- Glue two or three pieces together at a time, letting them dry overnight to prevent tipping.
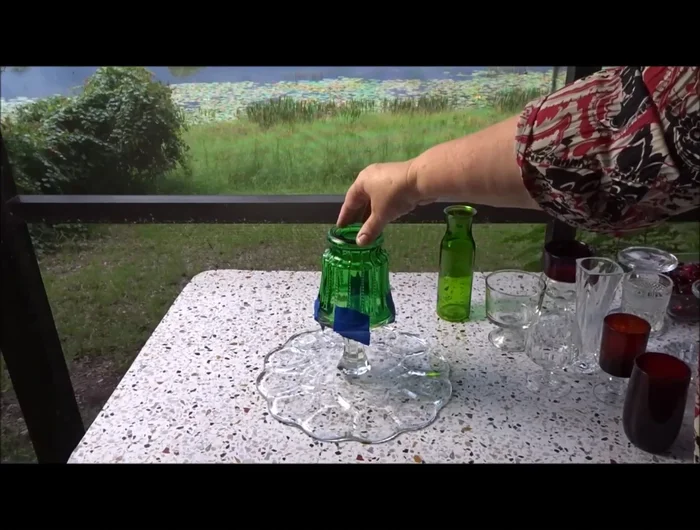
- Use painter's tape to hold pieces in place while the glue dries.
- Use tape to secure pieces and maintain levelness during drying.
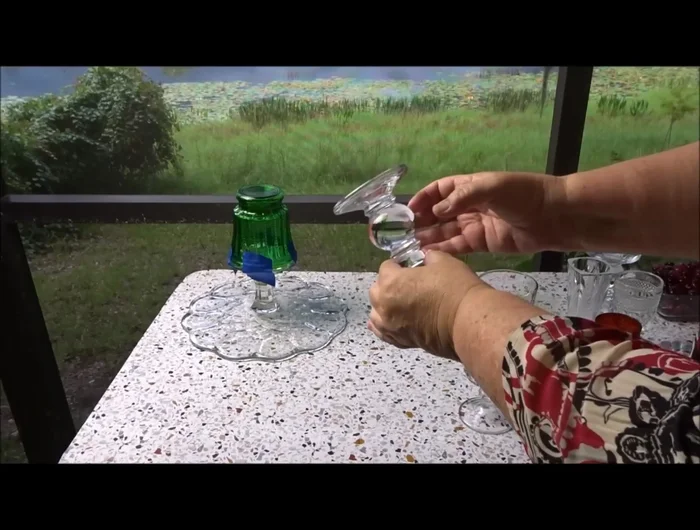
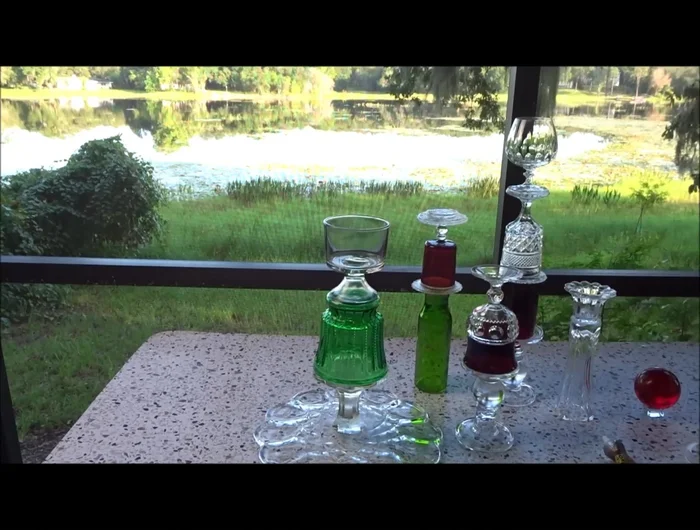
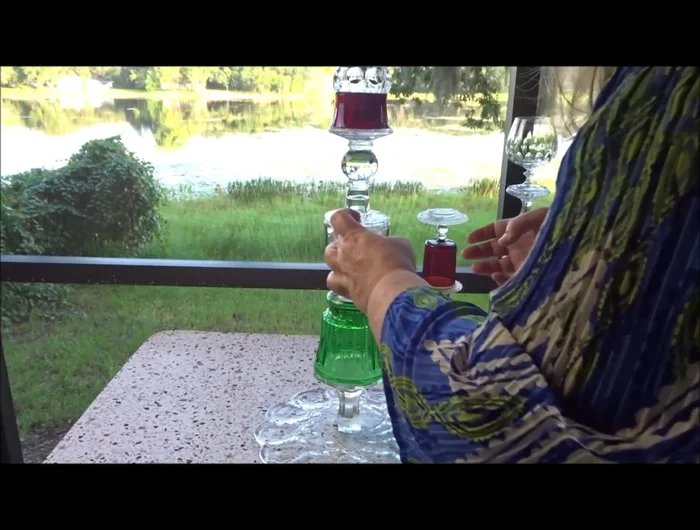
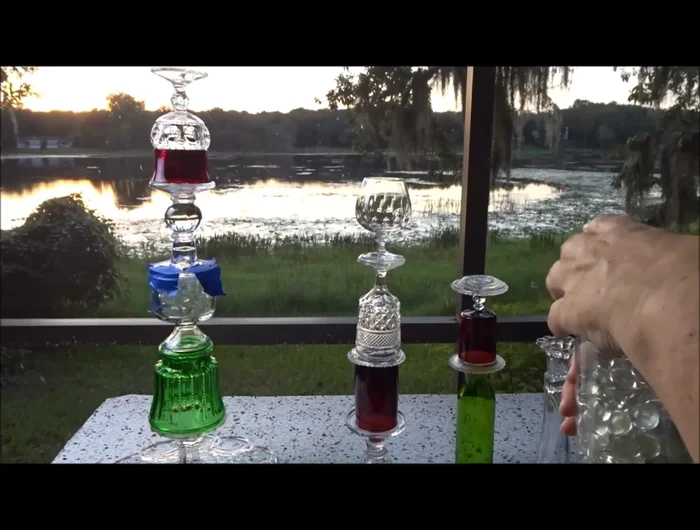
Initial Construction & Drying Adding Height and Detail (First Stage)
- Continue gluing pieces together in stages, ensuring each layer is level using a level.
- After 24 hours of drying, add more pieces, using clear gems for a cohesive look.
Adding Height and Detail (First Stage) Refining and Waterproofing
- Apply extra glue around joints for waterproofing.
- Use Silly Putty to temporarily fill gaps and hold pieces in place until the glue sets.
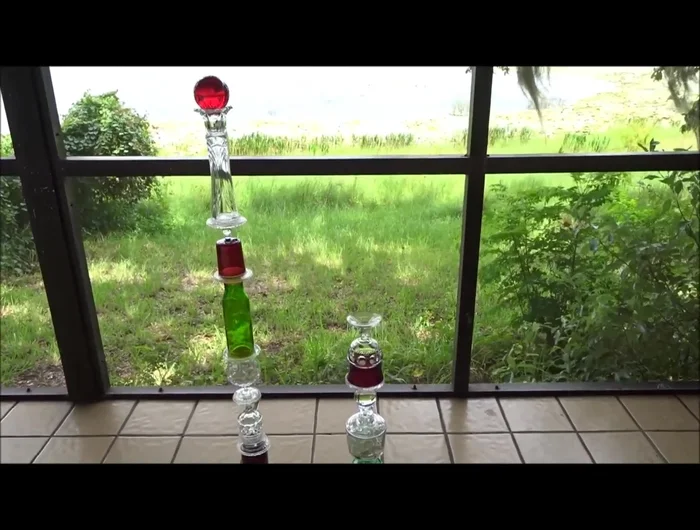
Refining and Waterproofing Final Assembly and Decoration
- Add gems to any holes for extra color and texture.
- Add more gems and continue assembling, checking for levelness frequently.
- Glue the final pieces and attach the large marble to the top.
Final Assembly and Decoration
Read more: DIY: Create Custom Canister Labels with Silhouette Cameo
Tips
- Use glue with a tip for easier application.
- Glue in stages to prevent pieces from sliding or tipping.
- Use painter's tape to hold pieces in place while the glue dries.
- Use a level to ensure every surface is level for a stable structure.
- Let each layer dry completely before adding more pieces.