Transform your windows into dazzling displays of light and color with this comprehensive guide to creating your own DIY suncatchers and window panels! Whether you're a seasoned crafter or a curious beginner, the joy of crafting unique, personalized decorations is unmatched. Imagine the vibrant hues dancing across your walls, casting enchanting patterns throughout your home – all created by your own hands. From simple designs perfect for children to more intricate projects showcasing advanced techniques, the possibilities are endless.
This guide offers a fun and accessible way to explore your creativity and add a touch of handmade magic to your living space. We’ll cover various materials, techniques, and design ideas, progressing from basic suncatchers to more elaborate window panels. Ready to get started? Let's dive into the step-by-step process outlined below.
Preparation and Safety Guidelines
- Glass cutter
- Soldering iron
- Lead cane or lead channel
- Glass
- Pattern
- Always supervise children when working with sharp objects like scissors or craft knives.
- If using stained glass or glass beads, handle them with care to avoid cuts. Consider wearing gloves.
- Ensure your workspace is well-lit and free of clutter to prevent accidents.
Step-by-Step Instructions
Pattern Preparation
- Select a pattern and trace it onto the glass.
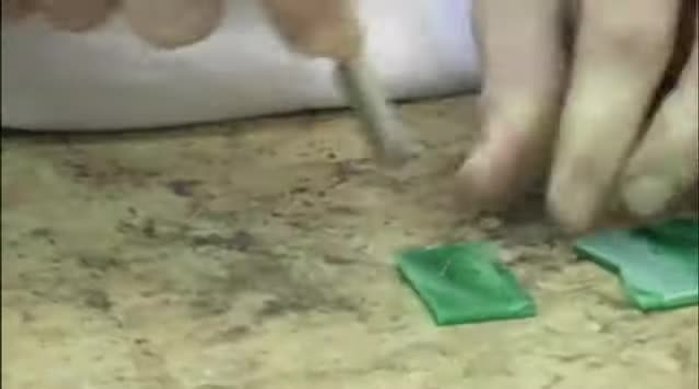
- Use a glass cutter to carefully score along the traced lines.
- Cut out the pattern pieces.

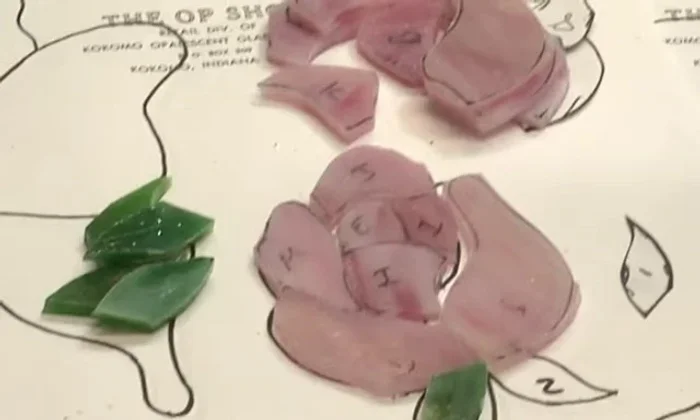
Pattern Preparation Piece Preparation
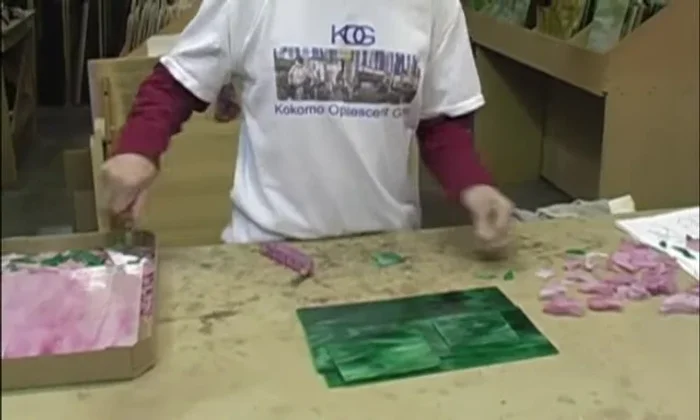
- Arrange the cut glass pieces on the pattern like a jigsaw puzzle.
- Grind off the rough edges of the glass pieces.
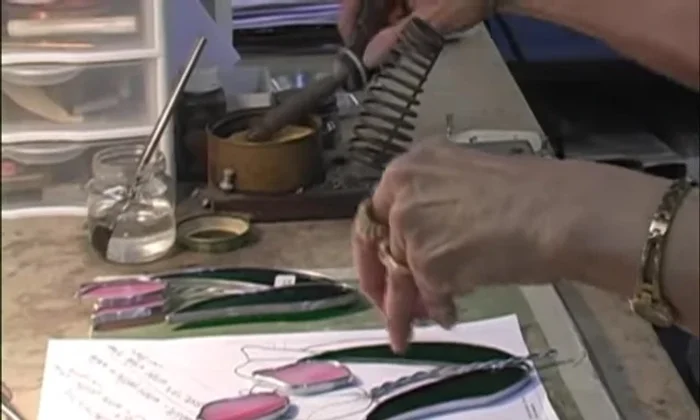
Piece Preparation Lead Wrapping and Initial Soldering
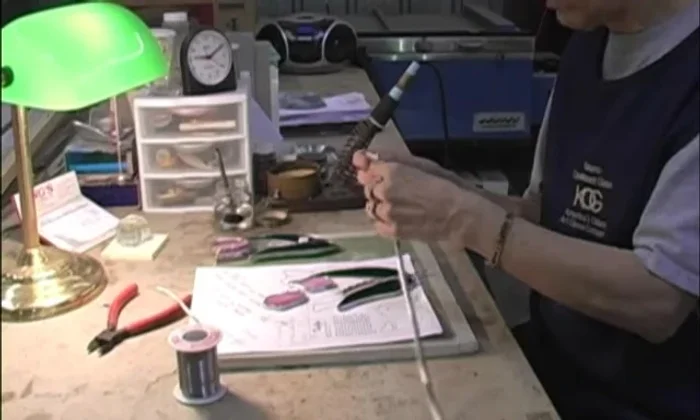
- Wrap each piece of glass in lead cane or lead channel.
- Solder the joints of the pieces together.
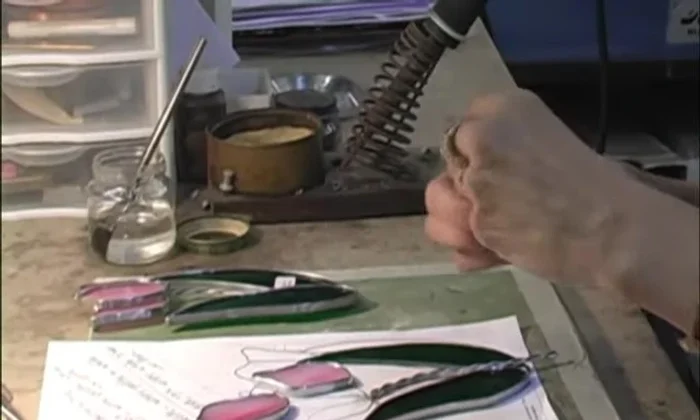
Lead Wrapping and Initial Soldering Assembly and Final Soldering
- Lay the soldered glass piece back on the pattern.
- Solder the final design together using a soldering iron (approx. 700 degrees).
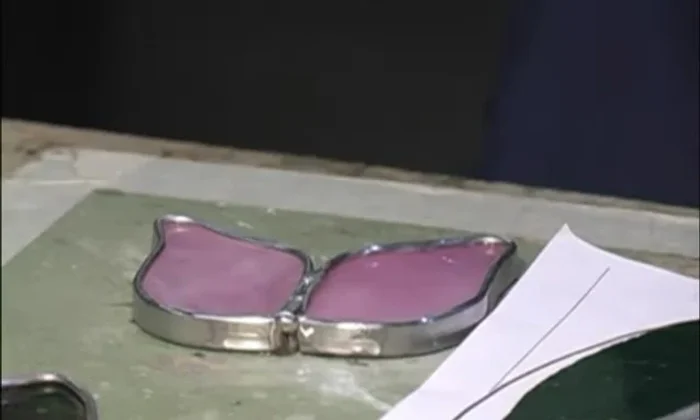
Assembly and Final Soldering Finishing
- Solder the suncatcher on both the front and back for stability.
Finishing

Read more: DIY: Create Custom Canister Labels with Silhouette Cameo
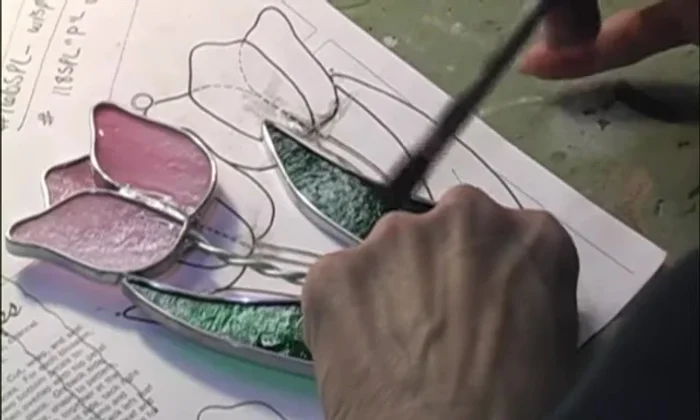
Tips
- Following the pattern provides a guideline and shows you the final design.