Transform your outdoor space into a vibrant spectacle with the captivating beauty of sublimation wind spinners! These dazzling decorations, crafted using the magic of dye sublimation, offer a unique and personalized touch to any garden, patio, or balcony. Forget mass-produced, boring ornaments; with a little creativity and this easy-to-follow guide, you'll be crafting stunning, one-of-a-kind wind spinners that reflect your personal style and add a touch of whimsical charm to your surroundings. The vibrant colors won't fade, ensuring your creation remains a breathtaking focal point for seasons to come.
Sublimation wind spinners are surprisingly simple to create, even for those with limited crafting experience. This DIY project combines the satisfying process of crafting with the rewarding outcome of a beautiful, personalized outdoor decoration. Ready to get started and learn how to create your own breathtaking masterpiece? Let’s dive into the step-by-step instructions below.
Preparation and Safety Guidelines
- 8-inch wind spinners
- Sublimation printer
- Sublimation paper
- Heat-resistant tape
- Protective paper
- Heat press or Easy Press
- Heat-resistant gloves
- Lint roller
- Sublimation ink
- Canva (optional)
- Always work in a well-ventilated area. Sublimation inks and other materials can release fumes.
- Use heat-resistant surfaces and gloves when working with hot materials like the sublimation blanks. The blanks can reach very high temperatures.
- Follow the manufacturer's instructions for your specific sublimation ink, paper, and heat press. Incorrect settings can ruin your project or damage your equipment.
Step-by-Step Instructions
Prepare the Sublimation Blank
- Remove the protective film from both sides of the wind spinner.

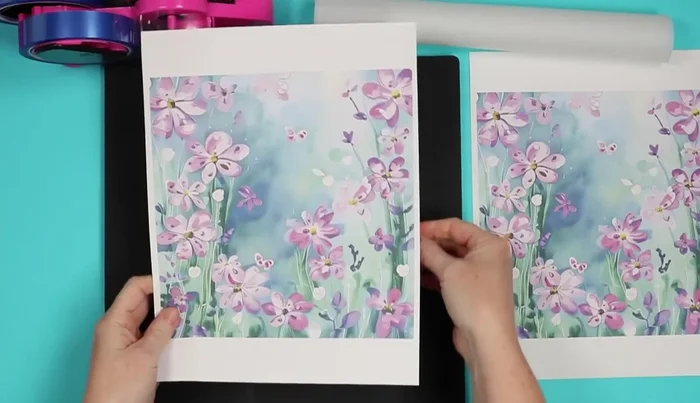
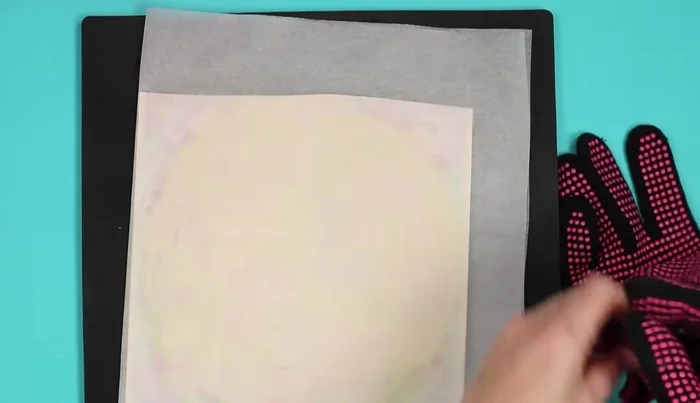
Prepare the Sublimation Blank Prepare and Position the Sublimation Print
- Ensure your design is mirrored and slightly oversized. Locate the print on the wind spinner, considering the holes at the top and bottom.
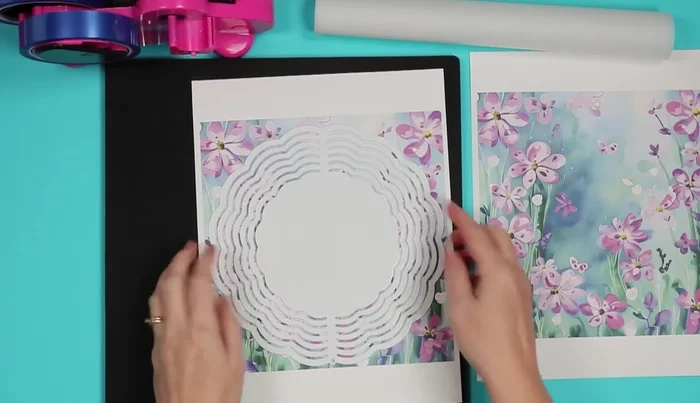
Prepare and Position the Sublimation Print Secure the Print and Protect the Blank
- Use heat-resistant tape to attach the print to the wind spinner. Cover all gaps with protective paper.
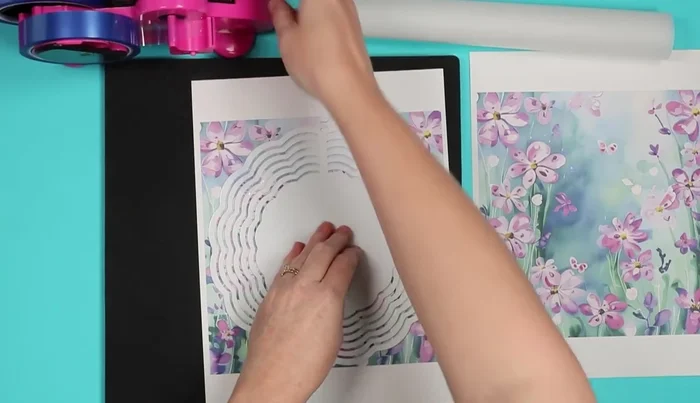
Secure the Print and Protect the Blank Sublimation Process
- Press the wind spinner using a heat press or easy press at 385 degrees for 3 minutes and 45 seconds, applying medium pressure. Protect the entire surface with the press.
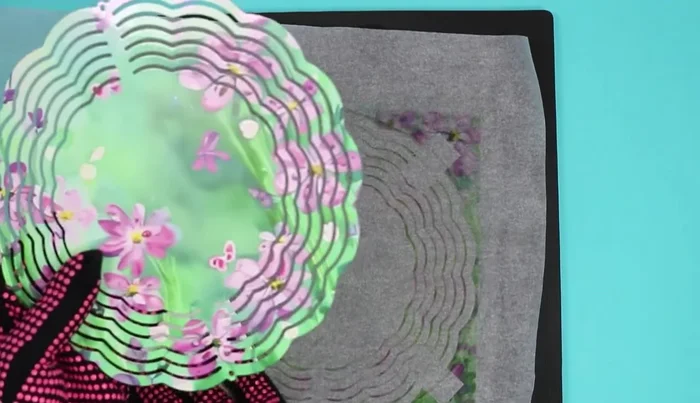
Sublimation Process Reveal the Design
- Once cool, carefully peel back the protective paper and sublimation print to reveal your design.
Reveal the Design Repeat for the Other Side
- Repeat steps 2-5 for the other side, potentially using a different design.
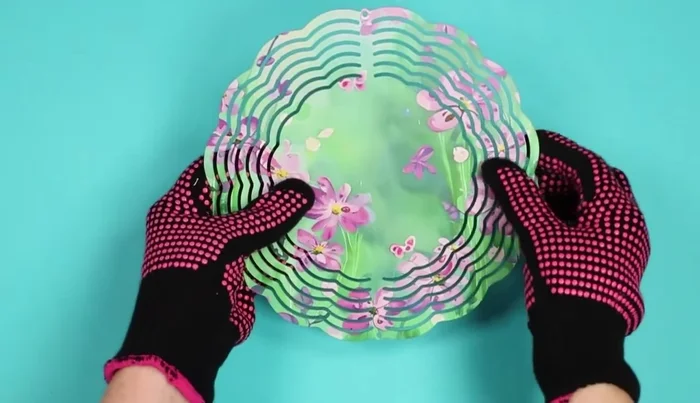
Repeat for the Other Side Assemble the Wind Spinner
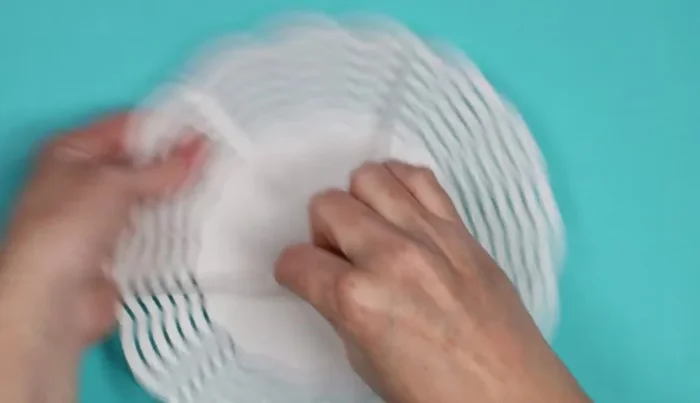
- Gently bend and shape the metal layers to create the desired fanning effect. Adjust until satisfied with the look.
Assemble the Wind Spinner
Read more: DIY: Create Custom Canister Labels with Silhouette Cameo
Tips
- Don't skip removing the protective film from both sides of the wind spinner.
- Use a firmer mat (like the Artistry 12x12 mat) under your heat press to ensure even pressure and prevent uneven sublimation.
- Use protective paper to prevent ink from bleeding through gaps in the wind spinner.
- Consider using Canva to create your own unique designs, including photo integrations.
- Trim your print for easier placement and alignment under the heat press.