Transform your garden into a vibrant, shimmering wonderland with this simple and affordable DIY stained glass garden stake project! Bring a touch of whimsical artistry to your outdoor space without breaking the bank, using readily available materials and techniques that even beginners can master. Imagine the sunlight catching the colourful glass, casting enchanting patterns on your lawn or flowerbeds – a truly captivating addition to any garden, large or small. This project is a perfect way to add a personalized and unique touch to your landscaping, and it makes a wonderful, handcrafted gift.
Forget expensive, pre-made garden decorations; this tutorial will guide you through creating your own stunning stained glass stake from start to finish. We'll cover everything from selecting the right materials to assembling and finishing your beautiful creation, offering tips and tricks along the way. Let's get started with our step-by-step guide to crafting your very own DIY stained glass garden stake.
Preparation and Safety Guidelines
- Foiled glass pieces
- Barbecue skewers (or garden stakes)
- Copper foil
- Flux
- Solder
- FID
- Scissors
- Hobby knife
- Wire
- Always wear safety glasses to protect your eyes from flying glass fragments during cutting and assembly.
- Use caution when working with sharp tools like glass cutters and sharp points on the stake. Keep tools out of reach of children.
- If using a glass cutter, work in a well-ventilated area and consider using a cutting mat to protect your work surface from scratches.
Step-by-Step Instructions
Prepare the Skewer
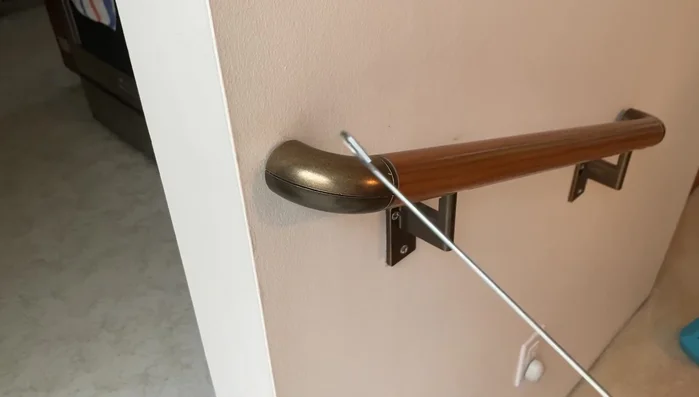
- Bend the barbecue skewer to create a curve using household items.
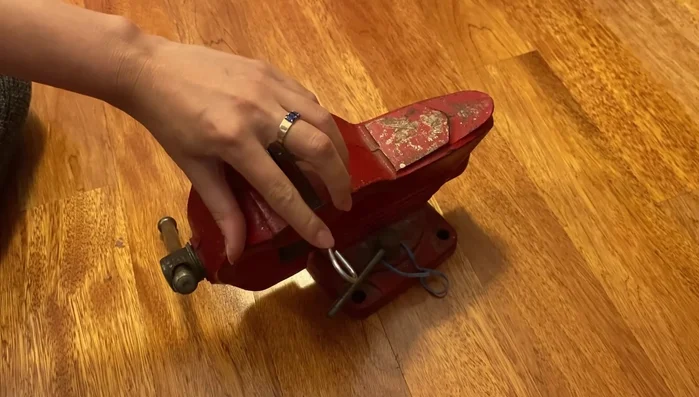
- Cut off the blunt end of the skewer using wire cutters.
- Measure and mark how much of the skewer needs to be foiled.
- Apply copper foil to the marked area, folding it over securely. Burnish to ensure proper adhesion.

Prepare the Skewer Solder the Skewer to the Glass (Front)
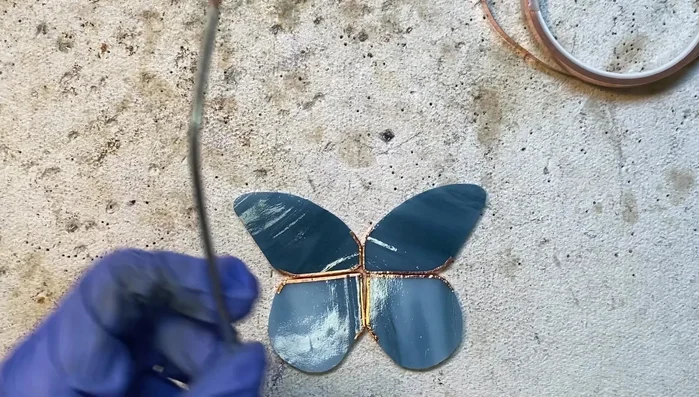
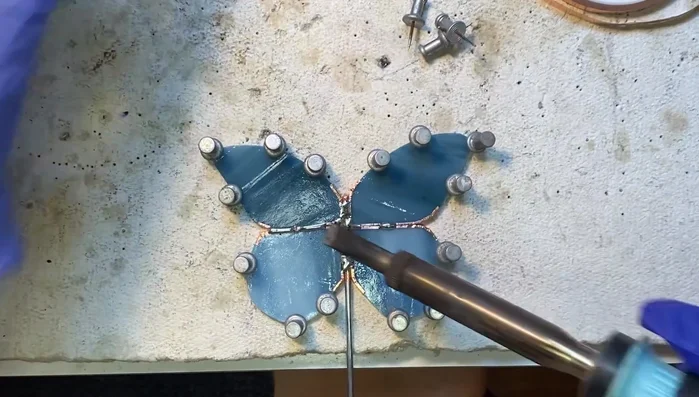
- Position the foiled skewer on the edge of a table for easier soldering. Apply flux.
- Solder the skewer to the stained glass piece using one hand to hold the skewer in place. Pins can help.
- Add more solder as needed to secure the attachment.
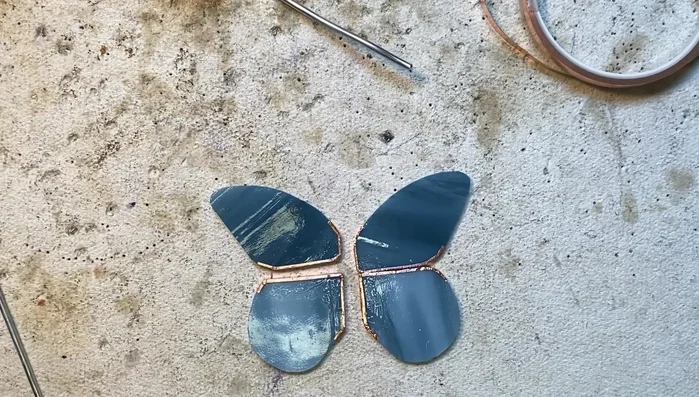
Solder the Skewer to the Glass (Front) Solder the Skewer to the Glass (Back)
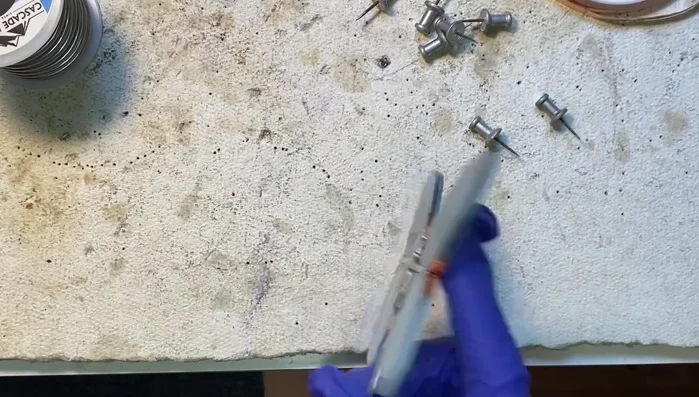
- Repeat the soldering process on the back of the piece.
Solder the Skewer to the Glass (Back) Finishing Touches
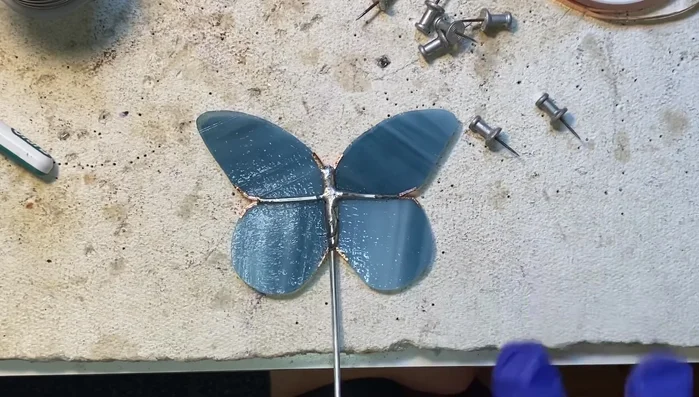
- Apply hobby knife and wire to finish.
Finishing Touches

Read more: DIY: Create Custom Canister Labels with Silhouette Cameo
Tips
- Using barbecue skewers is a cost-effective alternative to store-bought garden stakes.
- Skewers with a pointy end are ideal for easy insertion into soil.