Are you a shot glass enthusiast with a collection overflowing from shelves and drawers? Do you dream of displaying your prized glassware in a stylish and organized manner, showcasing the unique craftsmanship and history behind each piece? Then building your own DIY shot glass cabinet is the perfect solution! Forget generic, mass-produced storage solutions and unleash your inner craftsman to create a bespoke display piece that reflects your personality and passion. This project offers a blend of functionality and aesthetic appeal, transforming a simple collection into a stunning focal point in your home bar or entertaining area.
This guide provides a detailed, easy-to-follow plan for constructing your own stunning shot glass cabinet, perfect for both experienced DIYers and enthusiastic beginners. From selecting the right materials to mastering the finishing touches, we will walk you through each step of the process, ensuring you achieve a professional-looking result. Let’s get started with the comprehensive step-by-step guide below.
Preparation and Safety Guidelines
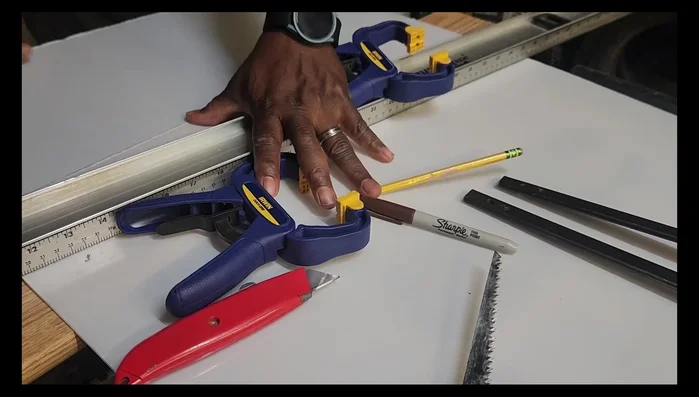
- Wood
- Acrylic
- Glue
- Nails
- Tape
- Drywall knife
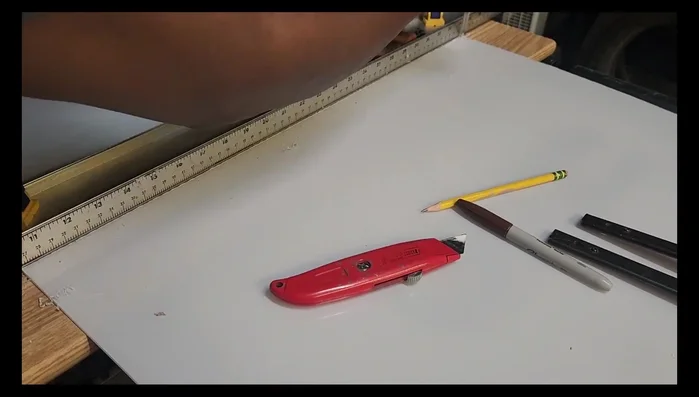
- Utility knife
- Oscillating tool
- Clamps
- Foam brush
- Stain
- Polyurethane
- Piano hinge
- Always wear safety glasses when using power tools like saws and drills. Flying debris can cause serious eye injuries.
- Ensure the cabinet is securely fastened to the wall to prevent tipping and potential injury, especially if it will hold heavy shot glasses or bottles.
- Use appropriate wood glue and screws for your chosen wood type to guarantee a sturdy and safe structure. A poorly built cabinet could collapse.
Step-by-Step Instructions
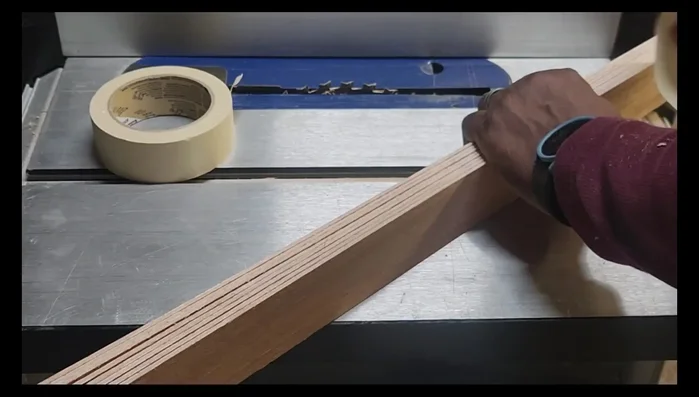
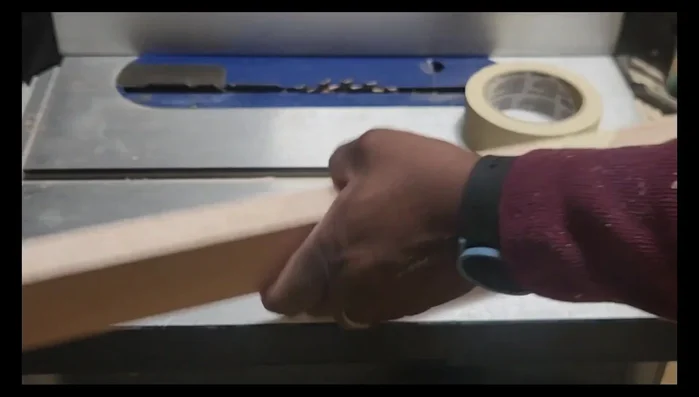
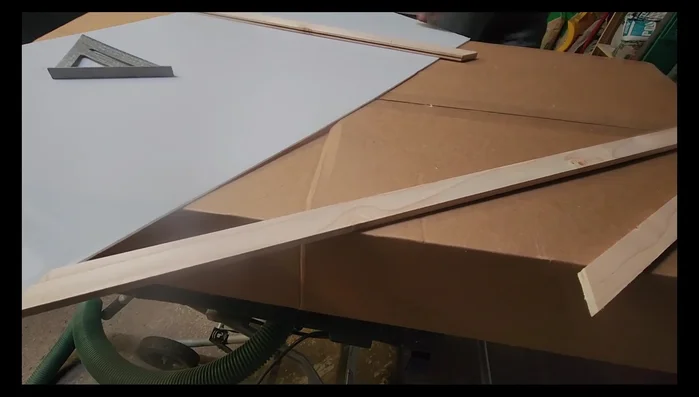
Prepare the Dividers
- Making slots on wood pieces using tape as a guide.
- Grouping wood pieces and using spacers.

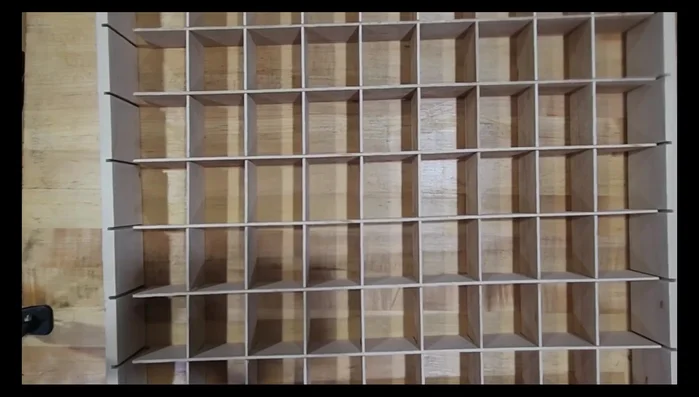
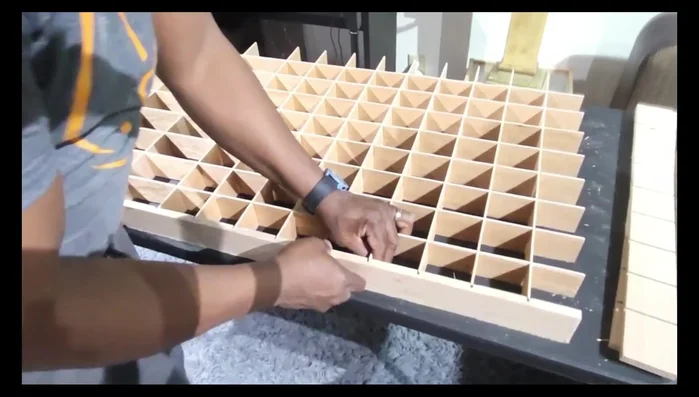
Prepare the Dividers Assemble the Cabinet Frame
- Dry fitting and aligning frame pieces before gluing and nailing.
- Gluing frame and adding clamps for support.
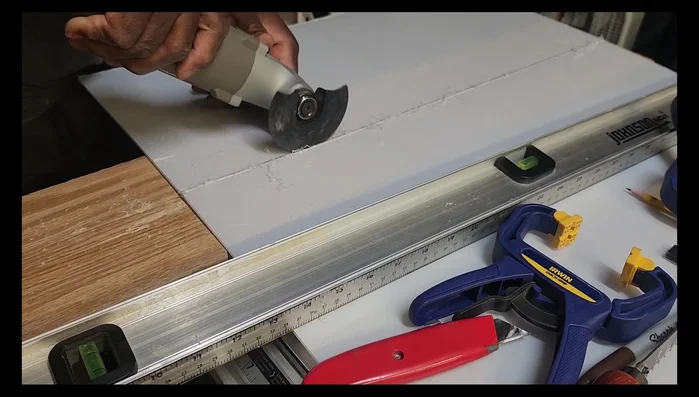
Assemble the Cabinet Frame Cut and Shape the Acrylic Panel
- Scoring and cutting acrylic with oscillating tool (multiple passes needed).
Cut and Shape the Acrylic Panel Construct the Cabinet Door
- Building the cabinet door frame and preparing groove for acrylic.
Construct the Cabinet Door Add the Back Panel
- Attaching back panel to cabinet using previously used material.
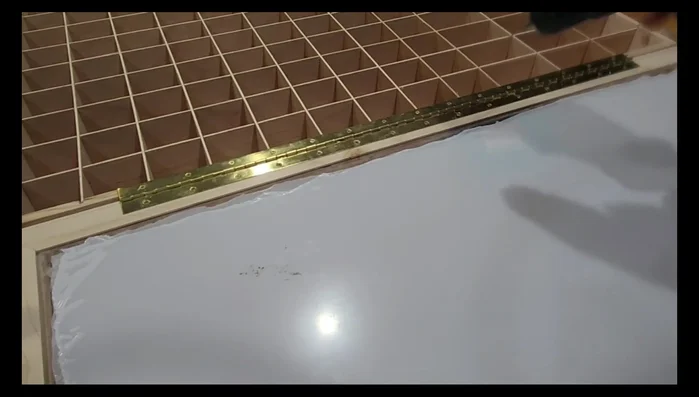
Add the Back Panel Finish and Attach the Door
- Staining and applying polyurethane.
- Attaching cabinet door with a piano hinge.
Finish and Attach the Door
Read more: DIY: Create Custom Canister Labels with Silhouette Cameo
Tips
- Use tape to guide slot creation on multiple pieces simultaneously for efficiency.
- Dry fit and align frame pieces thoroughly before gluing for accurate results.
- Use light material to keep the cabinet weight minimal but consider adding reinforcement for sturdiness if needed.
- Multiple passes with the oscillating tool might be required to cut acrylic accurately.
- For lighter materials, additional support might be needed to prevent flexibility; extra pieces can double as decoration.