Christmas is a time for sparkling decorations, and what's more festive than mercury glass ornaments? However, traditional mercury glass can be expensive and fragile. This year, ditch the worry of shattered baubles and create your own stunning, shatterproof versions using readily available materials from the Dollar Tree! This DIY project is surprisingly simple, requiring minimal crafting skills and resulting in elegant ornaments perfect for your tree or as thoughtful handmade gifts. You’ll be amazed at how easily you can transform inexpensive supplies into beautiful, unique decorations that will last for years to come.
Forget pricey store-bought ornaments and embrace the charm of a truly personalized Christmas. This affordable and easy tutorial will guide you through each step, from gathering your supplies to achieving that captivating mercury glass effect. Ready to get started creating your own set of dazzling, shatterproof Christmas ornaments? Let's dive into the step-by-step instructions!
Preparation and Safety Guidelines
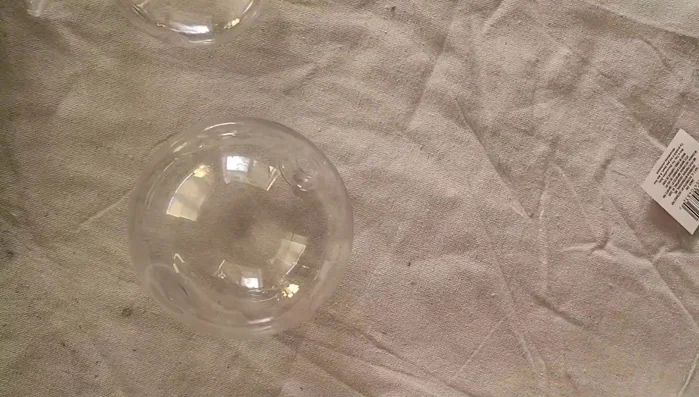
- Clear plastic DIY ornaments (Dollar Tree)
- Mirror spray paint (Krylon Looking Glass or Rust-Oleum Mirr Effect)
- Second color spray paint (e.g., gold, black)
- White distilled vinegar
- Spray bottle
- Blow dryer (optional)
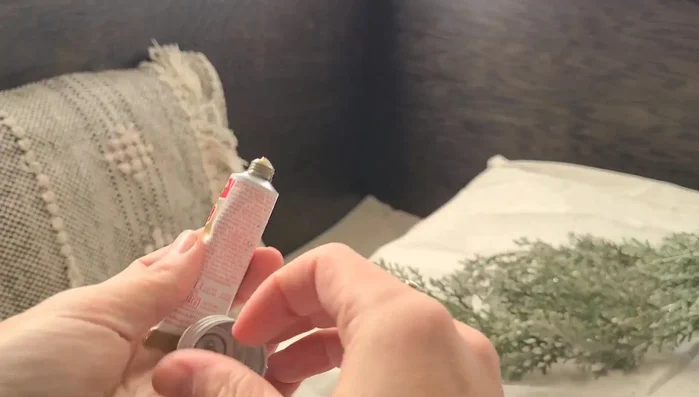
- Rub 'n Buff (optional)
- Craft scissors
- Ribbon
- Always work in a well-ventilated area when using spray paint. Inhaling paint fumes can be harmful.
- Never use real mercury glass. This craft uses a safe alternative, but mercury is toxic. Properly dispose of any broken glass.
- Supervise children closely if they are participating in any part of this project. Sharp objects and spray paint are potential hazards.
Step-by-Step Instructions
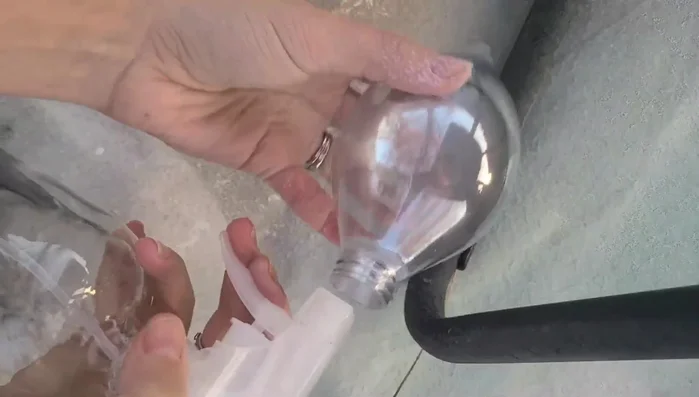
Prepare Ornaments
- Remove tops from ornaments and take them outside.

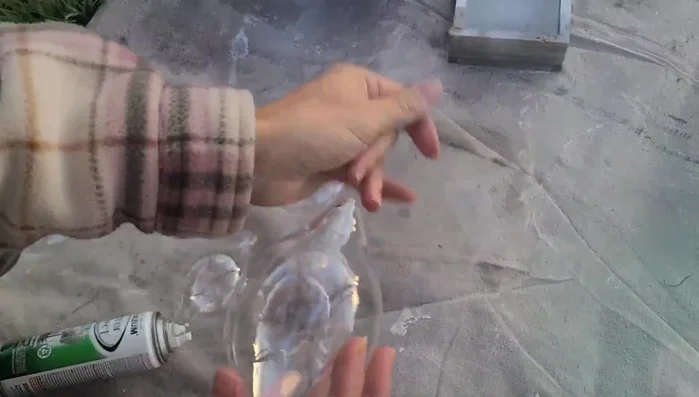
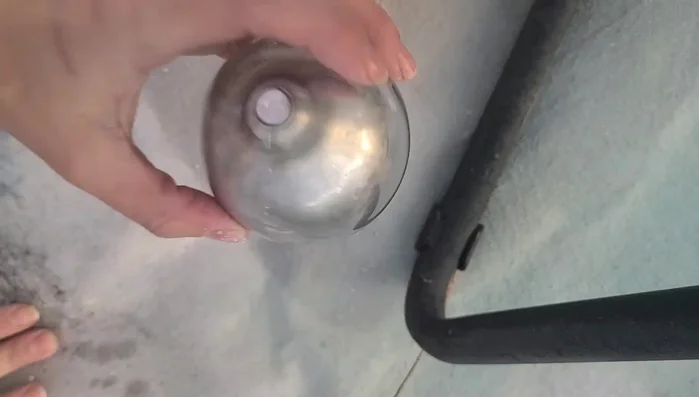
Prepare Ornaments Apply First Coat of Mirror Paint
- Apply 1-2 spritzes of mirror spray paint inside each ornament, rolling to coat.
- Shake out excess spray paint and repeat for all ornaments.
- Dry ornaments using a blow dryer (optional) to speed up the process.
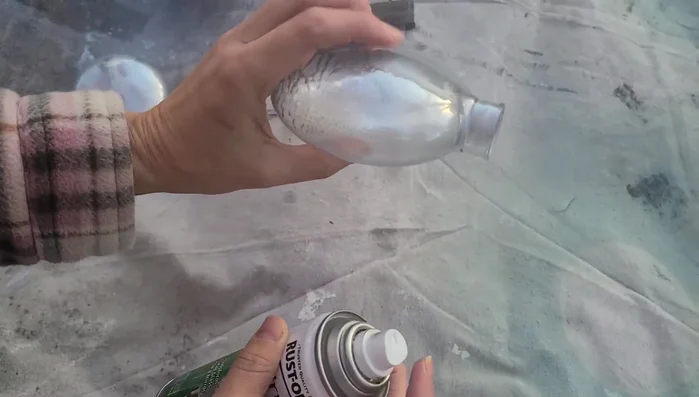
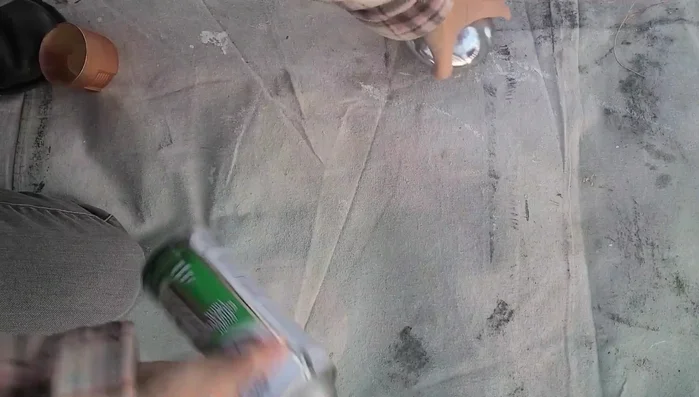
Apply First Coat of Mirror Paint Apply Second Coat of Mirror Paint
- Apply a second coat of mirror spray paint (1-2 spritzes).
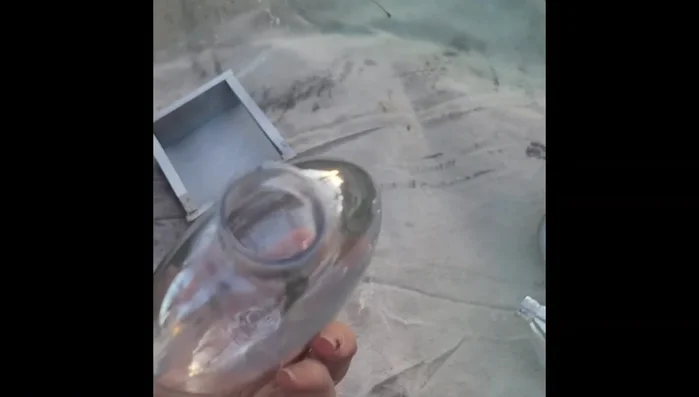
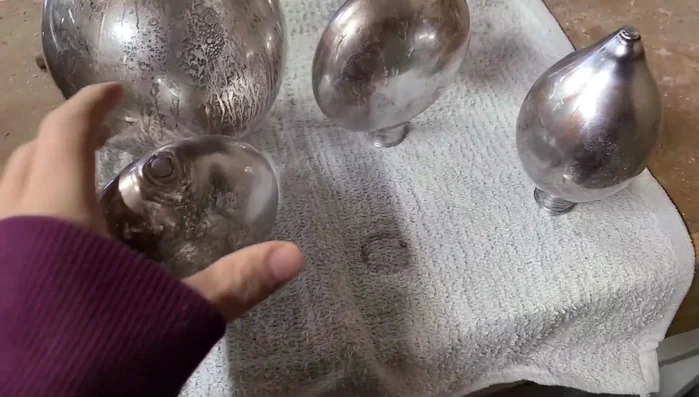
Apply Second Coat of Mirror Paint Create Water Droplet Effect
- Spray a 50/50 water/vinegar solution inside the ornament to create water droplets.
- Dry again.
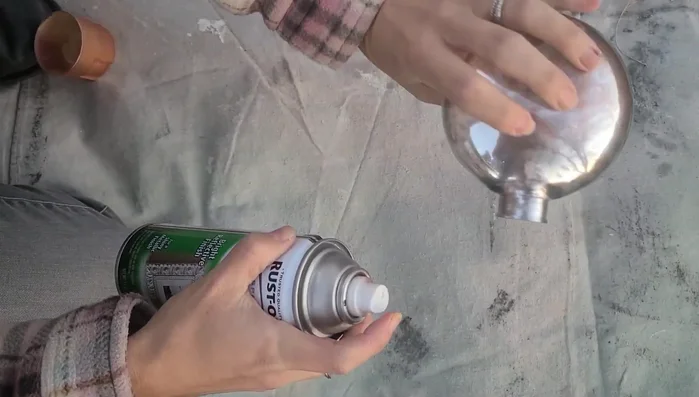
Create Water Droplet Effect Apply Accent Color
- Apply a third coat of a second color spray paint (e.g., gold) to areas not covered by mirror spray paint.
- Let dry fully, optionally drying upside down overnight.
Apply Accent Color Finishing Touches
- Apply Rub 'n Buff (optional) to the ornament tops to achieve an antique look. Use a paintbrush for better coverage in crevices.
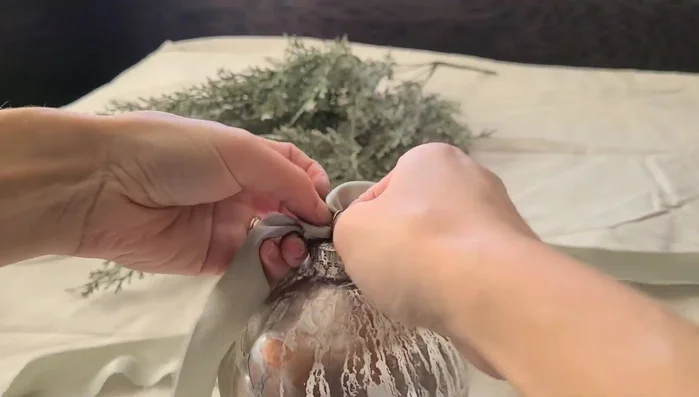
- Attach ornament tops and add hangers using ribbon.
Finishing Touches
Read more: DIY: Create Custom Canister Labels with Silhouette Cameo
Tips
- Use a blow dryer to speed up the drying process.
- Don't over-spray the mirror paint. A light touch is key for the desired effect.
- Craft scissors are recommended for cutting ribbon.
- Experiment with different ribbon colors and styles.