Are you looking for a unique and personalized way to add a touch of elegance and creativity to your home décor? Look no further than DIY resin photo coasters! This rewarding craft project allows you to transform your cherished memories into beautiful, functional pieces. Not only are they stunning conversation starters, but they also make fantastic personalized gifts for friends and family. The process is surprisingly straightforward, even for beginners, and requires readily available materials, meaning you can unleash your inner artist without breaking the bank. You'll be amazed at the stunning, professional-looking results you can achieve.
This comprehensive guide will take you through every step of creating your own customized photo coasters, from selecting the perfect images and preparing your workspace, to achieving a flawlessly smooth resin finish. Ready to dive in and create some dazzling coasters? Let's begin with a detailed, step-by-step process that will guide you to crafting beautiful, personalized coasters.
Preparation and Safety Guidelines
- Two-part epoxy resin (Envirotec Slide Pour recommended)
- Printable tattoo paper
- Coasters
- Stir sticks
- Paint (chalk paint suggested)
- Decoupage medium
- Mixing and measuring cups
- Painter's tape (optional)
- Scissors
- Wet rag
- Paper plate
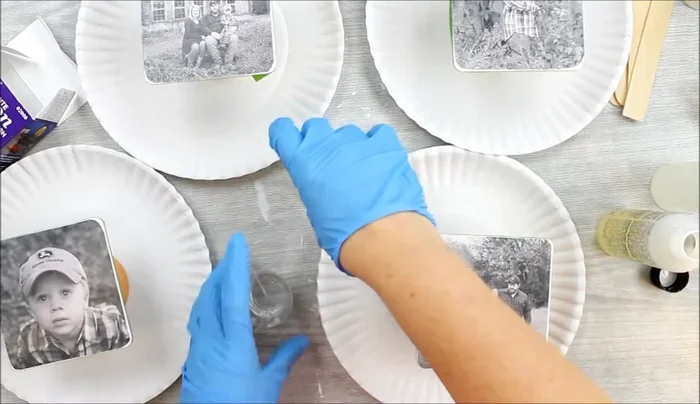
- Resin is a chemical and should be handled in a well-ventilated area. Wear gloves and eye protection at all times.
- Avoid skin contact with uncured resin. Wash your hands thoroughly with soap and water after handling.
- Cure resin in a designated area away from pets and children. Keep away from any open flame or sparks as resin can be flammable.
Step-by-Step Instructions
Prepare Coasters
- Paint the coasters. Apply two coats of paint (e.g., chalk paint) to the front, back, and edges of the coasters, allowing each coat to dry completely before applying the next. (This step is crucial for the tattoo paper method to work properly)

Prepare Coasters Prepare Images
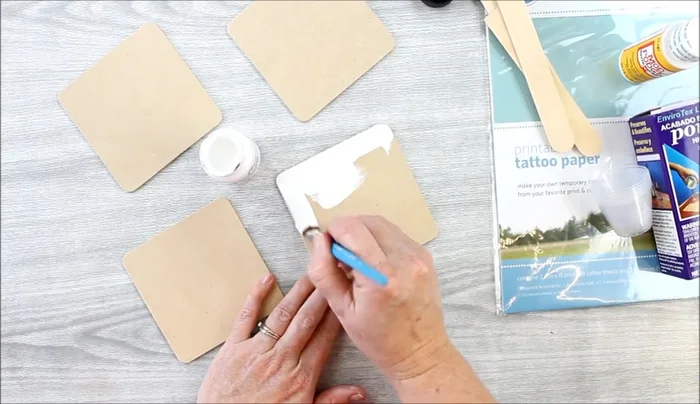
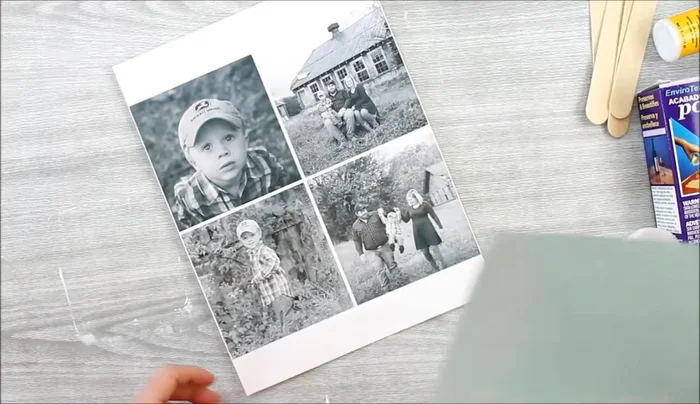
- Prepare the printable tattoo paper. Print your desired pictures, mirroring them before printing. Peel back the adhesive liner and carefully apply the adhesive to the printed side, ensuring even coverage and pressing down firmly with a stir stick for better adhesion. Trim the printed image to fit the coaster size.
Prepare Images Transfer Images to Coasters
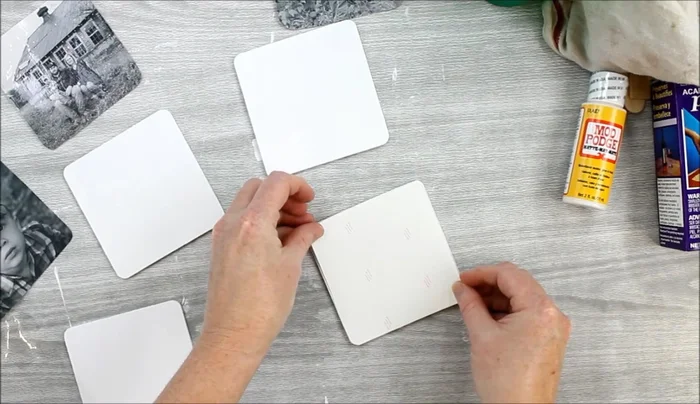
- Transfer the image. Press the adhesive-backed picture onto the painted coaster, applying firm pressure with a stir stick in both vertical and horizontal directions to ensure good adhesion. Wet the paper backing with a damp rag, pressing gently to release the paper and leave the image on the coaster. This may require multiple wettings and pressings.
Transfer Images to Coasters Seal Images
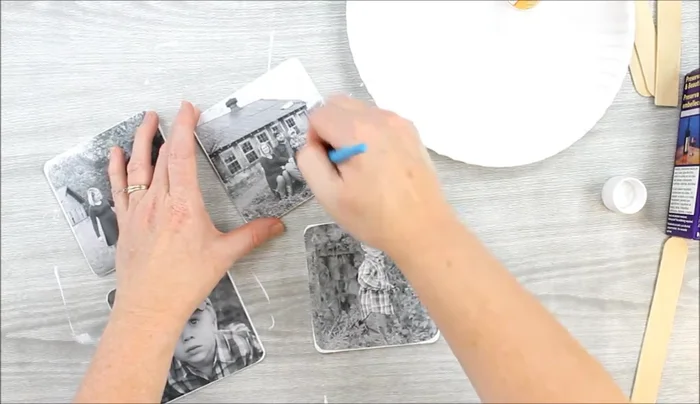
- Seal the image. Apply two coats of decoupage medium to the transferred image, ensuring complete coverage and allowing each coat to dry completely. This step is essential to protect the image from the resin.
Seal Images Optional: Protect Edges
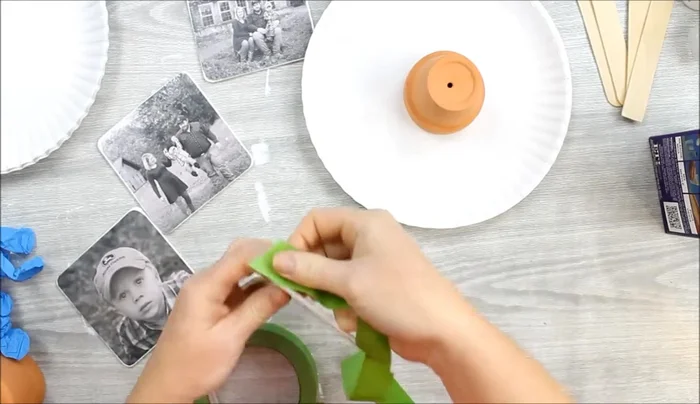
- Protect the edges with painter's tape. Apply painter's tape around the edges of the coaster, pressing down well to adhere it. Snip the corners for easier folding and handling.
Optional: Protect Edges Mix Resin
- Prepare and mix the resin. Measure and mix the two-part epoxy resin precisely according to the package instructions. Scrape all the product from the measuring cups into a mixing cup. Use a second mixing cup to transfer the mixture, ensuring thorough mixing to avoid any unmixed resin.
Mix Resin Pour Resin and Cure
- Pour and cure the resin. Pour a small amount of resin onto the coaster, then tilt the coaster to distribute it evenly and ensure complete coverage. Add more resin if necessary, but avoid excessive amounts. Use a tool to pop any bubbles. Allow the resin to cure for approximately 24 hours.
Pour Resin and Cure

Read more: DIY: Create Custom Canister Labels with Silhouette Cameo
Tips
- Always follow the resin manufacturer's instructions precisely for mixing ratios and curing time. This is the most common cause of resin project failures.
- Mirror your images before printing for the tattoo paper method. This will correct the image orientation on the coaster.
- Use a paint base for better adhesion of the tattoo paper. The tattoo transfer process requires a surface other than bare wood.
- Use as little resin as possible to avoid waste and ensure even distribution. Tilt the coaster to achieve full coverage.