Transform ordinary glass jars into enchanting, handcrafted lanterns with the simple elegance of pressed flowers. This DIY project offers a beautiful way to add a touch of rustic charm to your home decor, perfect for adding a warm glow to any space, from a cozy bedroom to a romantic dinner setting. The process is surprisingly straightforward, utilizing readily available materials and techniques that even beginner crafters can easily master. You'll be amazed at the stunning results achievable with a little patience and creativity.
Imagine the soft, ethereal light filtering through delicate petals, creating a mesmerizing ambiance. This step-by-step guide will walk you through each stage of creating your own pressed flower glass jar lanterns, from preparing your flowers and jars to the final sealing and lighting. Let's get started and illuminate your home with the beauty of nature!
Preparation and Safety Guidelines
- Glass jars
- Pressed flowers
- Paper
- Sticky tape
- Craft glue (e.g., Mod Podge)
- Paint brush
- Tweezers
- Ribbon
- Floral wire
- Pliers (optional)
- Tea light candles
- Always supervise children around candles and open flames. Never leave a lit candle unattended.
- Use a heat-resistant adhesive when attaching flowers to the jar to prevent damage or fire hazards.
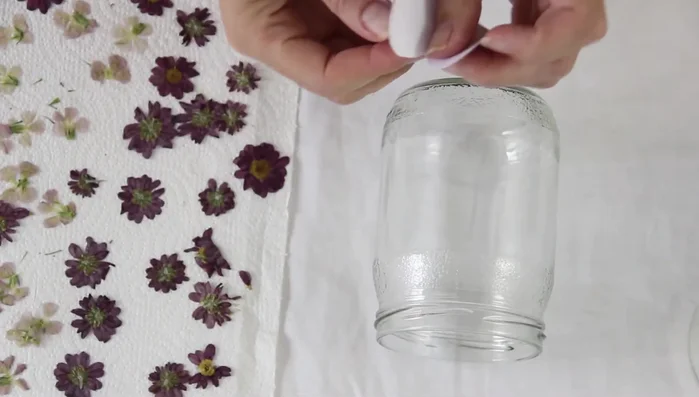
- Ensure the jar is thoroughly clean and dry before starting the project to avoid mold growth.
Step-by-Step Instructions
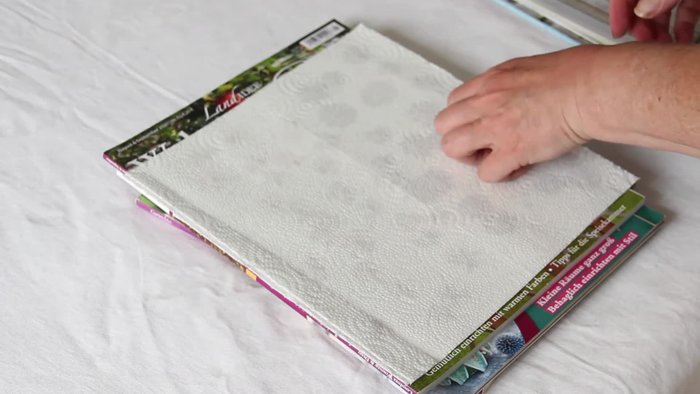
Prepare Materials
- Prepare your pressed flowers. Choose flowers with fine petals for easier drying.

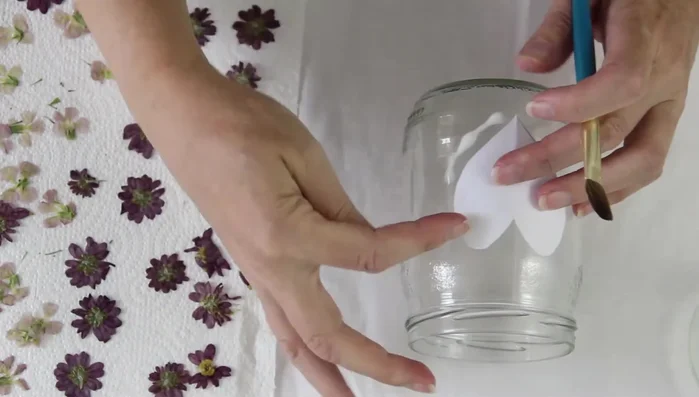
Prepare Materials Create Heart Template
- Cut a heart-shaped template from paper and temporarily stick it to the front of the jar using sticky tape.
Create Heart Template Apply Glue and Attach Flowers to Heart Border
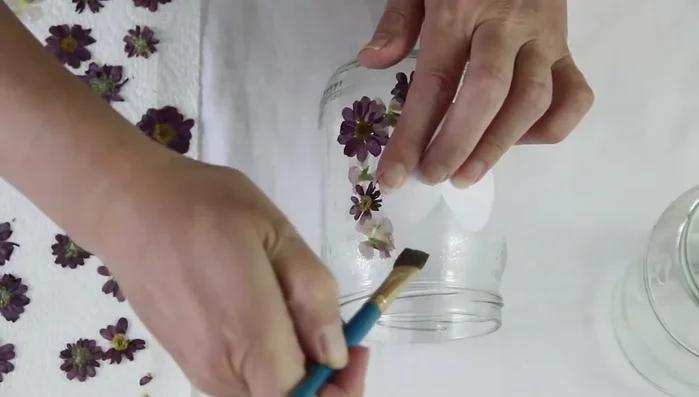
- Apply craft glue around the heart template, leaving the heart area free.
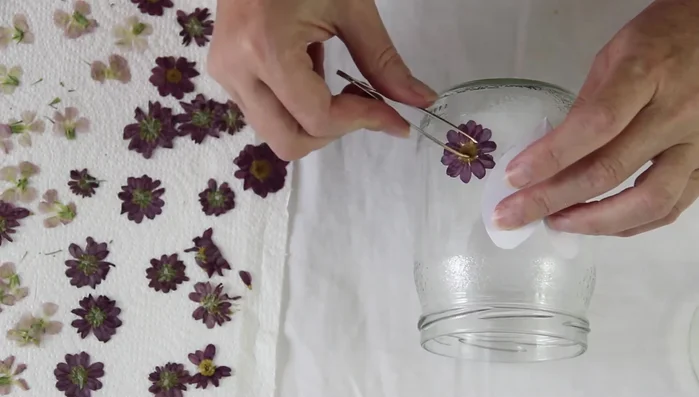
- Using tweezers, carefully attach the pressed flowers to the glued area, avoiding the heart template. Press petals gently with tweezers for better adhesion.
- Once the area around the heart is covered, remove the paper template.
Apply Glue and Attach Flowers to Heart Border Add More Flowers
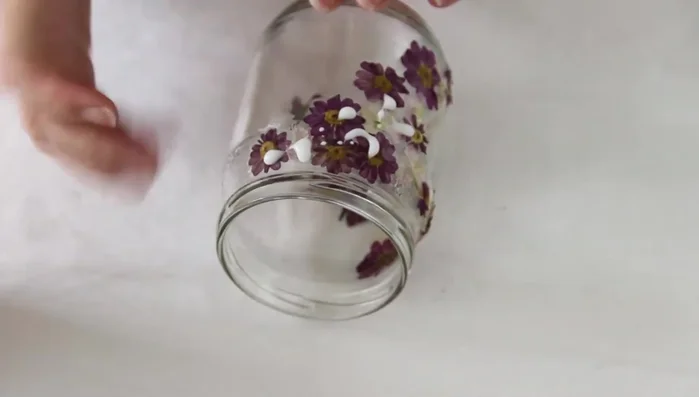
- Add more flowers to the top and bottom of the jar.
Add More Flowers Seal and Dry
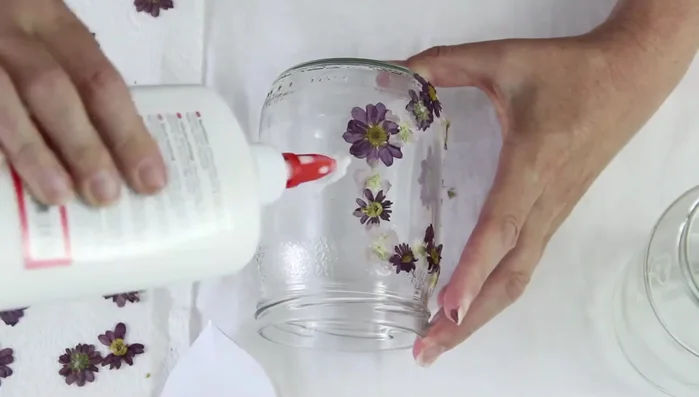
- Let the glue dry for a couple of hours. Then, apply a second coat of Mod Podge or craft glue to seal the flowers and protect them from moisture.
Seal and Dry Decorate and Add Hanger
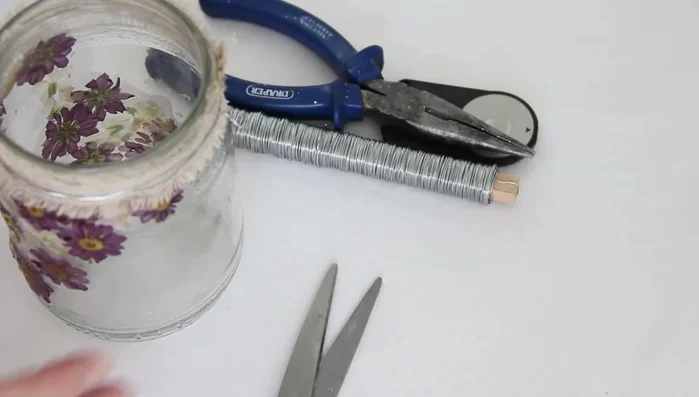
- Add a ribbon around the top of the jar and secure it with floral wire.
- Create a handle and a heart hanger using floral wire. Twist the wire together to strengthen it, and attach securely to the jar.
Decorate and Add Hanger

Read more: DIY: Create Custom Canister Labels with Silhouette Cameo
Tips
- Use tweezers to apply flowers to avoid getting glue on your fingers, which could remove petals.
- Mod Podge or a similar transparent drying glue is recommended for this project.
- Let the glue dry completely before adding a second coat to seal the flowers.
- Pliers can be helpful for twisting and securing the floral wire.