The holiday season is a time for cherished memories and heartfelt gifts, but the pressure to find the perfect present can often strain both time and budget. This year, ditch the generic store-bought items and embrace the warmth of homemade holiday cheer with personalized photo keepsake ornaments! These charming decorations are not only a unique and thoughtful way to celebrate loved ones, but they also offer a fantastic opportunity to showcase cherished memories in a tangible and lasting form. Creating these personalized treasures is simpler than you might think, requiring minimal materials and offering a fun, creative outlet for the whole family.
Forget expensive gifts that lack personal touch; these DIY ornaments allow you to infuse each piece with sentimental value, making them truly special and one-of-a-kind. From classic designs to playful themes, the possibilities are endless. Ready to transform your favorite photos into beautiful, budget-friendly holiday ornaments? Let's dive into the step-by-step guide to crafting these personalized keepsakes.
Preparation and Safety Guidelines
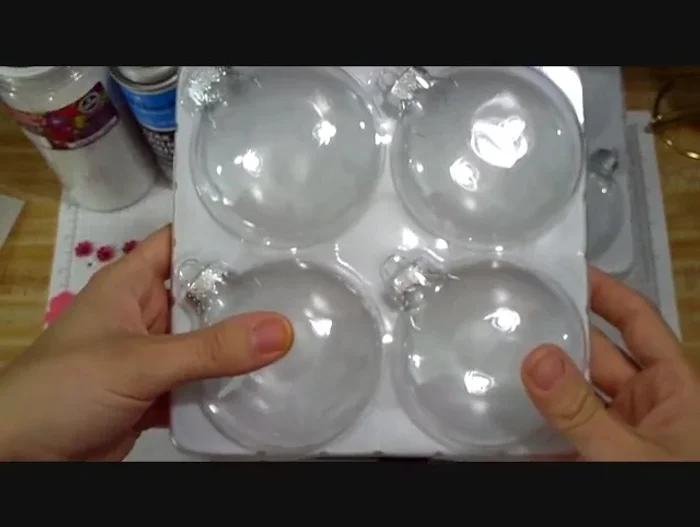
- Round flat glass ornaments
- Graphics rub-ons
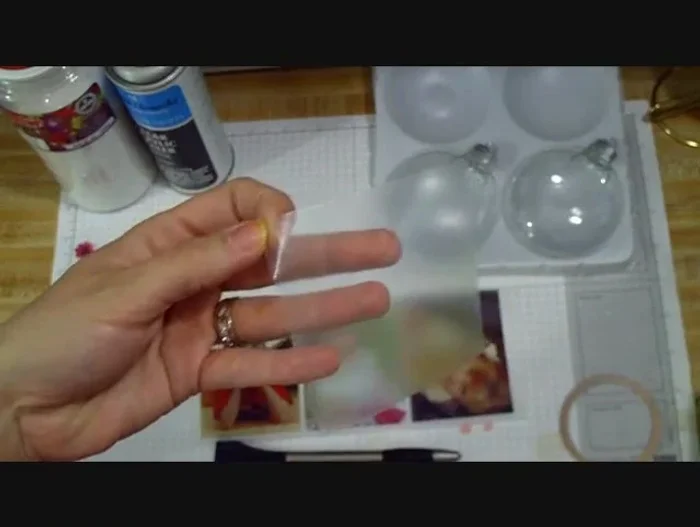
- Adhesive film
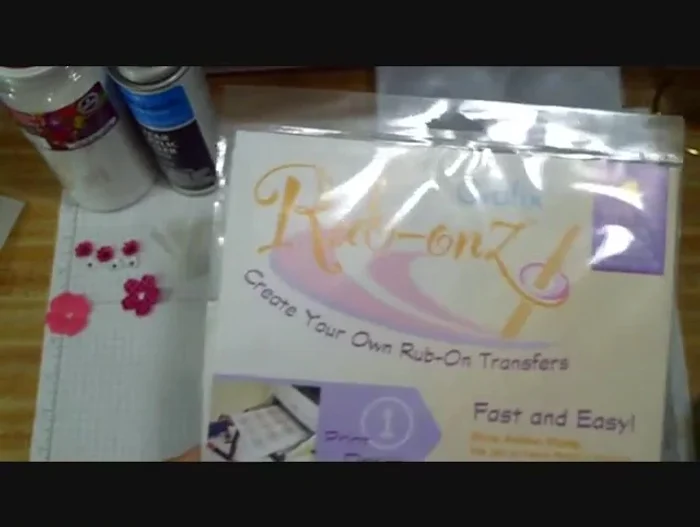
- Rub-ons transfer film
- Die-cut machine (optional)
- Scissors or craft knife
- Gray tool or similar for rubbing
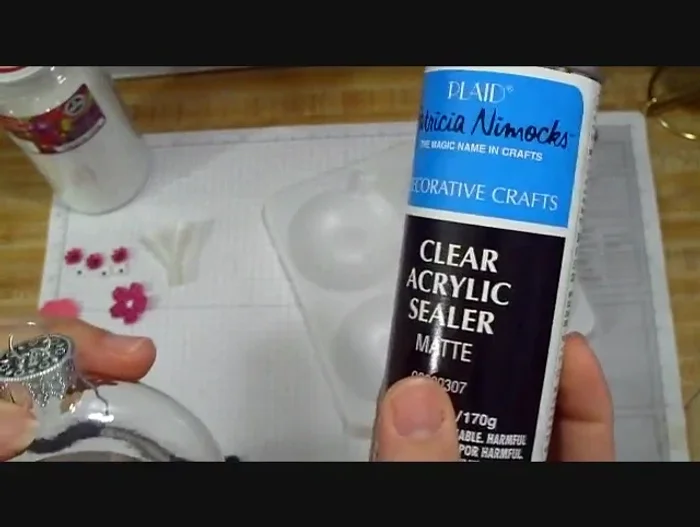
- Clear acrylic sealer (matte)
- Glitter glue (optional)
- Glitter (optional)
- Funnel (optional)
- Small decorations (optional)
- Ornament hooks
- Always supervise children when using crafting tools like scissors, hot glue guns, or sharp objects. Keep them out of reach when not in use.
- If using an oven to bake or cure any materials, ensure proper ventilation and follow the manufacturer's instructions carefully to avoid fire hazards or inhalation of fumes.
- Be mindful of potential choking hazards, especially if making ornaments for young children. Avoid small, loose components that could be detached and ingested.
Step-by-Step Instructions
Prepare Ornaments and Images
- Clean the glass ornaments with Windex to remove fingerprints and residue.
- Prepare your photos or images using the rub-on transfer film. Print, stamp, or draw your design onto the matte side of the transfer film. Trim to size.

Prepare Ornaments and Images Apply Transfer Film to Image
- Peel the backing off a piece of adhesive film, lay it over your prepared image, and rub out any air bubbles to ensure a good seal.
Cut and Apply Image to Ornament
- Use a die-cut machine for precise shapes.)
- Position the photo on the ornament and peel off the clear film backing. Smooth out any wrinkles or bubbles, ensuring complete adhesion. Use a tool or fingers to gently press the image onto the ornament.
Cut and Apply Image to Ornament Seal and Decorate
- Seal the photo ornament with three light coats of matte clear acrylic sealer, allowing each coat to dry before applying the next.
- (Optional) Add glitter to the inside of the ornament using glitter glue and a funnel. Add any other desired small decorations inside the ornament before replacing the top.
Seal and Decorate Finalize Ornament
- Replace the top of the ornament and add an ornament hook.


Read more: DIY: Create Custom Canister Labels with Silhouette Cameo
Tips
- Work with the ornaments inside their container to prevent them from sliding around.
- Ensure a good seal on your image to avoid affecting the transfer to the ornament.
- Be patient and work carefully when applying the photo to the ornament to avoid wrinkles.
- Nail polish remover can remove the image if needed, but it's best to avoid this step by ensuring proper adhesion.
- Adding personal touches like writing memories or small decorations inside enhances the sentimental value.