Have you ever wished you could illuminate your writing space with something more unique and personal than a standard desk lamp? Tired of the harsh glare of overhead lighting or the limitations of a clunky, commercially-produced pen light? Then prepare to be inspired! This guide unveils the secrets to crafting your own extraordinary DIY pen light, a project that combines practicality with a touch of creative flair. You'll be amazed at how easily you can transform everyday materials into a stylish and functional writing companion, perfectly tailored to your needs and aesthetic preferences.
This project is surprisingly simple and requires minimal tools, making it perfect for both seasoned DIY enthusiasts and complete beginners. From choosing the perfect pen casing to carefully assembling the internal components, each step will be meticulously explained. So, let’s dive into the step-by-step process and begin creating your personalized, extraordinary pen lighting solution!
Preparation and Safety Guidelines
- 80 ordinary pens
- gems
- fishing line
- dowel
- hot glue gun
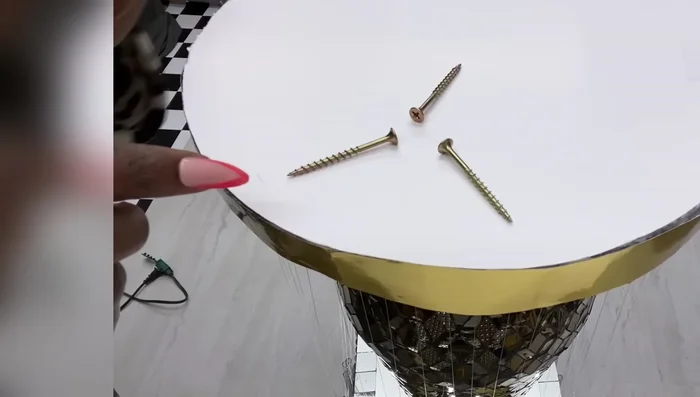
- hard foam board
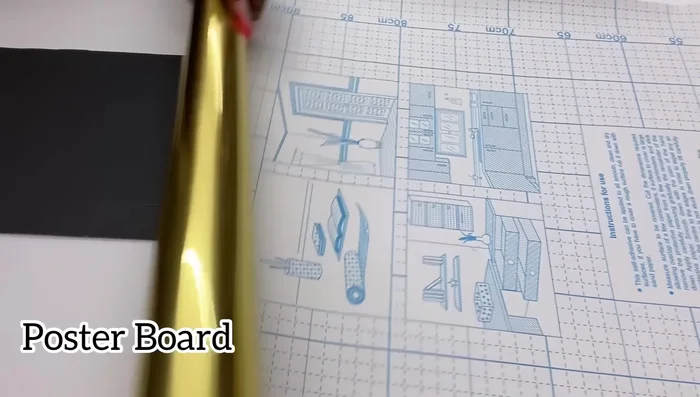
- gold contact paper
- remote control push lights
- small screwdriver
- strong adhesive
- screws
- wood (for mounting)
- Always work with the power source disconnected. Electricity can be lethal. Only reconnect power after completely assembling and testing the connections outside of the pen.
- Use low-voltage LEDs and a suitable power source. High voltage can cause serious burns and fire hazards.
- Ensure proper insulation and secure all wiring to prevent shorts and accidental shocks. Use heat shrink tubing where appropriate.
Step-by-Step Instructions
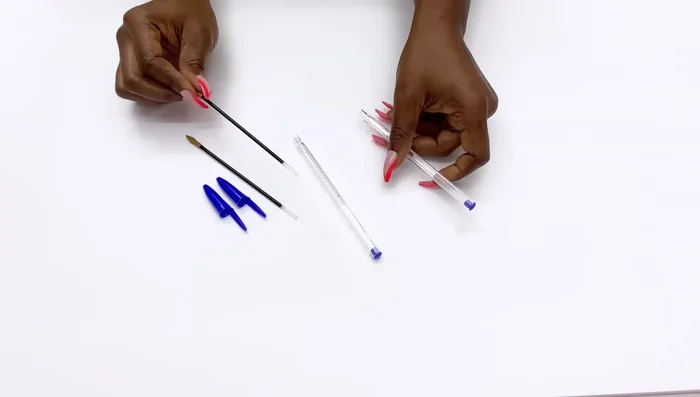
Prepare the Pens
- Remove unnecessary parts from the pens.

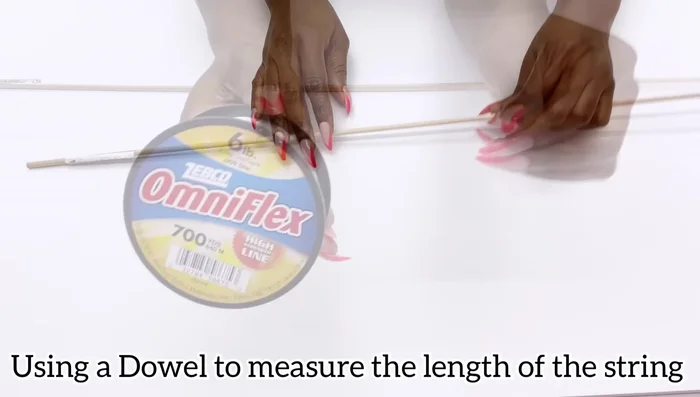
Prepare the Pens Prepare the Gem Strings
- Attach gems to fishing lines using a dowel as a guide for consistent length.
Prepare the Gem Strings Attach Gems to Pens
- Attach the fishing lines with gems to the pens using a hot glue gun, ensuring the gems are upright.
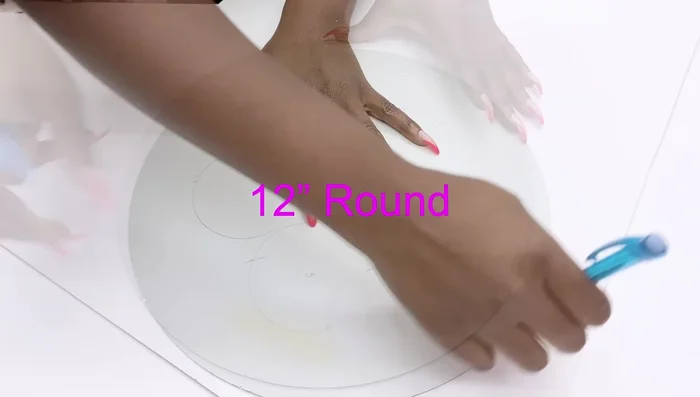
Attach Gems to Pens Prepare the Foam Board Base
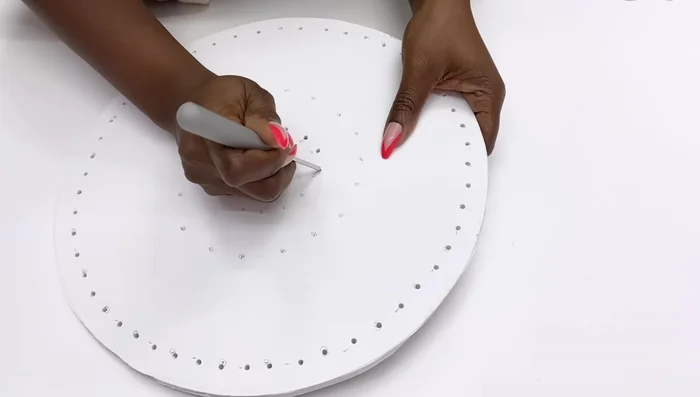
- Cut two circles from the hard foam board for the top and bottom of the light fixture.
- Make holes in the foam board at the points where the strings will be inserted.
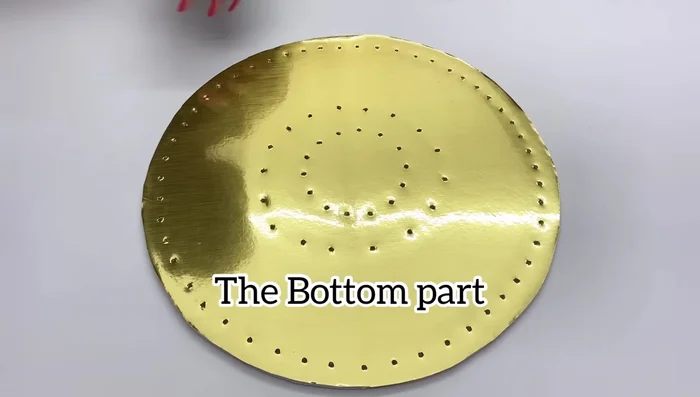
- Cover the foam boards with gold contact paper.
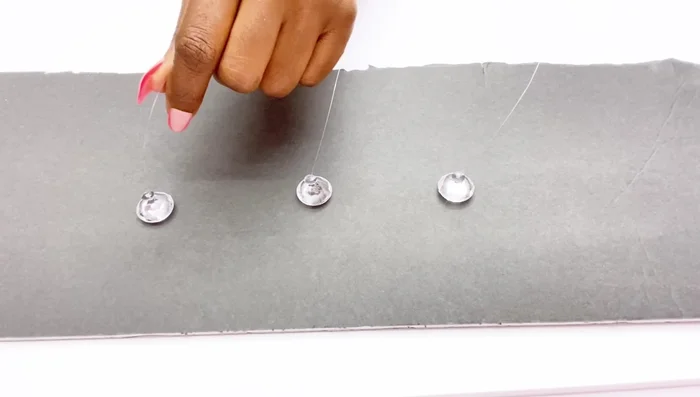
Prepare the Foam Board Base Position and Secure the Gem Strings
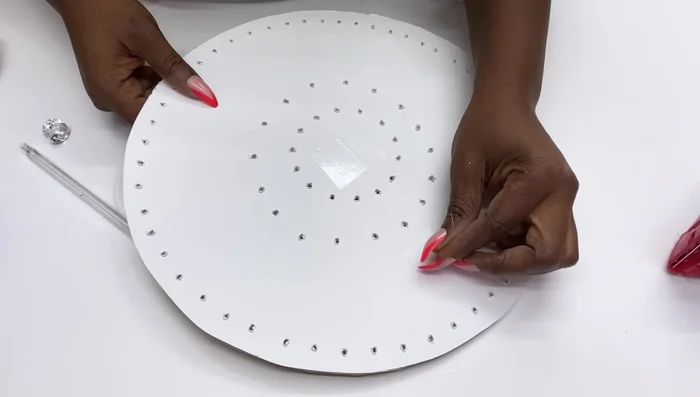
- Use remote control push lights to gauge the spacing of the strings on the foam board.
- Insert the strings with gems into the holes in the bottom foam board.
- Secure the strings to the top foam board using tape and a hot glue gun.
Position and Secure the Gem Strings Add Lights and Finish the Fixture
- Add the push lights to the open space before continuing with the outer ring of strings.
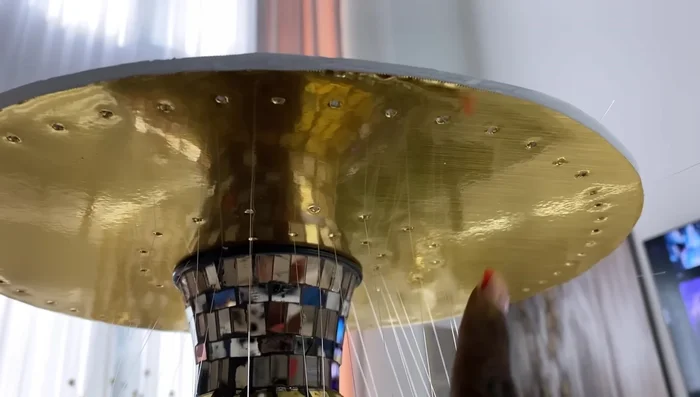
- Cover the sides of the structure with gold contact paper and use strong adhesive and hot glue to secure the top foam board.
Add Lights and Finish the Fixture Mount the Light Fixture
- Mount the finished light fixture to a ceiling or other surface using screws, command strips, or cup hooks. The video uses screws.
Mount the Light Fixture


Read more: DIY: Create Custom Canister Labels with Silhouette Cameo
Tips
- To avoid string tangling, store them in a container and pick them out one by one.
- Don't do all the pen preparations at once. Work in smaller batches to avoid fatigue.