Unleash your inner artist and create a stunning, personalized mosaic tray – a project that's easier than you think! This DIY project is perfect for beginners, requiring minimal tools and materials, yet yielding impressive results. Whether you're looking for a unique addition to your home décor, a thoughtful handmade gift, or simply a fun and relaxing afternoon activity, crafting your own mosaic tray is a rewarding experience. The vibrant colors and customizable designs offer endless creative possibilities, allowing you to tailor your tray to your individual style and preferences.
Forget expensive, pre-made décor – learn to create a beautiful, functional piece of art that reflects your personality. This beginner-friendly guide will walk you through each step of the process, from selecting your materials to sealing your finished masterpiece. Ready to get started? Let's dive into the step-by-step instructions and transform ordinary materials into a breathtaking mosaic tray!
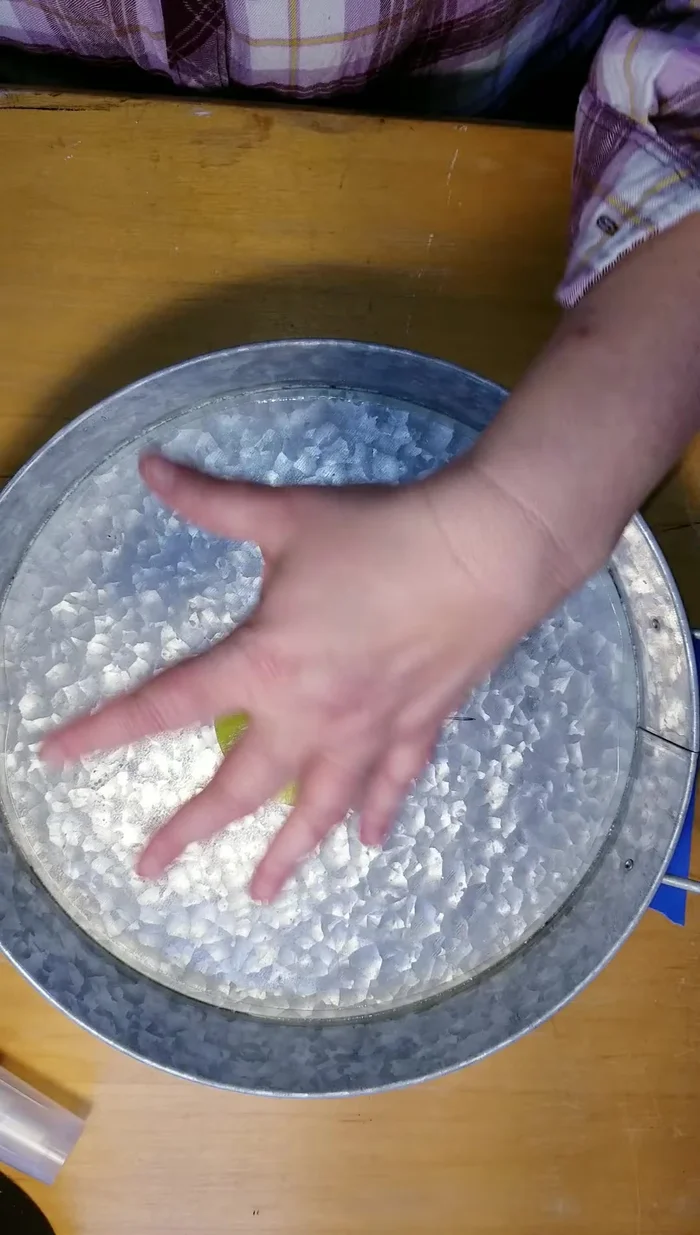
Preparation and Safety Guidelines
- Clear silicone adhesive (mold-free)
- Measuring stick/ruler
- Silicone spreader (or tube)
- Tweezers
- Sharpie marker
- Glass pieces (pre-cut or cut with glass cutter and pliers)
- Safety glasses
- Gloves
- Long sleeves
- Long pants
- Covered shoes
- Q-tips
- Old rags/t-shirt
- Optional: Glass cutter, glass scoring pliers, wheel cutters (for cutting your own glass)
- Always wear safety glasses to protect your eyes from flying debris when breaking tiles or grouting.
- Work in a well-ventilated area, especially when using grout, as it can release dust and fumes.
- Use caution when handling sharp broken tiles. Dispose of them responsibly in a sturdy container.
Step-by-Step Instructions
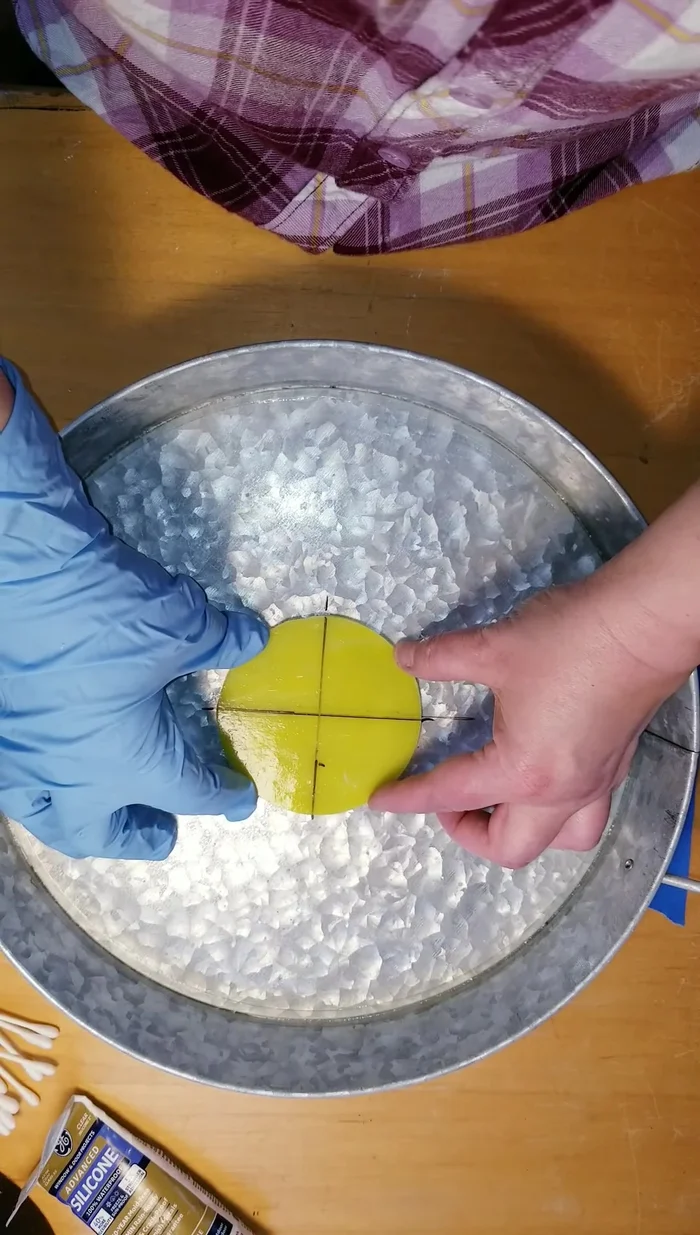
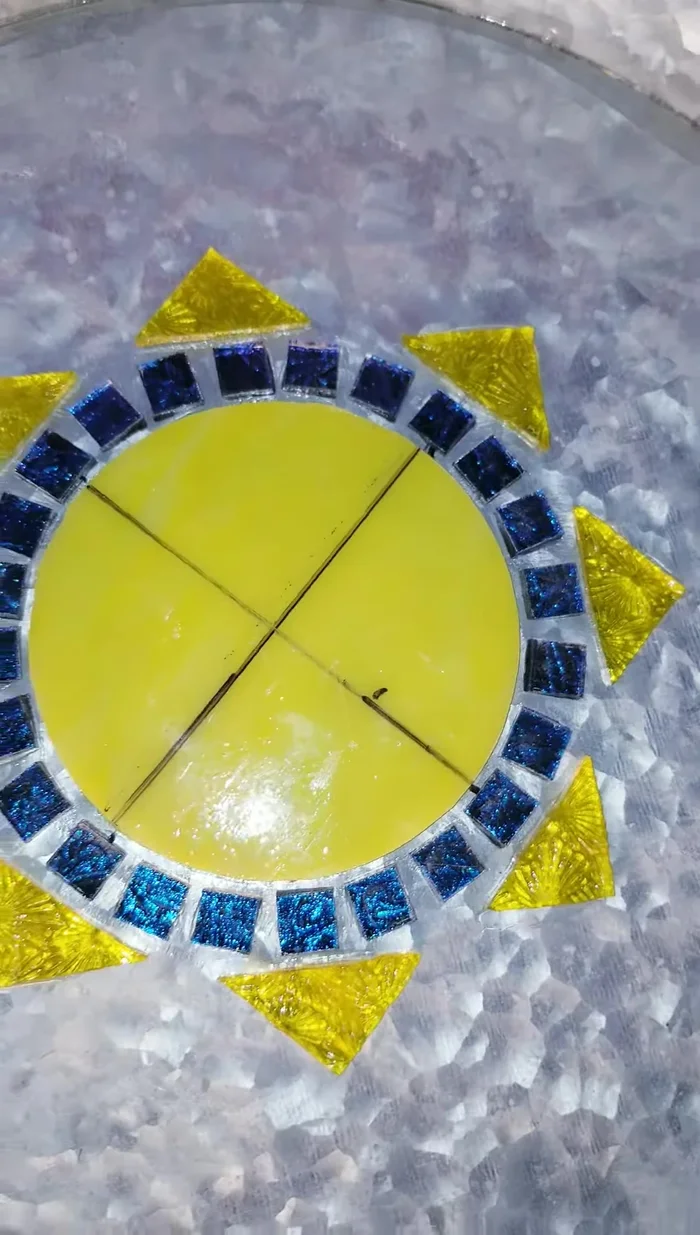
Prepare the Centerpiece
- Measure and mark the center of your tray and the circular glass piece.
- Apply a thin layer of silicone adhesive to the back of the circular glass piece.
- Spread the adhesive evenly to the edges using the spreader tool.
- Center and adhere the circular glass piece to the tray, checking for even spacing with a ruler.

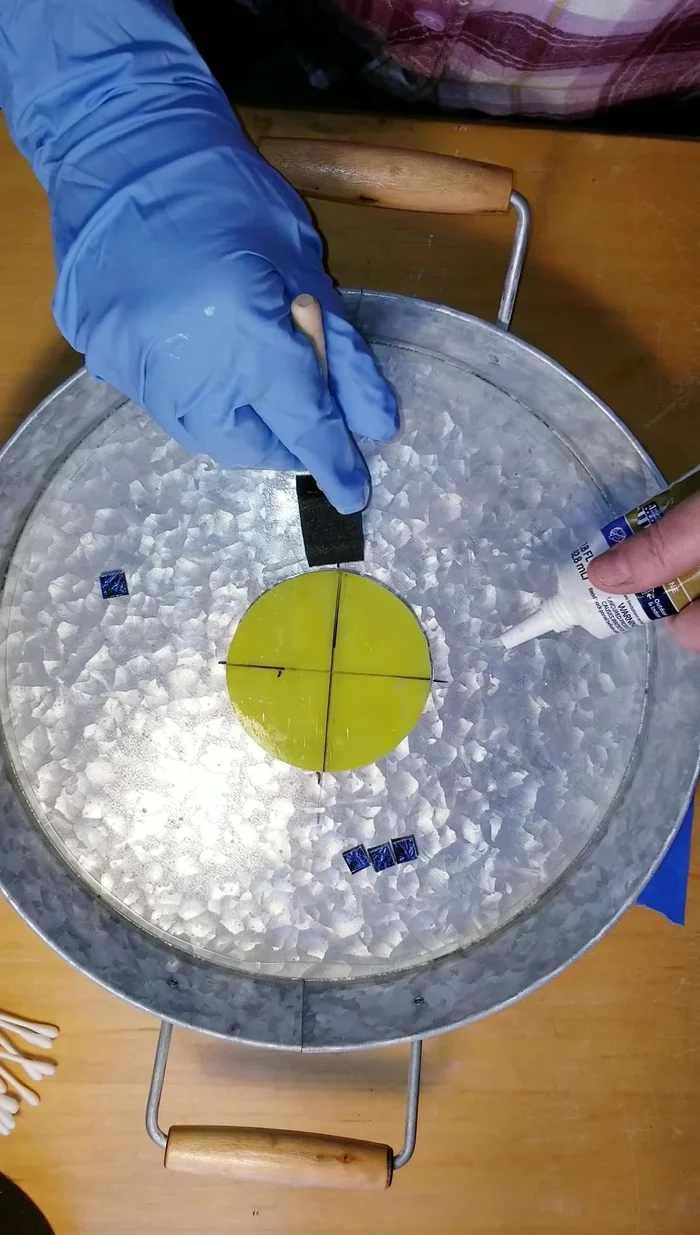
Prepare the Centerpiece Create the First Mosaic Ring
- Apply silicone adhesive around the central circle.
- Carefully place the smaller glass pieces around the central circle, ensuring even spacing and using tweezers if needed.
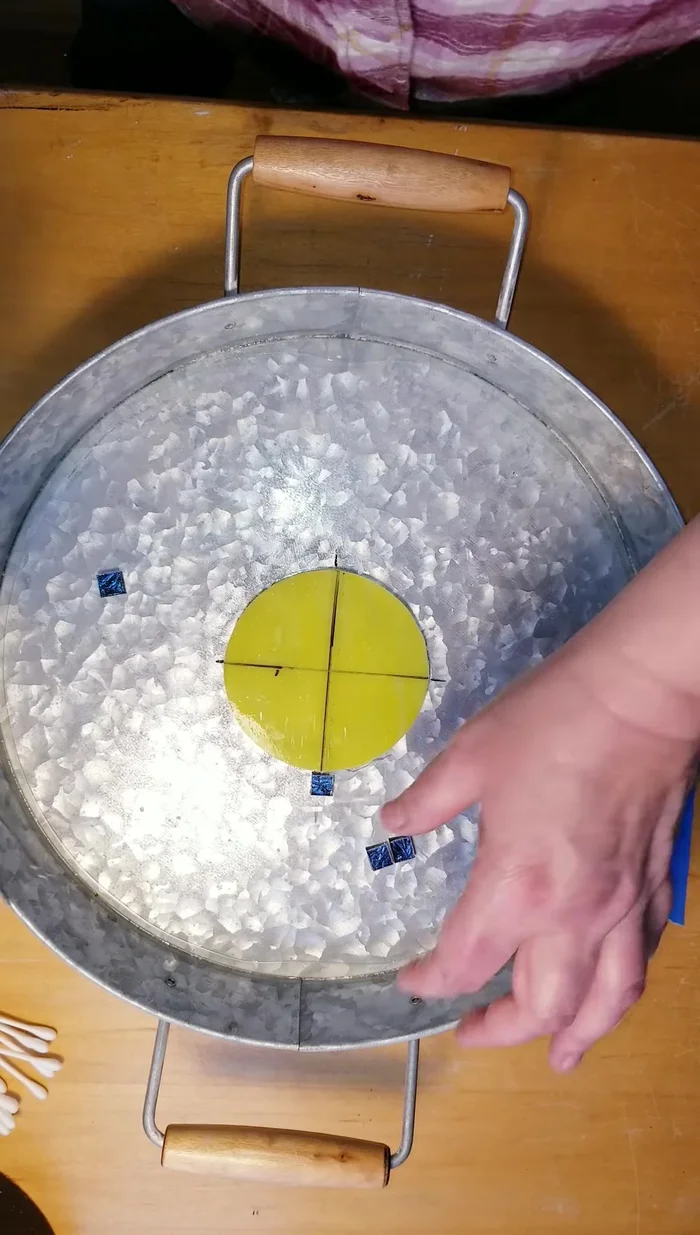
Create the First Mosaic Ring Build Subsequent Mosaic Rings
- Repeat steps 5 & 6 for additional layers around the tray, keeping the arrangement as symmetrical as possible.
Build Subsequent Mosaic Rings Add Decorative Pieces
- Add the larger decorative glass pieces, ensuring the pretty side is up.
Add Decorative Pieces Clean Up
- Clean any excess silicone with a q-tip.
Clean Up


Read more: DIY: Create Custom Canister Labels with Silhouette Cameo
Tips
- Always prioritize safety: wear gloves, safety glasses, long sleeves, long pants, and closed-toe shoes. Work in a well-ventilated area.
- Use a small amount of adhesive; a little dab will do. Too much can prevent grouting.
- Check your work frequently to maintain symmetry. Don't aim for perfection, but strive for even spacing.
- If you misplace a piece, carefully wipe off the adhesive and reposition.
- Use a small container to store your glue, preventing messy spills.