Transform a simple nightlight into a dazzling work of art with this easy-to-follow guide on creating a DIY mosaic nightlight. Bring a touch of personal flair to your home décor with a project that's both fun and rewarding, perfect for a relaxing evening or a creative crafting session with friends. Imagine the warm, inviting glow emanating from a nightlight uniquely designed by your own hands, showcasing your individual style and creativity. This project requires minimal materials and is surprisingly simple, even for beginners.
Forget expensive, mass-produced décor; let's unleash your inner artist and create a stunning mosaic nightlight that reflects your unique personality. This step-by-step guide will walk you through each stage of the process, from selecting your materials to admiring your finished masterpiece. Get ready to illuminate your space with a handcrafted, personalized nightlight!
Preparation and Safety Guidelines
- Acrylic square
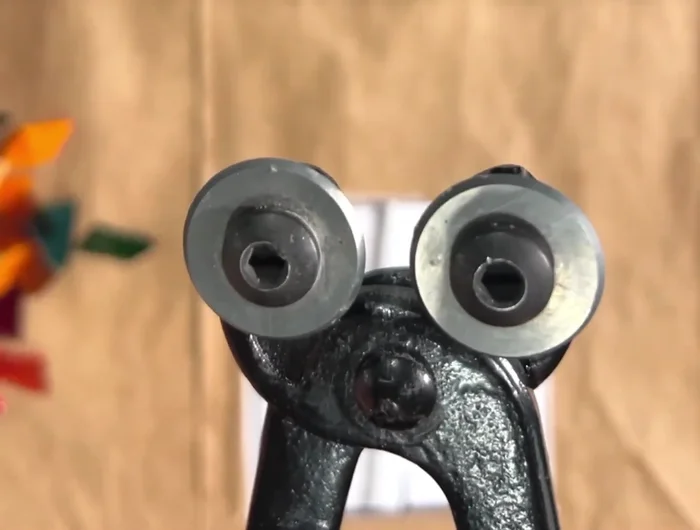
- Wheeled nippers
- Small paintbrush or Q-tip
- Glue
- Sandpaper
- Template
- Rubbing alcohol
- Paper towels or grocery bag
- Always supervise children during this project. Broken glass and small pieces present a choking and cutting hazard.
- Use a low-wattage bulb (maximum 15 watts) in your nightlight to prevent overheating and potential fire hazards.
- Ensure the electrical wiring is properly insulated and securely connected before plugging in the nightlight. If unsure, consult an electrician.
Step-by-Step Instructions
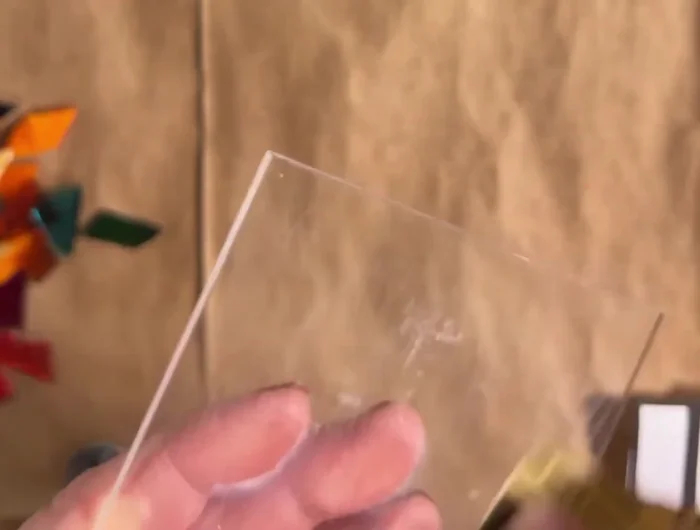
Prepare the Acrylic Base
- Prepare the acrylic base by lightly sanding it to improve glue adhesion.
- Clean the sanded surface with rubbing alcohol.

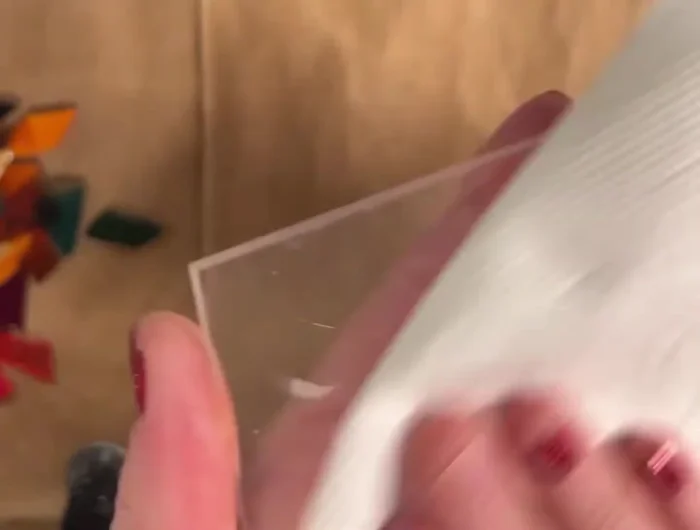
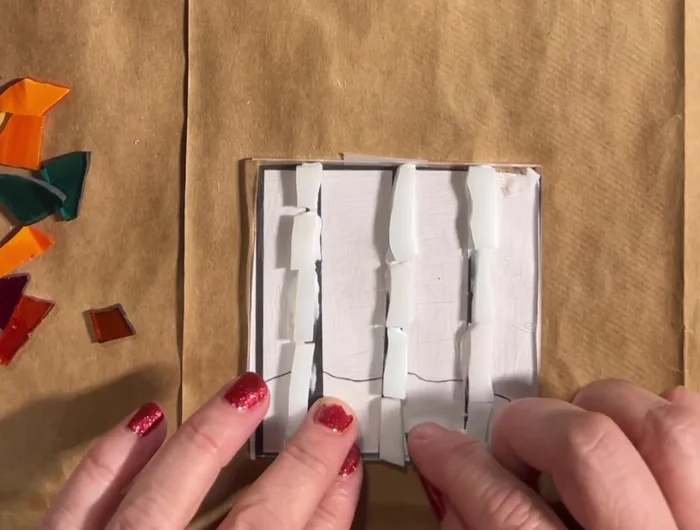
Prepare the Acrylic Base Position the Template
- Place the template behind the acrylic square to guide the placement of glass pieces.
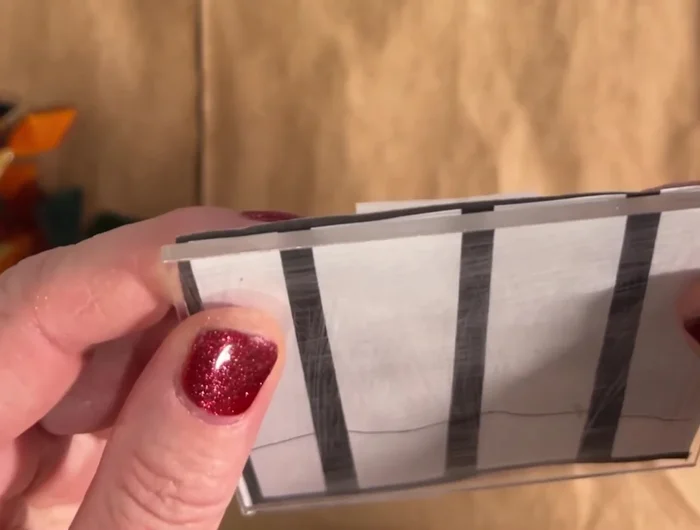
Position the Template Arrange and Cut White Glass Pieces (Trees)
- Arrange the white glass pieces (trees) on the acrylic base, leaving a small gap (about 1/16th of an inch) between them for grout.
- Cut glass pieces to size using wheeled nippers. Always keep your fingers away from the blades and protect your work surface with a paper bag or newspaper to catch glass shards.
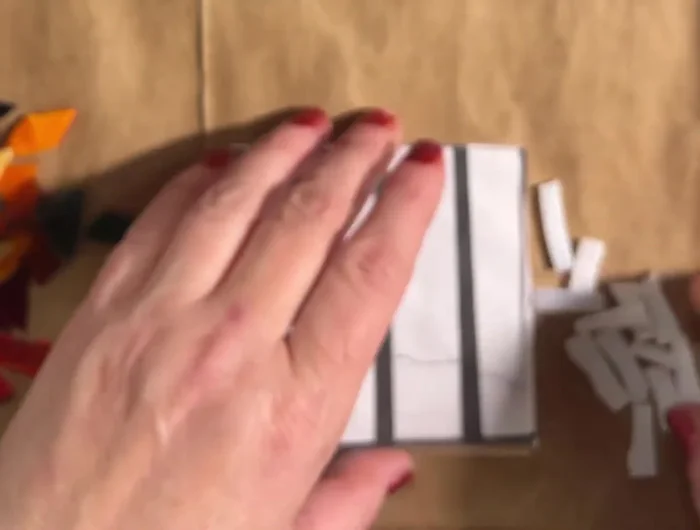
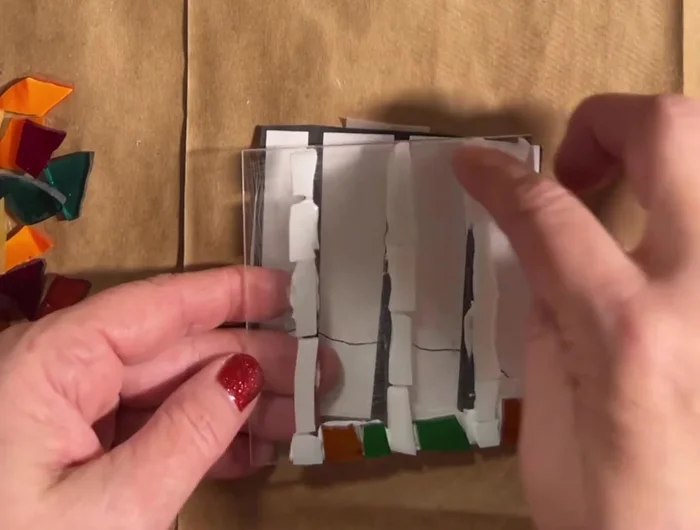
Arrange and Cut White Glass Pieces (Trees) Glue White Glass Pieces
- Apply glue to the back of the glass pieces and carefully place them onto the acrylic base, ensuring that the edges of the glass are flush with the edges of the base.
Glue White Glass Pieces Add Ground Pieces
- Add brown and green glass pieces to the bottom section to represent the ground.
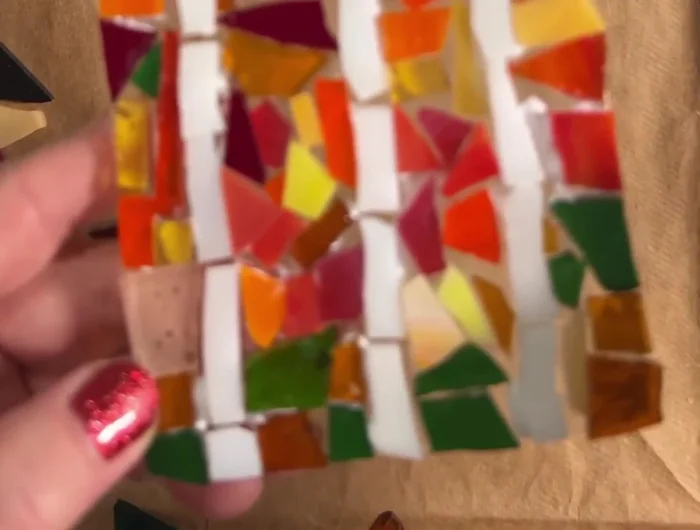
Add Ground Pieces Complete the Mosaic
- Continue adding glass pieces, ensuring all edges are flush against the acrylic base.
Complete the Mosaic Dry the Mosaic
- Let the glued mosaic dry for at least 24 hours in a warm area.
Dry the Mosaic

Read more: DIY: Create Custom Canister Labels with Silhouette Cameo
Tips
- Use a small amount of glue at a time to prevent it from drying too quickly.
- Keep your hands underneath the nippers while cutting to catch any falling glass.
- Work on a protected surface to avoid scattering tiny glass shards.
- Cut all edge pieces first, then fill in the middle.
- Save small cut-off pieces to fill in any gaps later.